
@hoptrendy/hopcode
v0.30.4
Published
HopCode - AI-powered coding assistant
Downloads
862

Readme


![]()

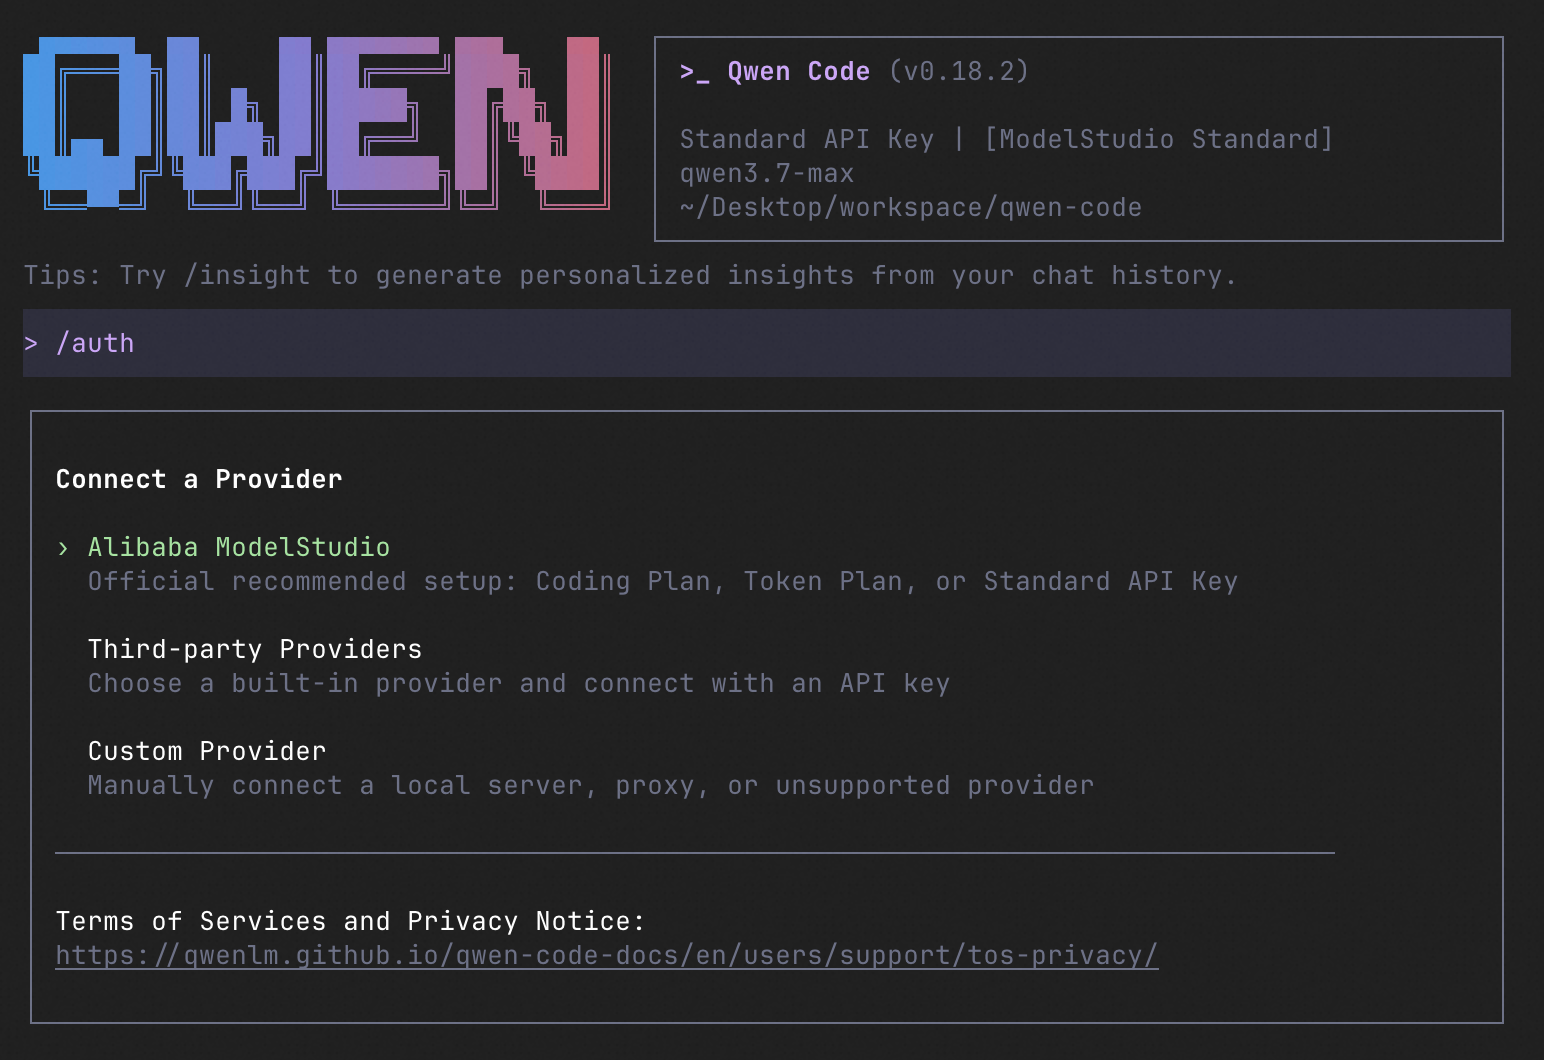
The open-source AI coding agent that lives in your terminal.
中文 | Deutsch | français | 日本語 | Русский | Português (Brasil)
Why HopCode?
- Agentic out of the box — Auto-Memory, Auto-Skills, SubAgents, Agent Teams, and MCP. Dynamic workflows, zero setup.
- Open-source, inside and out — The framework and the Qwen models are open-source. They evolve together. No vendor lock-in.
- Multi-protocol — Supports OpenAI, Anthropic, Gemini, and Qwen APIs. Any third-party provider or local model (Ollama / vLLM). Switch at runtime.
- Beyond the terminal — IDE plugins, Desktop app, daemon mode, SDKs, and IM bots (Telegram / DingTalk / WeChat / Feishu).
[!TIP] HopCode is actively iterating on itself — using its own agent and models to file issues, submit PRs, review code, and run tests. Powered by the community, driven by AI.
Installation
Linux / macOS:
curl -fsSL https://hopcode-assets.oss-cn-hangzhou.aliyuncs.com/installation/install-hopcode-standalone.sh | bashWindows:
irm https://hopcode-assets.oss-cn-hangzhou.aliyuncs.com/installation/install-hopcode-standalone.ps1 | iexRestart your terminal after installation to ensure environment variables take effect.
NPM (requires Node.js 22+):
npm install -g @hoptrendy/hopcode@latestHomebrew (macOS / Linux):
brew install hopcodeQuick Start
hopcode          # Launch interactive terminal UI
# Inside the session:
/auth         # Configure your provider and API key
See the Authentication Guide and Settings Reference for detailed setup.
How to Use HopCode
| Mode | Command | Use Case |
| --------------- | ------------------ | -------------------------------------------------------------------------------------------------------------------------------------------------------------------------------------------------------------------------------------------------------------------------------------------- |
| Interactive | hopcode | Terminal UI with rich rendering, @file references, slash commands |
| Headless | hopcode -p "..." | Scripts, CI/CD, batch processing — no UI |
| IDE | — | VS Code, Zed, JetBrains |
| Desktop | — | HopCode Desktop — GUI for macOS, Windows, Linux |
| Daemon | hopcode serve | Shared agent session over HTTP+SSE (ACP). Multiple clients, one agent. (experimental) Docs |
| SDK | — | TypeScript, Python, Java |
| IM Bot | hopcode channel | Connect to Telegram, DingTalk, WeChat, or Feishu |
import asyncio

from hopcode_sdk import is_sdk_result_message, query


async def main() -> None:
    result = query(
        "Summarize the repository layout.",
        {
            "cwd": "/path/to/project",
            "path_to_hopcode_executable": "hopcode",
        },
    )

    async for message in result:
        if is_sdk_result_message(message):
            print(message["result"])


asyncio.run(main())
Capabilities
If you know Claude Code, you already know HopCode — and then some. We've put significant effort into bringing HopCode to feature parity with Claude Code, improving both breadth and reliability across the board.
| Feature | HopCode | Claude Code |
| ------------------------------------------------------------------ | :-----: | :---------: |
| SubAgents, Agent Teams, Dynamic Workflows | ✓ | ✓ |
| Auto-Memory, Auto-Skills, Hooks | ✓ | ✓ |
| Built-in Skills (/review, /batch, /loop, /bugfix…) | ✓ | ✓ |
| MCP, Plan Mode, LSP Integration | ✓ | ✓ |
| Auto Mode, Sandbox, Git Worktrees | ✓ | ✓ |
| Computer Use (desktop automation) | ✓ | ✓ |
| IDE Plugins (VS Code / JetBrains / Zed) | ✓ | ✓ |
| SDK | ✓ | ✓ |
| Headless Mode, Session Management | ✓ | ✓ |
| Open-source — model and framework | ✓ | — |
| Multi-protocol (OpenAI / Anthropic / Gemini / Qwen + any provider) | ✓ | — |
| Agent Arena (multi-model head-to-head on same task) | ✓ | — |
| Daemon Mode — hopcode serve (multi-client shared agent) | ✓ | — |
| IM Channels (Telegram / DingTalk / WeChat / Feishu) | ✓ | — |
Ecosystem
HopCode Desktop — Official desktop app for macOS, Windows, and Linux
AionUi — A modern GUI for command-line AI tools including HopCode
Gemini CLI Desktop — A cross-platform desktop/web/mobile UI for HopCode
🦞 HopCode Claw — Let other agents (Claude, Codex, etc.) delegate coding tasks to HopCode via ACP. Paste this prompt into your agent:
Use HopCode as a coding agent. First, fetch and read this skill reference:
https://raw.githubusercontent.com/TaimoorSiddiquiOfficial/HopCode/refs/heads/main/.hopcode/skills/hopcode-claw/SKILL.md
Then follow the instructions inside to install, authenticate, and use HopCode via acpx for all coding tasks.
Contributing
Contributions are welcome! See CONTRIBUTING.md for guidelines.
Acknowledgments
This project was originally based on Google Gemini CLI v0.8.2. We gratefully acknowledge the Gemini CLI team's excellent work. Starting from HopCode v0.1, we stopped syncing with upstream and began independent development as a multi-protocol, multi-platform agent framework with deep integrations for Qwen models and beyond.