
@kpolley/redai
v0.1.3
Published
Terminal workbench for AI-assisted vulnerability discovery and validation.

Maintainers
 kpolley
Readme
RedAI



A terminal workbench for AI-assisted vulnerability discovery and live validation.
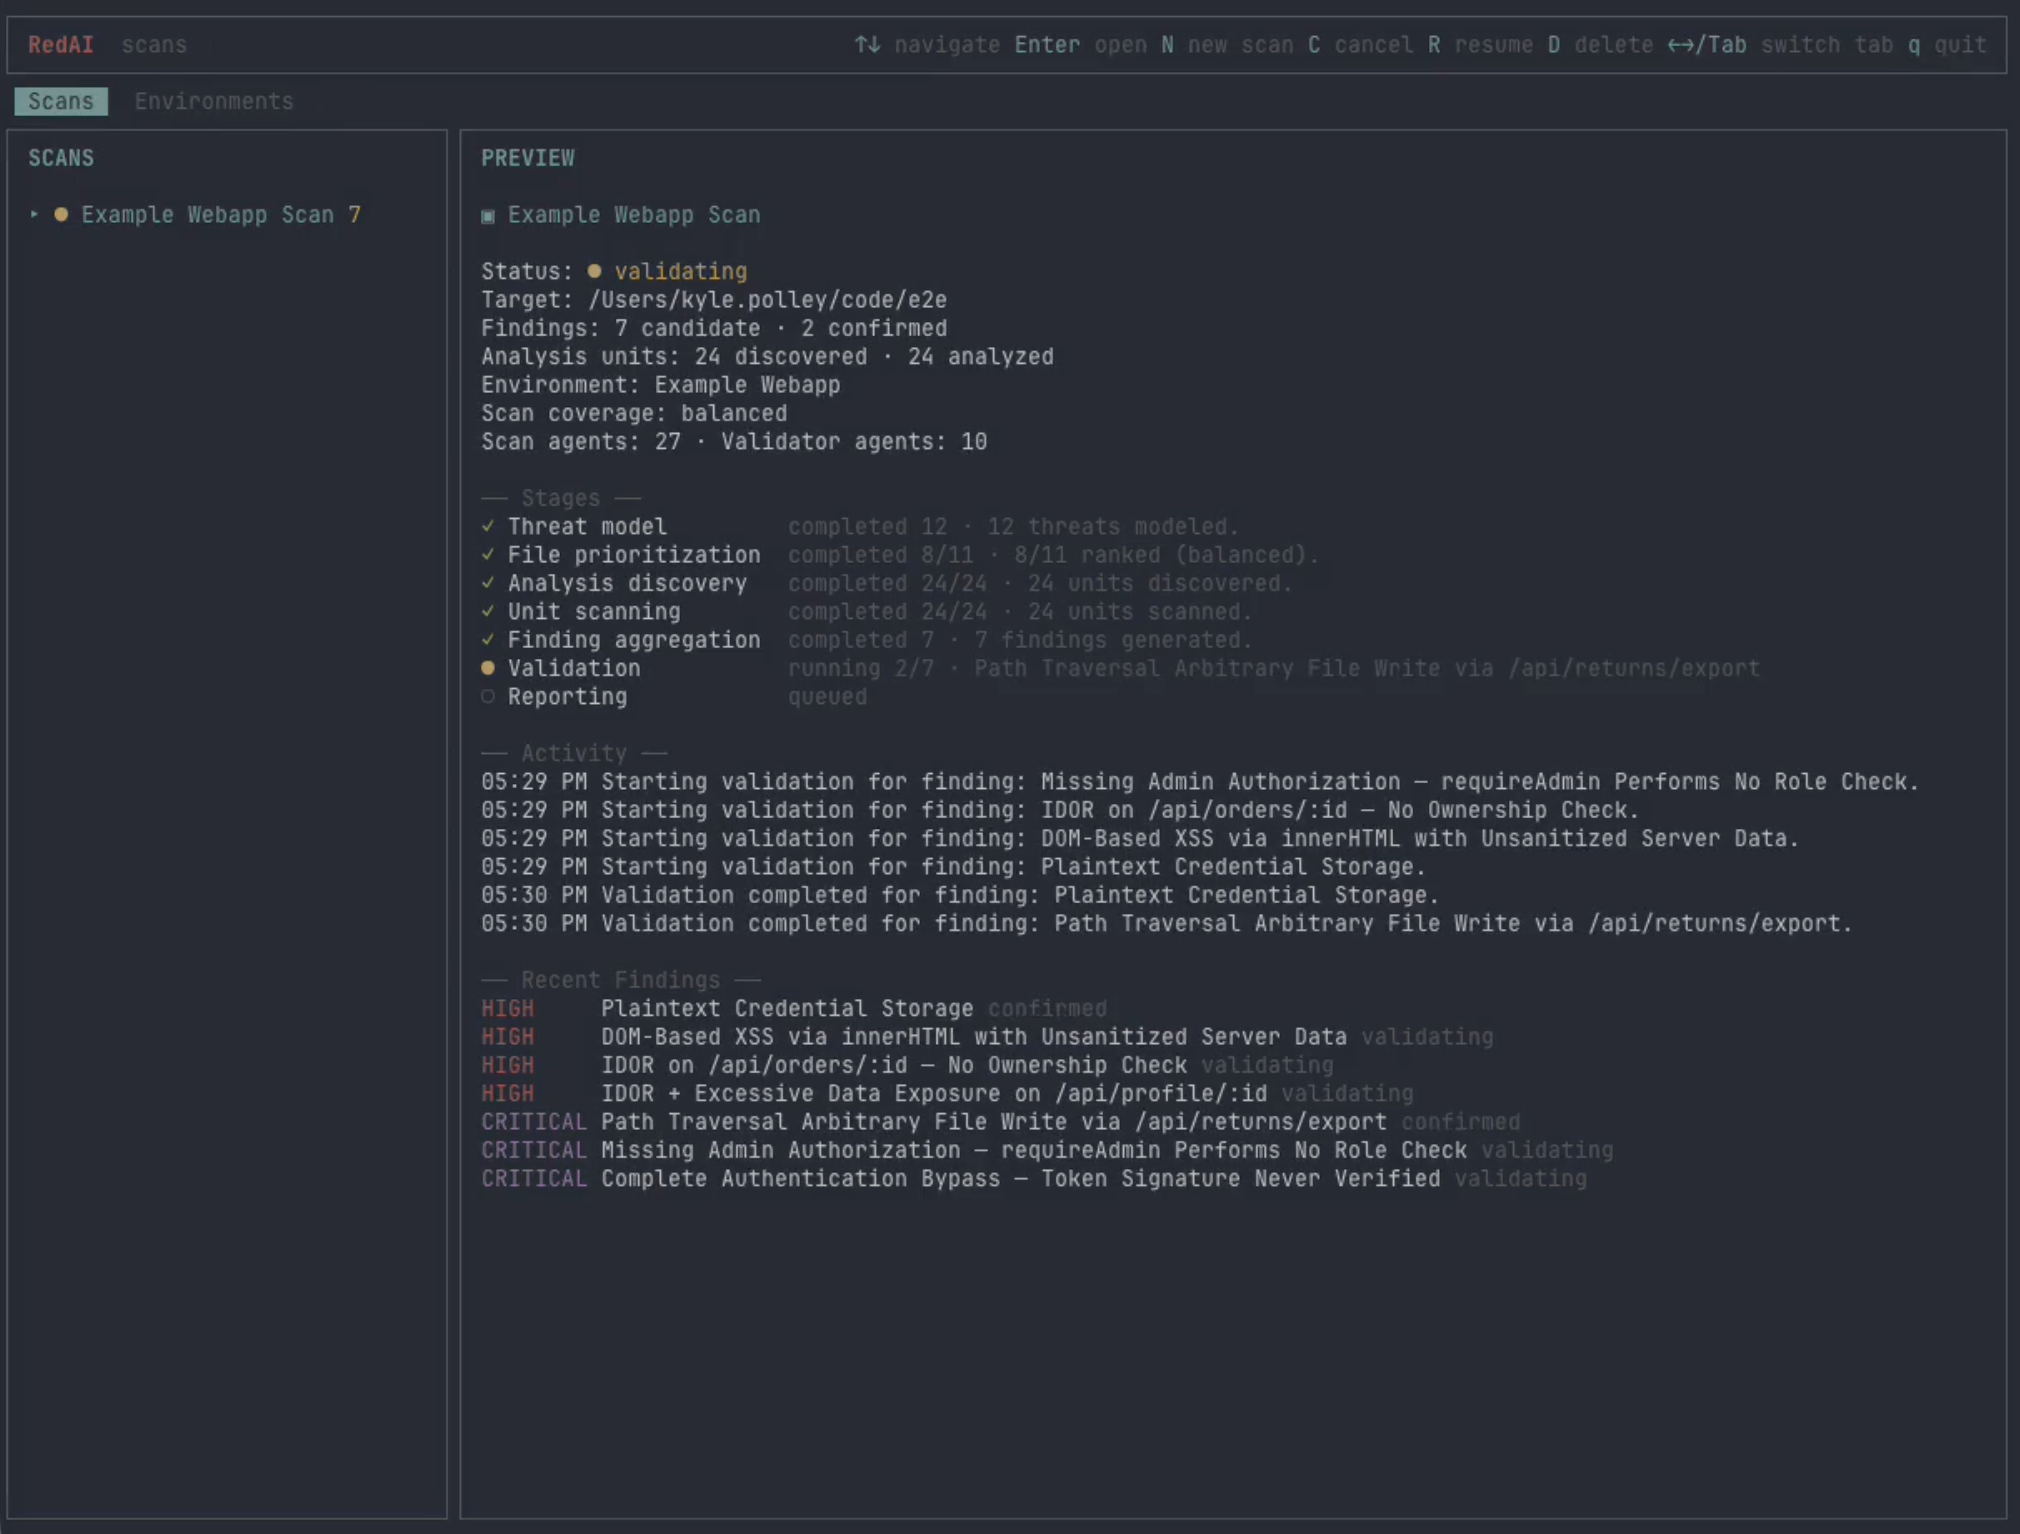
Most "AI security" tools stop at flagging code that looks vulnerable. RedAI goes further: after scanner agents produce candidate findings, validator agents work inside a live environment — a running instance of the target, plus whatever tools they need to interact with it — and try to prove or disprove each finding before it ever shows up in the report. They click through the UI, hit endpoints, write PoC scripts, host helper servers, and save the evidence.
The environment is a plugin. RedAI ships with two — a real Chrome browser and an iOS Simulator — and you can write your own (a Linux VM, an Android emulator, a Kubernetes cluster, an embedded device shim) by implementing a small interface.
At the end of a run you get a detailed report (Markdown, HTML, and JSON) with severity-ranked findings, per-finding reproduction steps, the validator's verdict (confirmed, disproved, or unable to test), and the actual evidence the agents collected — PoC scripts, HTTP transcripts, logs, and screenshots — so every confirmed finding comes with proof, not just a claim. See examples/webapp/example-report.md or examples/iosapp/example-report.md for real ones.
Authorized use only. Use RedAI on software and environments you own or are authorized to assess. Agent output can be incomplete or wrong — review findings and evidence before acting on them.
Try it in 60 seconds
The repo ships two intentionally-vulnerable demo apps so you can see RedAI end-to-end without pointing it at your own code: examples/webapp for the Browser environment and examples/iosapp for the iOS Simulator environment.
# 1. install RedAI
bun install -g @kpolley/redai

# 2. start the demo target in one terminal
cd examples/webapp && bun run dev      # http://localhost:3000

# 3. start RedAI in another terminal
redai
In RedAI, create a Browser environment pointed at http://localhost:3000, sign in once with exampleuser / examplepassword, mark it ready, then start a scan against examples/webapp. Watch the validators drive Chrome to confirm real findings.
The full report from a real scan of this app lives at examples/webapp/example-report.md — GitHub renders it inline so you can see what RedAI produces without running it.
Install
From npm:
bun install -g @kpolley/redai
redai
Or from a local checkout:
git clone https://github.com/kpolley/redai.git
cd redai
bun install
bun run redai
Requirements
| Scope | Requirement |
| --- | --- |
| Core | Bun ≥ 1.2, a readable source directory |
| Scanner (pick one) | Claude: ANTHROPIC_API_KEY, CLAUDE_CODE_USE_BEDROCK, or CLAUDE_CODE_USE_VERTEX — or — Codex: OPENAI_API_KEY or CODEX_API_KEY |
| Browser validator | Chrome, agent-browser, .agents/skills/agent-browser in the target workspace |
| iOS validator | macOS, Xcode command line tools, xcrun simctl, a simulator-compatible app (or installed bundle ID), .agents/skills/ios-simulator-skill in the target workspace |
RedAI reads .env from the working directory when credentials are needed; existing shell environment variables take precedence.
Only one scanner key is required — set whichever matches the scanner you plan to use.
# Claude (pick one)
ANTHROPIC_API_KEY=...
# or Codex
OPENAI_API_KEY=...
Scan your own code
A scan needs two things: a source directory and a ready validation environment — whatever live target the validator agents will interact with (one of the bundled environments, or one you've added).
- In RedAI, create an environment that matches your target and complete its setup — log in, navigate to the right initial state, install the app, whatever the environment requires. Mark it
ready. - Create a scan, choose your source directory and the ready environment, pick a scanner agent (Claude Code or Codex), and start it.
Scanner agents triage and probe the source; validator agents take confirmed-looking findings and run them against the live environment. The report writes to ~/.redai/runs/<runId>/report.md (and .html) when the scan finishes.
See src/tui/README.md for keyboard shortcuts.
How live validation works
Each scan moves through three phases:
- Discover. RedAI threat-models the project, prioritizes files by likely security relevance, splits them into bounded analysis units, and runs scanner agents over each unit to produce candidate findings.
- Validate. For every candidate finding, a validator agent plans a test, then drives the prepared environment to execute it — clicking the UI, sending requests, writing PoC scripts, capturing screenshots and logs. Each finding ends up
confirmed,unable-to-test, ordisproved. - Report. Confirmed findings, evidence, and artifacts are written to
~/.redai/runs/<runId>/.
For the full nine-stage pipeline (preflight, threat model, file prioritization, analysis units, unit scan, finding aggregation, validation plan, validation execution, reporting), see src/pipeline/README.md.
Validation environments
A validation environment is whatever a validator agent needs to interact with a running instance of the target. RedAI treats environments as plugins: each one implements the small interface in src/validators/validator-plugin.ts, handles its own setup/teardown, and exposes whatever tools the agent should have inside it.
New scans can only use environments marked ready. Once a scan starts, validators do whatever the plan calls for — drive the UI, run shell commands, write PoC scripts, host helper servers, collect logs, save screenshots. All of it lands under ~/.redai/runs/<runId>/artifacts/.
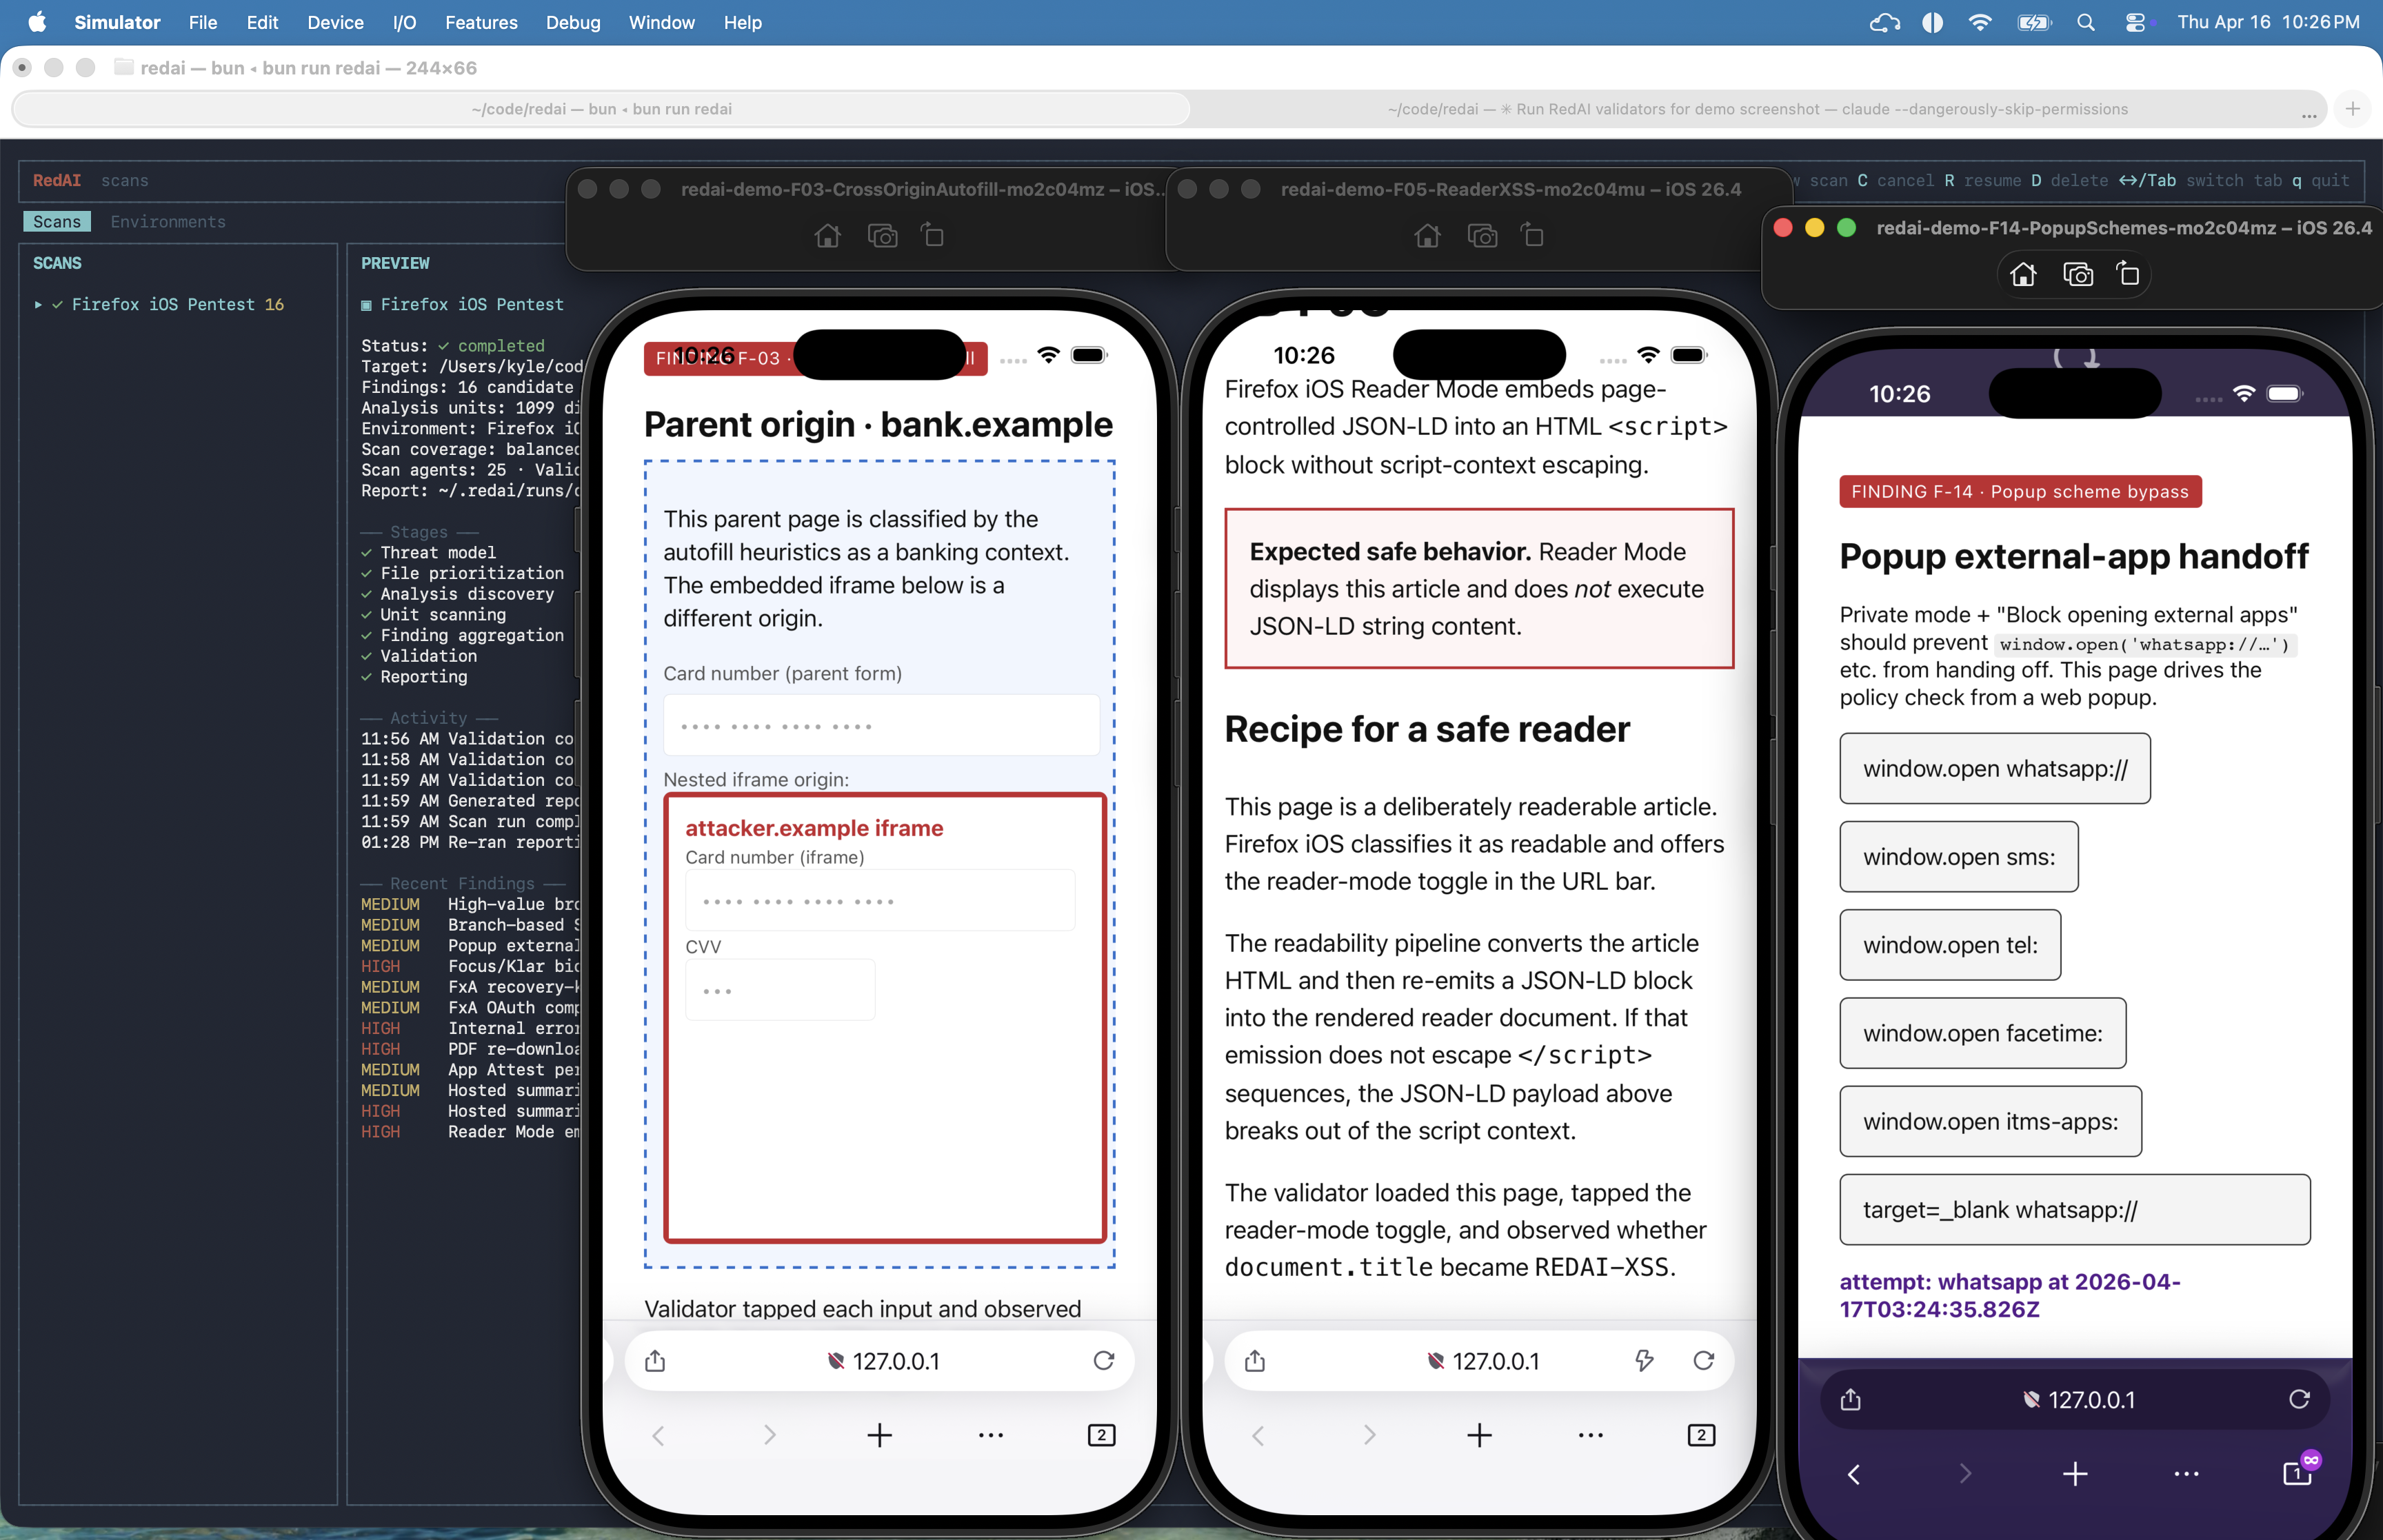
Two environments ship in the box as reference implementations:
- Browser — a real Chrome instance driven via
agent-browser. Seesrc/validators/web-agent-browser/README.md. - iOS Simulator — a per-scan template simulator driven via
xcrun simctl. Seesrc/validators/ios-simulator/README.md.
Want to validate against a Linux VM, an Android emulator, a remote staging cluster, or something more exotic? Add a plugin — same interface as the bundled two.
Data and artifacts
RedAI writes local state under ~/.redai/ (override with REDAI_HOME). These files may contain source-derived prompts, agent transcripts, reports, evidence, credentials, browser profiles, and simulator metadata.
For the directory layout, see src/pipeline/README.md.
Contributing
Commands, code organization, and project conventions live in AGENTS.md. For pipeline internals see src/pipeline/README.md; for adding a new validator environment see src/validators/validator-plugin.ts.
License
MIT — see LICENSE.