
@netlify/plugin-emails
v2.0.1
Published
A build plugin that creates an email handler and processes requests to send emails


Readme
Netlify Emails Plugin
The Netlify emails build plugin is responsible for creating a serverless function to handle email requests, using the email request to populate provided email templates and sending them using the specified email API provider.
Docs
Full documentation for the Netlify Email Integration can be found here.
Supported email providers
- Mailgun
- SendGrid
- Postmark
Prerequisites
You must setup an account with one of our supported email providers listed above. You will also need to ensure your account is verified by the email provider and you have provided authorisation for emails to be sent from any email address you send from.
Step 1: Enabling the Netlify Email Integration
Add it to your site via the Netlify app under Integrations - (app.netlify.com/integrations/{your-sitename}/emails).
Step 2: Configuration
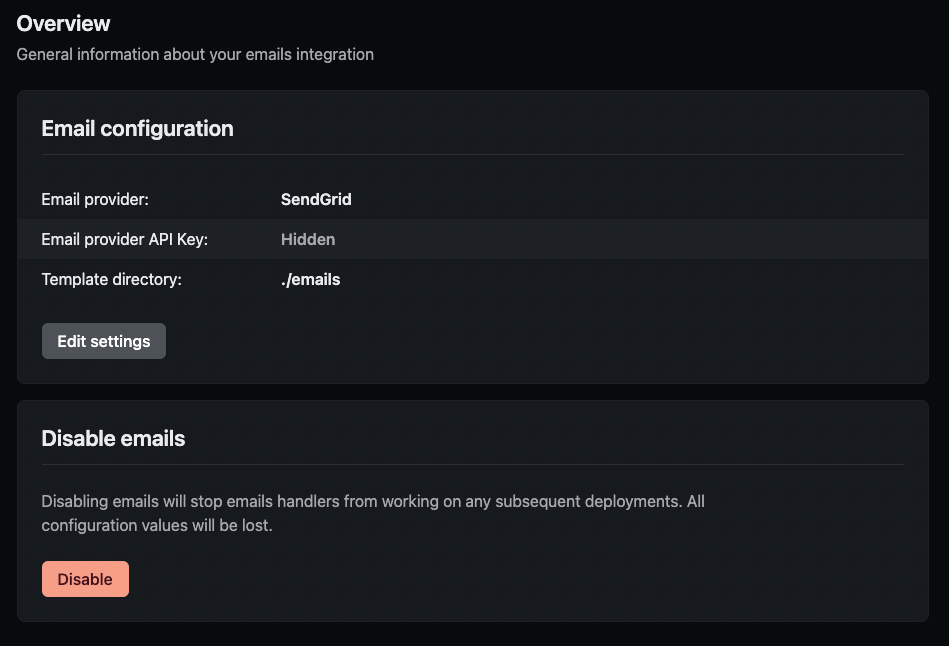
When enabling the plugin via Integrations, you should add the required configuration variables to complete the configuration step.
Step 3: Adding Templates
Now that the setup is complete, create an email directory ./emails (default) or use a custom directory, as long as you define it in your Email Settings under ‘Template directory’.
We support both HTML and responsive MJML templates. Each email template should be stored under a folder name that represents the route of your template and the email file should be named either index.html or index.mjml. E.g. ./emails/welcome/index.html.
If there are variables that need replacing in your email template when the email is triggered, please use the handlebars.js syntax and pass the arguments in the request as shown in Step 5 below.
Sample email with parameters:
<html>
  <body>
    <h1>Welcome, {{name}}</h1>
    <p>We hope you enjoy our super simple emails!</p>
  </body>
</html>
Step 4: Previewing emails locally
Visit http://localhost:{PORT}/.netlify/functions/emails to preview your email templates.
Please note, this preview endpoint is not made available in production and is only made available locally.
Step 5: Triggering an Email
Dependent on where you would like to trigger an email being sent (on a subscribe or data request button click, when an event is triggered, etc.), add one of the following snippets to your code that is reacting to that event.
@netlify/emails:
await sendEmail({
  from: "[email protected]",
  to: "[email protected]",
  cc: "[email protected]",
  bcc: "[email protected]",
  subject: "Welcome",
  template: "welcome",
  parameters: {
    products: ["product1", "product2", "product3"],
    name: "Alexander",
  },
});
node-fetch:
 import fetch from 'node-fetch'

 await fetch(
    `${process.env.URL}/.netlify/functions/emails/welcome`,
    {
      headers: {
        "netlify-emails-secret": process.env.NETLIFY_EMAILS_SECRET,
      },
      method: "POST",
      body: JSON.stringify({
        from: "[email protected]",
        to: "[email protected]",
        cc: "[email protected]",
        bcc: "[email protected]",
        subject: "Welcome",
        parameters: {
          products: ["product1", "product2", "product3"],
          name: "Alexander",
        },
      }),
    }
  );
You can also trigger the email locally by running netlify build, then netlify dev and making the above request.
Release Process
We use release-please to automate the release process with conventional commits. To release a new version, you need to create a PR with a commit that follows the conventional commit format. Once the PR is merged, release-please will create another PR if a release is required.
Once you have merged the PR created by release-please, it is good practice to ensure that newest version of the package works correctly. To do this, in any sample project where you have been using the email integration do the following:
- Change the
netlify.tomlfile to point to the@netlify/plugin-emails(this is ensuring you are no longer using the local version of the plugin with a relative path) - Run
npm install @netlify/plugin-emails@{version}where{version}is the version you have just released - Run
netlify buildandnetlify devto ensure the plugin is working correctly