
@np-dev/ui-ai-anotation
v0.1.3
Published
AI-powered annotation toolkit for UI inspection and annotation
Downloads
28
Maintainers
 nampham0494
Readme
@np-dev/ui-ai-anotation
AI-powered annotation toolkit for React and React Native apps. Enables component inspection, annotation, and screenshot capture for AI-assisted development workflows.
Demo
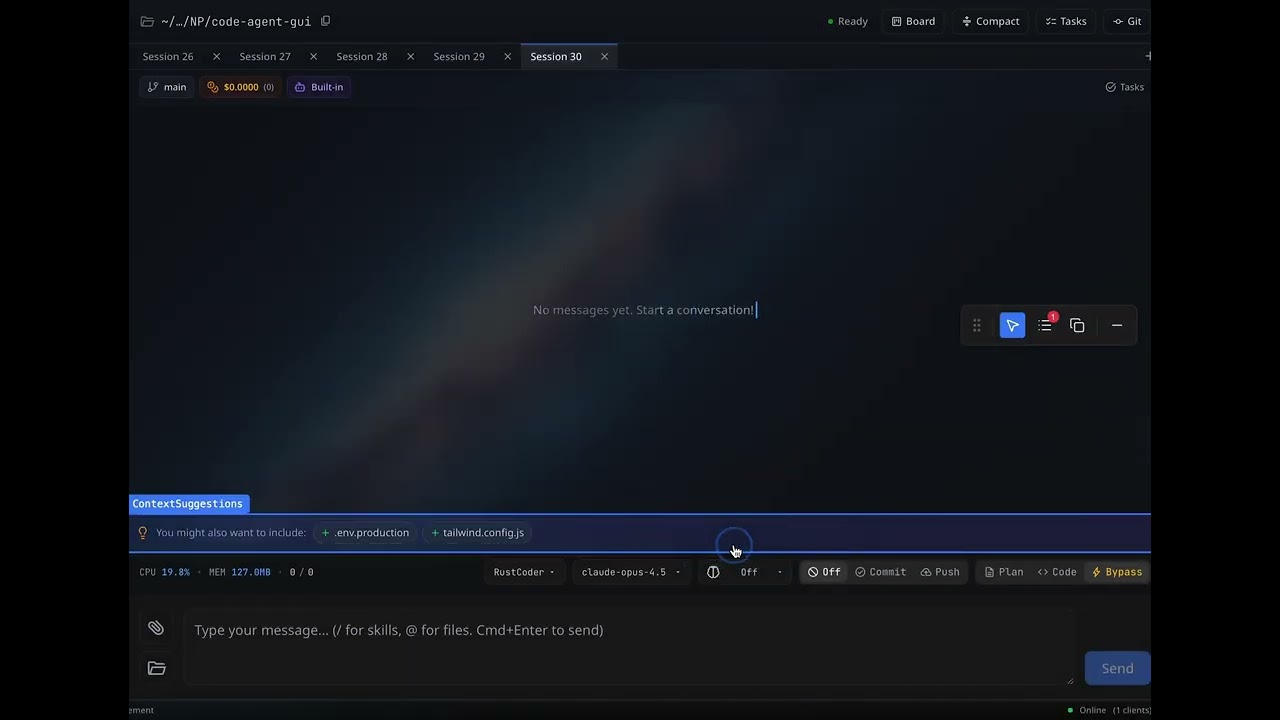
▶️ Click the image above to watch the demo video
Features
- 🔍 Component Inspector - Hover/tap to identify React components
- 📝 Annotations - Add notes to components for AI context
- 📷 Screenshots - Capture component screenshots (web + native)
- 🖱️ Draggable Toolbar - Non-intrusive floating UI
- 🌐 Cross-platform - Works on Web, iOS, and Android
- 🧩 Chrome Extension - Annotate any website!
Installation
# Using npm
npm install @np-dev/ui-ai-anotation

# Using yarn
yarn add @np-dev/ui-ai-anotation

# Using bun
bun add @np-dev/ui-ai-anotation
Additional dependencies
For Web:
npm install framer-motion html2canvas lucide-reactFor React Native:
npm install react-native-view-shot

# Optional for clipboard support
npm install expo-clipboard

# Optional for saving to camera roll
npm install expo-media-library
Usage
Web (React)
import { AgentAnnotationProvider } from '@np-dev/ui-ai-anotation';

function App() {
  return (
    <AgentAnnotationProvider>
      <YourApp />
    </AgentAnnotationProvider>
  );
}
React Native
import { AgentAnnotationProvider } from '@np-dev/ui-ai-anotation/native';
// or
import { AgentAnnotationProvider } from '@np-dev/ui-ai-anotation';

function App() {
  return (
    <AgentAnnotationProvider>
      <YourApp />
    </AgentAnnotationProvider>
  );
}
API
Components
AgentAnnotationProvider
Wraps your app to provide annotation functionality.
<AgentAnnotationProvider>
  {children}
</AgentAnnotationProvider>
Toolbar
The floating toolbar with annotation controls. Automatically rendered by the provider.
Highlighter
Component inspector overlay. Highlights components on hover (web) or tap (native).
Native-specific props:
interface HighlighterProps {
  onInspect?: (event: GestureResponderEvent) => {
    name: string;
    rect: { x: number; y: number; width: number; height: number };
  } | null;
}
ErrorBoundary
A customizable error boundary component with copy-to-clipboard functionality for error reports.
import { ErrorBoundary } from '@np-dev/ui-ai-anotation';

<ErrorBoundary>
  <YourApp />
</ErrorBoundary>
Props:
| Prop | Type | Default | Description |
|------|------|---------|-------------|
| children | ReactNode | - | Child components to wrap |
| fallback | React.ComponentType<FallbackProps> | - | Fully custom fallback component |
| fallbackElement | ReactNode | - | Simple static fallback element |
| title | string | "Something went wrong" | Error page title |
| subtitle | string | "An unexpected error..." | Error description |
| showErrorDetails | boolean | true | Show/hide error stack trace |
| showCopyButton | boolean | true | Show/hide copy error button |
| showRetryButton | boolean | true | Show/hide retry button |
| retryButtonLabel | string | "Try Again" | Retry button text |
| copyButtonLabel | string | "Copy Error Details" | Copy button text |
| customButtons | ErrorButtonConfig[] | - | Additional custom buttons |
| containerStyle | CSSProperties | - | Override container styles |
| errorDetailsStyle | CSSProperties | - | Override error details styles |
| onError | (error, errorInfo) => void | - | Callback when error occurs |
| onReset | () => void | - | Callback when reset/retry |
Custom Fallback Example:
<ErrorBoundary
  fallback={({ error, errorInfo, reset, copyToClipboard, copied }) => (
    <div>
      <h1>Oops! {error.message}</h1>
      <button onClick={reset}>Retry</button>
      <button onClick={copyToClipboard}>
        {copied ? 'Copied!' : 'Copy Error'}
      </button>
    </div>
  )}
>
  <App />
</ErrorBoundary>
Custom Buttons Example:
<ErrorBoundary
  title="Application Error"
  subtitle="Please try again or contact support"
  customButtons={[
    {
      label: 'Go Home',
      onClick: () => window.location.href = '/',
      style: { backgroundColor: '#4CAF50' }
    },
    {
      label: 'Contact Support',
      onClick: () => window.open('mailto:[email protected]')
    }
  ]}
>
  <App />
</ErrorBoundary>
Minimal Error Page:
<ErrorBoundary
  showErrorDetails={false}
  showCopyButton={false}
  title="Oops!"
  subtitle="Something went wrong. Please refresh the page."
>
  <App />
</ErrorBoundary>
Hooks
useAgentAnnotation()
Access annotation state and dispatch actions.
const { state, dispatch } = useAgentAnnotation();

// State shape
interface State {
  mode: 'disabled' | 'inspecting';
  annotations: Annotation[];
  hoveredElement: any;
  hoveredComponentInfo: { name: string } | null;
  isMinimized: boolean;
  showList: boolean;
}

// Actions
dispatch({ type: 'SET_MODE', payload: 'inspecting' });
dispatch({ type: 'ADD_ANNOTATION', payload: { id, componentName, note, timestamp } });
dispatch({ type: 'REMOVE_ANNOTATION', payload: annotationId });
dispatch({ type: 'CLEAR_ALL_ANNOTATIONS' });
dispatch({ type: 'TOGGLE_MINIMIZED' });
dispatch({ type: 'TOGGLE_LIST' });
Utilities
captureScreenshot(element, options)
Capture a screenshot of an element/view.
Web:
import { captureScreenshot } from '@np-dev/ui-ai-anotation';

const result = await captureScreenshot(htmlElement, {
  scale: 2,
  copyToClipboard: true,
  download: false,
});
Native:
import { captureScreenshot } from '@np-dev/ui-ai-anotation/native';

const viewRef = useRef<View>(null);

const result = await captureScreenshot(viewRef, {
  scale: 2,
  format: 'png',
  copyToClipboard: true,
  saveToCameraRoll: false,
});
Platform Detection
import { isWeb, isNative, getPlatform, isTauriEnv } from '@np-dev/ui-ai-anotation';

if (isWeb) {
  // Web-specific code
}

if (isNative) {
  // React Native-specific code
}

const platform = getPlatform(); // 'web' | 'ios' | 'android' | 'native'
Toolbar Controls
| Button | Description | |--------|-------------| | ⋮⋮ | Drag handle - move the toolbar | | 👆/🚫 | Toggle inspection mode | | 📋 | View annotation list | | 📋 | Copy annotations as JSON | | ➖/⬜ | Minimize/expand toolbar |
Workflow
- Enable Inspection - Click the inspection toggle
- Select Component - Hover (web) or tap (native) on a component
- Lock Selection - Click to lock the selection (web)
- Add Annotation - Click the + button to add a note
- Copy Annotations - Copy all annotations as JSON for AI context
Tauri Support
The package includes special handling for Tauri apps (web apps running in Tauri):
import { isTauriEnv, captureScreenshot } from '@np-dev/ui-ai-anotation';

if (isTauriEnv()) {
  // Uses @tauri-apps/plugin-clipboard-manager for clipboard
}
Chrome Extension
Use the annotation toolkit on any website as a Chrome extension!
Build the Extension
cd packages/ui-ai-anotation
bun install
bun run build:extension
Install in Chrome
- Go to
chrome://extensions/ - Enable Developer mode (toggle in top right)
- Click Load unpacked
- Select the
dist/folder
Usage
- Click the extension icon to open the popup
- Toggle "Enable Inspector" to activate on the current page
- Hover over elements to highlight them
- Click to add annotations
- Use the floating toolbar to manage annotations
See extension/README.md for more details.
License
MIT