npm package discovery and stats viewer.

Discover Tips

  • General search

    [free text search, go nuts!]

  • Package details

    pkg:[package-name]

  • User packages

    @[username]

Sponsor

Optimize Toolset

I’ve always been into building performant and accessible sites, but lately I’ve been taking it extremely seriously. So much so that I’ve been building a tool to help me optimize and monitor the sites that I build to make sure that I’m making an attempt to offer the best experience to those who visit them. If you’re into performant, accessible and SEO friendly sites, you might like it too! You can check it out at Optimize Toolset.

About

Hi, 👋, I’m Ryan Hefner  and I built this site for me, and you! The goal of this site was to provide an easy way for me to check the stats on my npm packages, both for prioritizing issues and updates, and to give me a little kick in the pants to keep up on stuff.

As I was building it, I realized that I was actually using the tool to build the tool, and figured I might as well put this out there and hopefully others will find it to be a fast and useful way to search and browse npm packages as I have.

If you’re interested in other things I’m working on, follow me on Twitter or check out the open source projects I’ve been publishing on GitHub.

I am also working on a Twitter bot for this site to tweet the most popular, newest, random packages from npm. Please follow that account now and it will start sending out packages soon–ish.

Open Software & Tools

This site wouldn’t be possible without the immense generosity and tireless efforts from the people who make contributions to the world and share their work via open source initiatives. Thank you 🙏

© 2024 – Pkg Stats / Ryan Hefner

@webcoder49/code-input

v2.2.1

Published

Fully customisable, editable syntax-highlighted textareas.

Downloads

214

Readme

code-input

Click to SwitchGitHubNPM

View License View Releases View the demo on CodePen

Fully customisable, editable syntax-highlighted textareas that can be placed in any HTML form. [🚀 View the Demo]

Using code-input with many different themes 
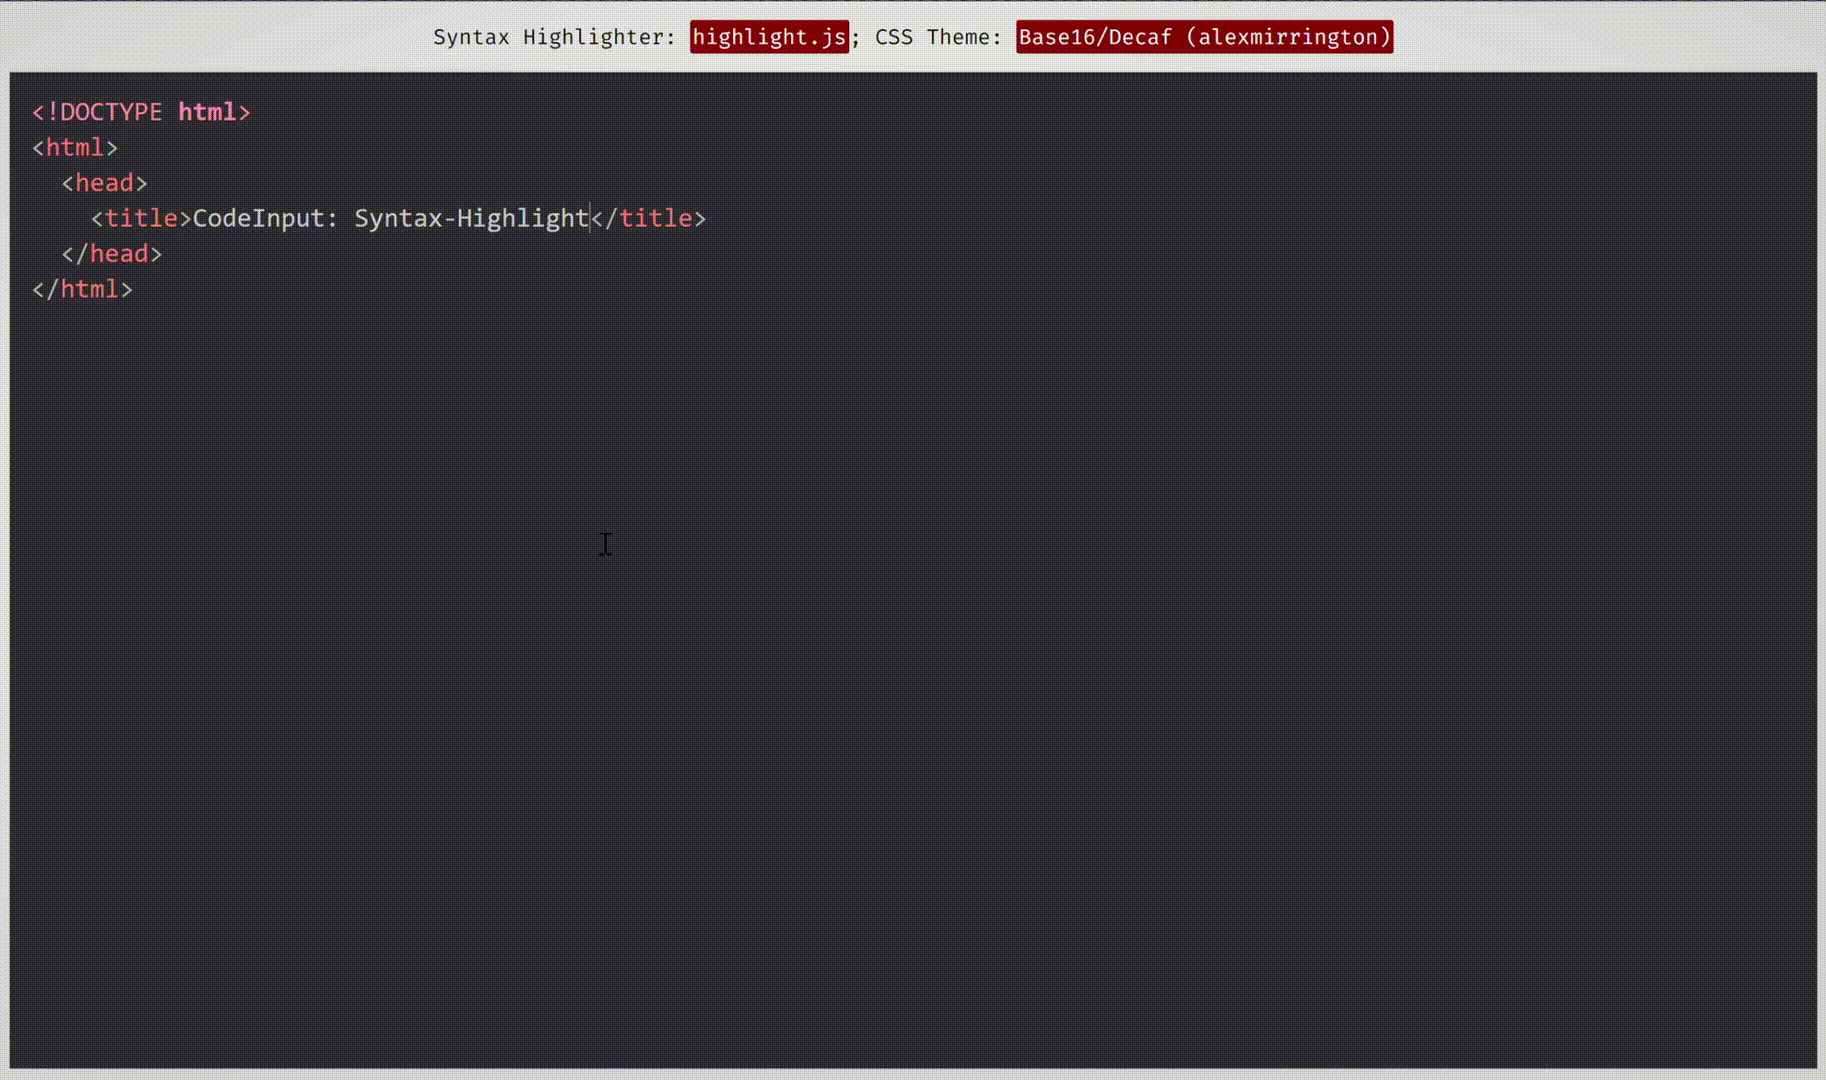
This demonstration uses themes from Prism.js and highlight.js, two syntax-highlighting programs which work well with and have compatibility built-in with code-input.

A frontend JavaScript library, with: TypeScript Bindings - Click to Use


What does it do?

code-input lets you turn any ordinary JavaScript syntax-highlighting theme and program into customisable syntax-highlighted textareas using an HTML custom element. It uses vanilla CSS to superimpose a textarea on a pre code block, then handles indentations, scrolling and fixes any resulting bugs with JavaScript. To see how it works in more detail, please see this CSS-Tricks article I wrote.

What are the advantages of using code-input, and what can it be used for?

Unlike other front-end code-editor projects, the simplicity of how code-input works means it is highly customisable. As it is not a full-featured editor, you can choose what features you want it to include, and use your favourite syntax-highlighting algorithms and themes.

The <code-input> element works like a <textarea> and therefore works in HTML5 forms and supports using the name, value and placeholder attributes, events like onchange, form resets, to name a few... (Demo)

code-input has also accumulated many features in optional plugins from open-source contributions, allowing you to choose any features you want. If a feature you want is not present, please open an issue / contribute it!

🚀 Getting Started With code-input (in 4 simple steps)

code-input also supports TypeScript (click)

code-input is designed to be both easy to use and customisable. Here's how to use it to create syntax-highlighted textareas:

1. Import code-input

  • First, import your favourite syntax-highlighter's JS and CSS theme files to turn editable.
  • Then, import the CSS and JS files of code-input from a downloaded release or a CDN. The non-minified files are useful for using during development.
<!--In the <head>-->
<script src="path/to/code-input.min.js"></script>
<link rel="stylesheet" href="path/to/code-input.min.css">
<!--In the <head>-->
<script src="https://cdn.jsdelivr.net/gh/WebCoder49/[email protected]/code-input.min.js"></script>
<link rel="stylesheet" href="https://cdn.jsdelivr.net/gh/WebCoder49/[email protected]/code-input.min.css">

2. Creating a template

The next step is to set up a template to link code-input to your syntax-highlighter. If you're using Prism.js or highlight.js, you can use the built-in template, or you can create your own otherwise. In these examples, I am registering the template as "syntax-highlighted", but you can use any template name as long as you are consistent.

  • Highlight.js:

    codeInput.registerTemplate("syntax-highlighted", codeInput.templates.hljs(hljs, [] /* Array of plugins (see below) */));
  • Prism.js:

    codeInput.registerTemplate("syntax-highlighted", codeInput.templates.prism(Prism, [] /* Array of plugins (see below) */));
  • Custom:

    codeInput.registerTemplate("syntax-highlighted", new codeInput.Template(
      function(result_element) { /* Highlight function - with `pre code` code element */
        /* Highlight code in result_element - code is already escaped so it doesn't become HTML */
      },
    
      true, /* Optional - Is the `pre` element styled as well as the `code` element?
             * Changing this to false uses the code element as the scrollable one rather
             * than the pre element */
              
      true, /* Optional - This is used for editing code - setting this to true sets the `code`
             * element's class to `language-<the code-input's lang attribute>` */
    
      false /* Optional - Setting this to true passes the `<code-input>` element as a second
             * argument to the highlight function to be used for getting data- attribute values
             * and using the DOM for the code-input */,
    
      [] // Array of plugins (see below)
    ));

3. Adding plugins

Plugins allow you to add extra features to a template, like automatic indentation or support for highlight.js's language autodetection. To use them, just:

  • Import the plugins' JS files after you have imported code-input and before registering the template.
  • Place instances of the plugins in the array of plugins argument when registering, like this:
<script src="code-input.js"></script>
<!--...-->
<script src="plugins/autodetect.js"></script>
<script src="plugins/indent.js"></script>
<!--...-->
<script>
  codeInput.registerTemplate("syntax-highlighted", 
    codeInput.templates.hljs(
      hljs, 
      [
        new codeInput.plugins.Autodetect(), 
        new codeInput.plugins.Indent(true, 2) // 2 spaces indentation
      ]
    )
  );
</script>

To see a full list of plugins and their functions, please see plugins/README.md.

4. Using the component

Now that you have registered a template, you can use the custom <code-input> element in HTML. If you have more than one template registered, you need to add the template name as the template attribute. With the element, using the language attribute will add a language-{value} class to the pre code block. You can now use HTML attributes and events to make your element as simple or interactive as you like!

<code-input language="HTML"></code-input>

or

<code-input language="HTML" placeholder="Type code here" template="syntax-highlighted" onchange="console.log('Your code is', this.value)">&lt; href='https://github.com/WebCoder49/code-input'>code-input&lt;/a></code-input>

Contributing

If you have any features you would like to add to code-input as plugins or core functionality, or have found any bugs, please open an issue or fork and submit a pull request! All contributions to this open-source project will be greatly appreciated. You can see more info in our CONTRIBUTING.md file.

|Contributors| |---| |...have contributed pull requests so far.| |(source: contrib.rocks)|