
@yidun/web-highlighter
v1.2.2
Published
✨A no-runtime dependency lib for text highlighting & persistence on any website ✨🖍️


Readme
English | 简体中文
Background
It's from an idea: highlight texts on the website and save the highlighted areas just like what you do in PDF.
If you have ever visited medium.com, you must know the feature of highlighting notes: users select a text segment and click the 'highlight' button. Then the text will be highlighted with a shining background color. Besides, the highlighted areas will be saved and recovered when you visit it next time. It's like the simple demo bellow.
This is a useful feature for readers. If you're a developer, you may want your website support it and attract more visits. If you're a user (like me), you may want a browser-plugin to do this.
For this reason, the repo (web-highlighter) aims to help you implement highlighting-note on any website quickly (e.g. blogs, document viewers, online books and so on). It contains the core abilities for note highlighting and persistence. And you can implement your own product by some easy-to-use APIs. It has been used for our sites in production.
Install
npm i web-highlighterUsage
Only two lines, highlighted when texts are selected.
import Highlighter from 'web-highlighter';
(new Highlighter()).run();
If you need persistence, four lines make it.
import Highlighter from 'web-highlighter';

// 1. initialize
const highlighter = new Highlighter();

// 2. retrieve data from backend, then highlight it on the page
getRemoteData().then(s => highlighter.fromStore(s.startMeta, s.endMeta, s.id, s.text));

// 3. listen for highlight creating, then save to backend
highlighter.on(Highlighter.event.CREATE, ({sources}) => save(sources));

// 4. auto highlight
highlighter.run();
Example
A more complex example
import Highlighter from 'web-highlighter';
// won't highlight pre&code elements
const highlighter = new Highlighter({
exceptSelectors: ['pre', 'code']
});
// add some listeners to handle interaction, such as hover
highlighter
.on('selection:hover', ({id}) => {
// display different bg color when hover
highlighter.addClass('highlight-wrap-hover', id);
})
.on('selection:hover-out', ({id}) => {
// remove the hover effect when leaving
highlighter.removeClass('highlight-wrap-hover', id);
})
.on('selection:create', ({sources}) => {
sources = sources.map(hs => ({hs}));
// save to backend
store.save(sources);
});
// retrieve data from store, and display highlights on the website
store.getAll().forEach(
// hs is the same data saved by 'store.save(sources)'
({hs}) => highlighter.fromStore(hs.startMeta, hs.endMeta, hs.text, hs.id)
);
// auto-highlight selections
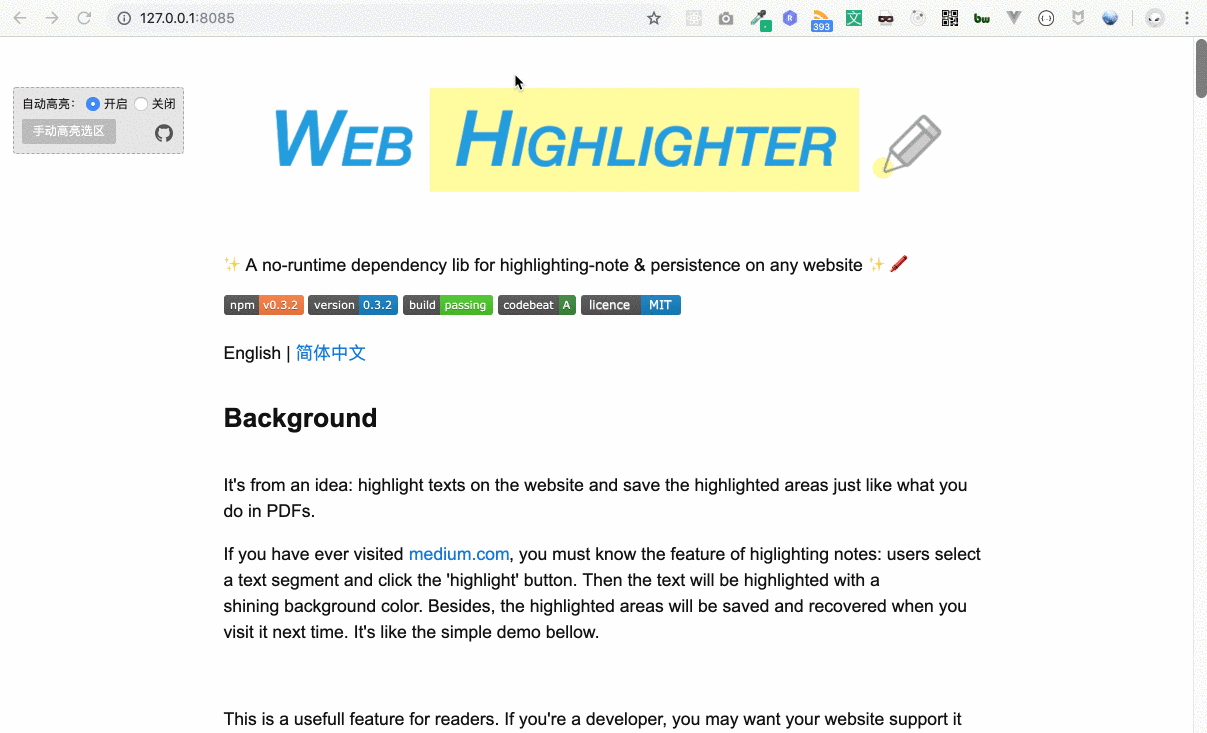
highlighter.run()Besides, there is an example in this repo (in example folder). To play with it, you just need ——
Firstly enter the repository and run
npm iThen start the example
npm startFinally visit http://127.0.0.1:8085/
Another real product built with web-highlighter (for the highlighting area on the left):

How it works
It will read the selected range by Selection API. Then the information of the range will be converted to a serializable data structure so that it can be store in backend. When users visit your page next time, these data will be returned and deserialized in your page. The data structure is tech stack independent. So you can use on any 'static' pages made with React / Vue / Angular / jQuery and others.
For more details, please read this article (in Chinese).
APIs
1. Options
const highlighter = new Highlighter([opts])Create a new highlighter instance.
opts will be merged into the default options (shown bellow).
{
    $root: document.documentElement,
    exceptSelectors: null,
    wrapTag: 'span',
    style: {
        className: 'highlight-mengshou-wrap'
    }
}
All options:
| name | type | description | required | default |
|---|---|---|---|---|
| $root | Document | HTMLElement | the container to enable highlighting | No | document |
| exceptSelectors | Array<string> | if an element matches the selector, it won't be highlighted | No | null |
| wrapTag | string | the html tag used to wrap highlighted texts | No | span |
| verbose | boolean | dose it need to output (print) some warning and error message | No | false |
| style | Object | control highlighted areas style | No | details below |
style field options:
| name | type | description | required | default |
|---|---|---|---|---|
| className | string | the className for wrap element | No | highlight-mengshou-wrap |
exceptSelectors needs null or Array<string>. It supports id selectors, class selectors and tag selectors. For example, to skip h1 and .title elements:
var highlighter = new Highlighter({
    exceptSelectors: ['h1', '.title']
});
2. Static Methods
Highlighter.isHighlightSource(source)
If the source is a highlight source object, it will return true, vice verse.
Highlighter.isHighlightWrapNode($node)
If the $node is a highlight wrapper dom node, it will return true, vice verse.
3. Instance Methods
highlighter.run()
Start auto-highlighting. When the user select a text segment, a highlighting will be added to the text automatically.
highlighter.stop()
It will stop the auto-highlighting.
highlighter.dispose()
When you don't want the highlighter anymore, remember to call it first. It will remove some listeners and do some cleanup.
highlighter.fromRange(range)
You can pass a Range object to it and then it will be highlighted. You can use window.getSelection().getRangeAt(0) to get a range object or use document.createRange() to create a new range.
Use it as bellow:
const selection = window.getSelection();
if (!selection.isCollapsed) {
    highlighter.fromRange(selection.getRangeAt(0));
}
highlighter.fromStore(start, end, text, id)
Mostly, you use this api to highlight text by the persisted information stored from backend.
These four values are from the HighlightSource object. HighlightSource object is a special object created by web-highlighter when highlighted area created. For persistence in backend (database), it's necessary to find a data structure to represent a dom node. This structure is called HighlightSource in web-highlighter.
Four attributes' meanings:
- start
Object: meta info about the beginning element - end
Object: meta info about then end element - text
string: text content - id
string: unique id
highlighter.remove(id)
Remove (clean) a highlighted area by it's unique id. The id will be generated by web-highlighter by default. You can also add a hook for your own rule. Hooks doc here.
highlighter.removeAll()
Remove all highlighted areas belonging to the root.
highlighter.addClass(className, id)
Add a className for highlighted areas (wrap elements) by unique id. You can change a highlighted area's style by using this api.
highlighter.removeClass(className, id)
Remove the className by unique id. It's highlighter.addClass's inverse operation.
highlighter.getDoms([id])
Get all the wrap nodes in a highlighted area. A highlighted area may contain many segments. It will return all the dom nodes wrapping these segments.
If the id is not passed, it will return all the areas' wrap nodes.
highlighter.getIdByDom(node)
If you have a DOM node, it can return the unique highlight id for you. When passing a non-wrapper element, it will find the nearest ancestor wrapper node.
highlighter.getExtraIdByDom(node)
If you have a DOM node, it can return the extra unique highlight id for you. When passing a non-wrapper element, it will find the nearest ancestor wrapper node.
highlighter.setOption(opt)
You can use this API to change the highlighter's options. The parameters' structure is the same as the constructor's. You can pass partial options.
4. Event Listener
web-highlighter use listeners to handle the events.
e.g.
var highlighter = new Highlighter();
highlighter.on(Highlighter.event.CREATE, function (data, inst, e) {
    // ...
});
The callback function will receive three parameters:
- data
any: event data - inst
Highlighter: current Highlighter instance - e
Event: some event is triggered by the browser (such as click), web-highlighter will expose it
Highlighter.event is EventType type. It contains:
EventType.CLICK: click the highlighted areaEventType.HOVER: mouse enter the highlighted areaEventType.HOVER_OUT: mouse leave the highlighted areaEventType.CREATE: a highlighted area is createdEventType.REMOVE: a highlighted area is removed
Different event has different data. Attributes below:
EventType.CLICK
|name|description|type|
|---|---|---|
|id|the highlight id|string|
EventType.HOVER
|name|description|type|
|---|---|---|
|id|the highlight id|string|
EventType.HOVER_OUT
|name|description|type|
|---|---|---|
|id|the highlight id|string|
EventType.CREATE
no parameter
e
|name|description|type|
|---|---|---|
|source|HighlightSource object|Array|
|type|the reason for creating|string|
source is a HighlightSource object. It is an object created by web-highlighter when highlighted area created. For persistence in backend (database), it's necessary to use a data structure which can be serialized (JSON.stringify()) to represent a dom node in browsers. HighlightSource is the data structure designed for this.
type explains why a highlighted area is be created. Now type has two possible values: from-input and from-store. from-input shows that a highlighted area is created because of user's selection. from-store means it from a storage.
EventType.REMOVE
no parameter
e
|name|description|type|
|---|---|---|
|ids|a list of the highlight id|Array|
5. Hooks
Hooks let you control the highlighting flow powerfully. You can almost customize any logic by hooks. See more in 'Advance' part.
Compatibility
It depends on Selection API.
- IE 10、11
- Edge
- Firefox 52+
- Chrome 15+
- Safari 5.1+
- Opera 15+
Mobile supports: automatically detect whether mobile devices and use touch events when on mobile devices.
Advance
It provides some hooks for you so that the highlighting behaviour can be controlled better by your own.
To learn more about the hooks, read this doc.