
aframe-effects
v0.9.1
Published
A VR-Ready Post processing framework for A-Frame and/or Threejs
Maintainers
 wizgrav
Readme
AFRAME.Effects
A VR Ready Post processing framework for Three.js and A-Frame
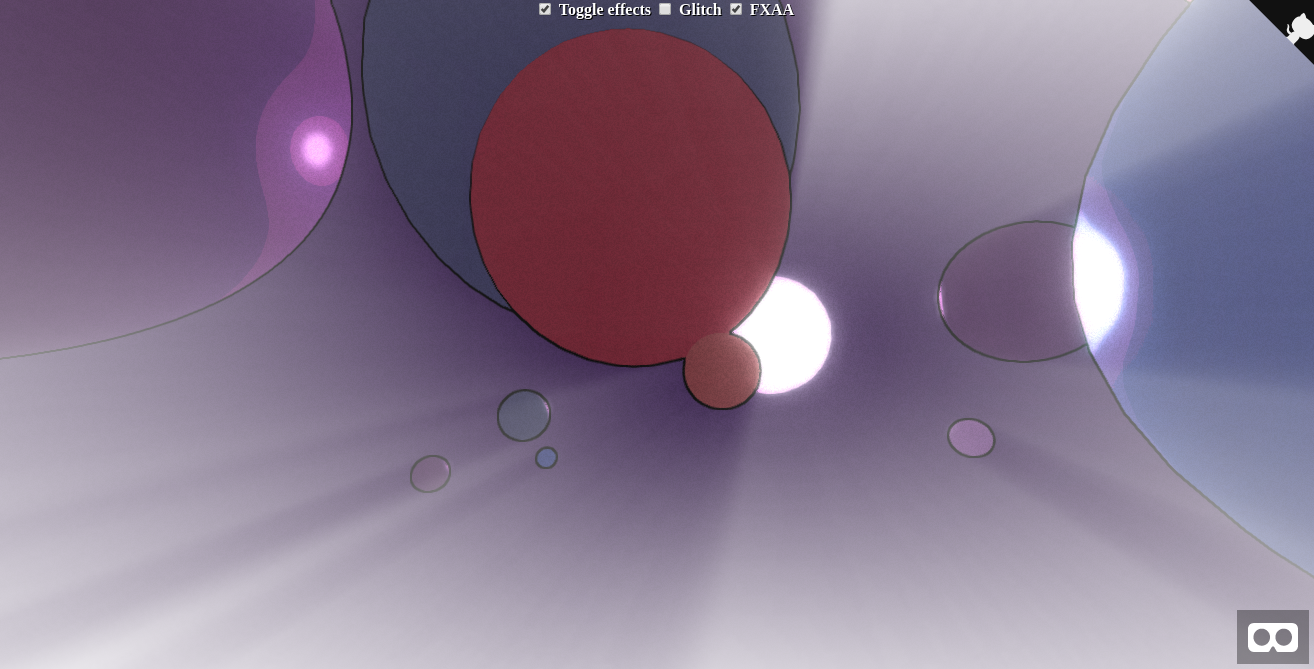
A modular api is provided where effects can act as both input and output for other effects. Effect shader chunks and uniforms are fused together, as possible, in uber shaders for performance. The effect fusion mechanism allows efficient setups of high complexity to be implemented effortlessly in declarative fashion.
The framework is also VR Ready. Mechanisms are provided to deal with the issues stemming from the stereo rendering setup required, and all core effects utilize them to ensure proper post processing operations in VR.
AFrame example, Three.js example
Usage
Downloads
To embed this library in your project, include this file:
For the unminified version for local development (with source maps), include this file:
npm
First install from npm:
npm install aframe-effectsAnd in your Browserify/Webpack modules, simply require the module(after three.js or aframe.js):
require('aframe-effects')Instructions
The chain of effects to apply can be defined through the effects system. All component instances specified as a token in the chain, must be attached somewhere in the scene or previously instantiated under threejs.
<a-scene effects="bloom, fxaa" bloom="radius: 0.66" fxaa>Check the documentation for the effects system and effect components
Standalone Three.js
The framework is primarily designed for AFRAME but doesn't actually require it. To utilize the effects under a standalone threejs context, you'll need to include aframe-effects.js after three.js but without aframe.js.
A minimal AFRAME shim will be provided by aframe-effects itself. You can then register effect components as usual with AFRAME.registerComponent and instantiate effect containers with the AFRAME.Effects constructor.
These containers expose a .renderTarget for the renderer to render into. They also expose a .render(time) to process their effect pipeline and output to the canvas. The provided .renderTarget(and all internal targets expressed as a ratio of it) will get automatically resized according to the renderer's size.
The A-Frame example from above would translate to:
var effects = new AFRAME.Effects(renderer, scene, camera);

// you can change the camera, scene, renderer as effects.scene = ...

// effects.camera = [leftCamera, rightCamera]; // for setting vr mode

// effects specified in chains must be instantiated before use

effects.init("fxaa");

// effects.update() will also init the effect if it wasn't available
// vector objects are passed by reference so no need calling update()
// after the firt time to reflect their values in the uber shaders
// All other property types should be modified with effects.update()

effects.update( "bloom", { radius: 0.66 } );


// this is equivalent to <a-scene effect="bloom, fxaa">
// but doesn't accept strings, only arrays under threejs

effects.chain( [ "bloom", "fxaa" ] );

function render(time) {

    // if the chain is empty, effects.renderTarget will be null
    // and effects.render will be a no op, so no need for flags
    // to toggle post processing. Just set the chain accordingly.

    renderer.render(scene, camera, effects.renderTarget);

    // process the effect chain and output to canvas

    effects.render(time);
}

// effects.remove("bloom"); // for releasing resources
Effect instances
Effects specified in chains are instances of registered components. In aframe this is done by adding attributes on the scene element, in threejs via init/update. You can have multiple of them by appending "__" and an id when instantiating them.
<a scene="bloom bloom__more" bloom bloom__more>Each instance carries its own uniforms and can be accessed by all chains in the same scope(some effects can also use chains of their own for input filtering, see below). Chain scope for aframe is the scene element, for threejs the THREE.Effects container instance.
Effect exports
Effect components can also export a set of effect instances (usually those used internally for the parent effects operations). All the effect component author has to do is expose an Object map(key=>fusable) .exports property.
AFRAME.registerComponent("myeffect",
    init: function () {

        // We define it here and not the prototype
        // so as to have a set of uniforms per instance
        this.exports = {
            filter: {
                uniforms: ...
                fragment: ...
            }
        }
    }
As long as the instance is attached/inited its sub effects can be accesed in any chain definition like this:
<a-scene effects="myeffect.filter bloom" myeffect bloom>Script effects
effects.chain() also accepts ids of script elements like this:
<script type="not-js" id="funky" data-diffuse>

    void $main(inout vec4 c, vec4 o, vec2 uv, float d){
        c.rgb = sin(c.gbr + time) * o.bgr;
    }

</script>

<a-scene effects="#funky">
These script elements serve as lightweight fusable effects that don't have uniforms of their own, though they have access to the default fused uniforms like time above. Script effects can also be statically patched(check effects arguments) if they define a data-defaults attribute.
Script effects don't export other fusables. Accesing a sub token(eg #myinput.value) on a script effect will use the sub token as the element property to retrieve the fragment chunk from instead of "textContent".
If the value of this property also happens to be a DOM Document instance, then that documents body.textContent will be used as the fragment chunk. This way chunks can be fetched from scripts, iframes, inputs and link[rel=import] elements
Effect arguments
Effects can be selectively patched during fusion by exposing an array property .defaults containing several strings and corresponding placeholders $0, $1 etc in the fragment source. These defaults can then be overriden by providing space separated arguments to chain tokens like this:
<script type="nojs" id="mix" data-diffuse
    data-defaults="0.0 0.0 0.0 1.0">

    void $main(inout vec4 c, vec4 o, vec2 uv, float d){
        c.rgb = mix(c.rgb, vec3($0, $1, $2), $3);
    }

</script>

<a-scene effects="#mix(0.12 0.33 0.66 0.66)">
The special single char argument "$" means keeping the default for that argument index.
Modular effects
All fusable effects support overriding their final blend operation by appending an "!" to chain tokens. This will force inclusion of the effect uniforms etc but the effects own $main won't be called. Another component can then use the included uniforms like this:
<script type="script-effect" id="customBlend">
    void $main(inout vec4 color, vec4 origColor, vec2 uv, float d){

        vec4 bloom_texel = texture2D(bloom_texture, uv);
        color.rgb = sin(bloom_texel.rgb + time);

    }
</script>

<a-scene effects="#customBlend, bloom!">
You can also swap the two vec4 color registers used for the current effect's main by appending a "?" which is exclusive with "!". These two registers are used as the first two arguments to the $mains of all fused effects. The first argument is the actual state of the final vec4 color.
<script type="script-effect" id="customBlend">

    void $main(inout vec4 color, vec4 origColor, vec2 uv, float d){

        // color will be the original color passed through effect1
        // origColor will be the original color passed through effect2
        color.rgb = pow(color.rgb, origColor.rgb);

    }
</script>

<a-scene effects="effect1, effect2?, #customBlend">
By selectively swapping the arguments per effect, a minimal form of branching can be achieved as effects with ? will store their results in the second argument of other effects and vice versa. A regular or script effect can then combine the registers.
For some effects that generate intermediate textures as part of their technique, the material that produces their input texture can also be overriden. Bloom and godrays currently expose this functionality through their filter property which accepts effect chains, that can even include the effect instance that defined them. This last bit allows us to effortlesly setup feedback loops. Here is an example setting up a feedback loop with bloom to implement a light trail effect:
<script type="script-effect" id="customFilter" data-diffuse>

    void $main(inout vec4 c, vec4 o, vec2 uv, float d){
        vec4 texel = texture2D(bloom_texture, uv);
        c.rgb += smoothstep(0.5, 0.8, texel.rgb) * 0.3;
    }

</script>

<a-scene effects="bloom"
bloom="filter: bloom!, bloom.filter, #customFilter">
The operations are in order: include bloom instance for it's uniforms and code but instruct it not to perform it's blending by appending a !. Then we call the bloom.filter instance used internally by bloom to isolate the input for the blur.
Finally, the script effect with id "customFilter" is applied. It fetches from the sampler uniform exposed from the bloom default effect which is its blending effect and thus will always be the previous frame's blurred texture. The current unblurred input from bloom.filter and the previous blurred one are combined to create a light trail/ghosting effect.
here is the same setup with the ghosting filter but made more generic and reusable using effect arguments(static patching)
<script type="script-effect" id="customFilter" data-diffuse
    data-defaults="tDiffuse 0.0 1.0 1.0" >

    void $main(inout vec4 c, vec4 o, vec2 uv, float d){
        vec4 texel = texture2D($0, uv);
        c.rgb += smoothstep($1, $2, texel.rgb) * $3;
    }

</script>

<a-scene effects="bloom"
bloom="filter: bloom!, bloom.filter, #customFilter(bloom_texture 0.5 0.8 0.3)">
License
This program is free software and is distributed under an MIT License.