
git-it
v1.6.9
Published
Terminal app for learning Git and GitHub
Downloads
288

Readme
:wave: Hi! I've been working on a desktop version of Git-it—same challenges, same result, just as its own app rather than something that runs in your terminal. You could give it a try if you'd like, download the one for your operating system here: github.com/jlord/git-it-electron/releases. Eventually it will replace this terminal based version of Git-it :pizza:
Git-it
| :computer: | What is this? |
| --- | --- |
|  | A workshopper module for learning Git and GitHub - Social coding, y'all. These modules run a little app in your terminal and users work their way through the challenges. See nodeschool.io for more.
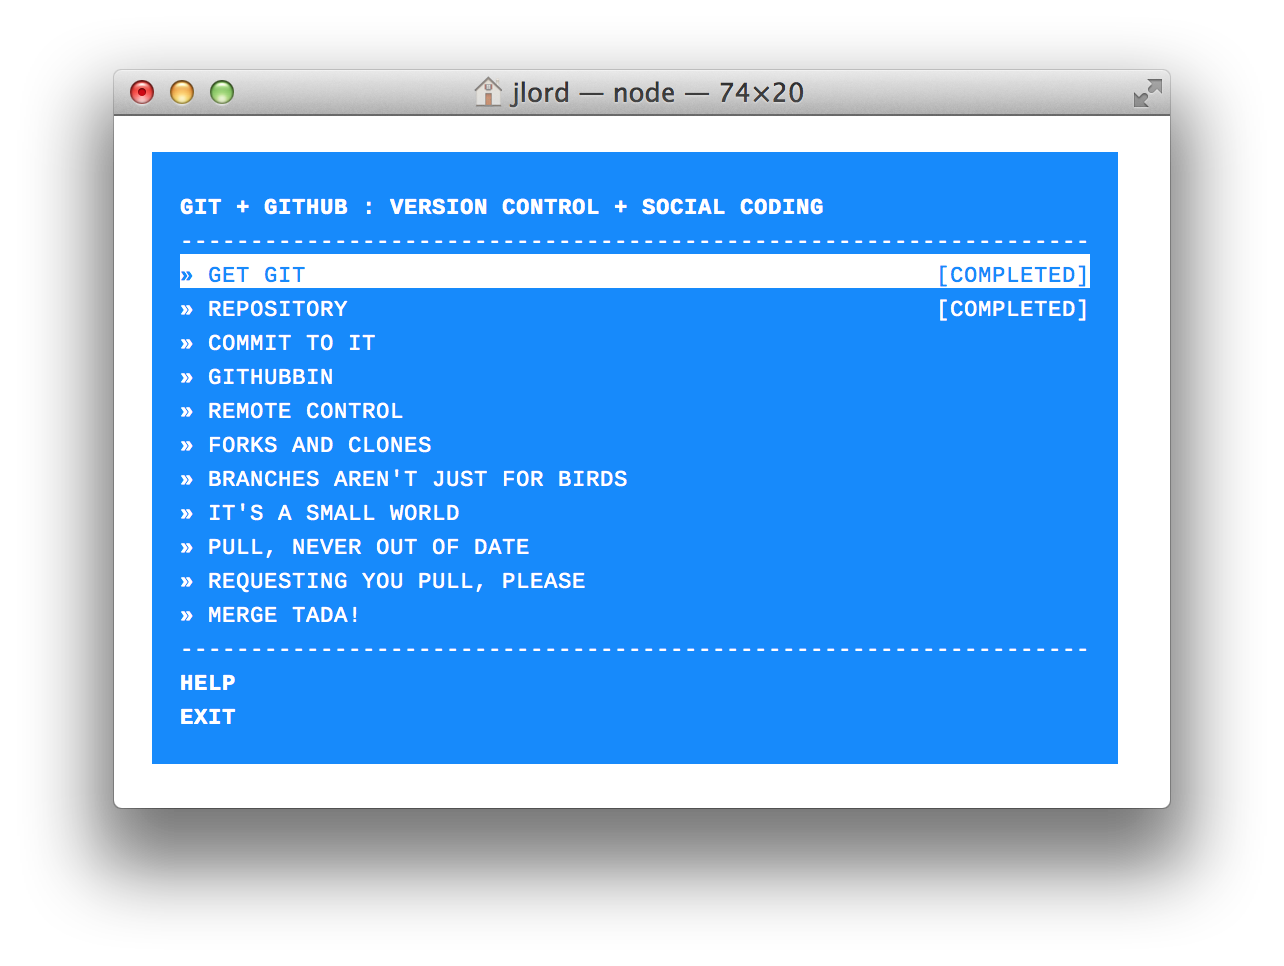
Hello, future Forkers, Branchers and Pull Requesters!
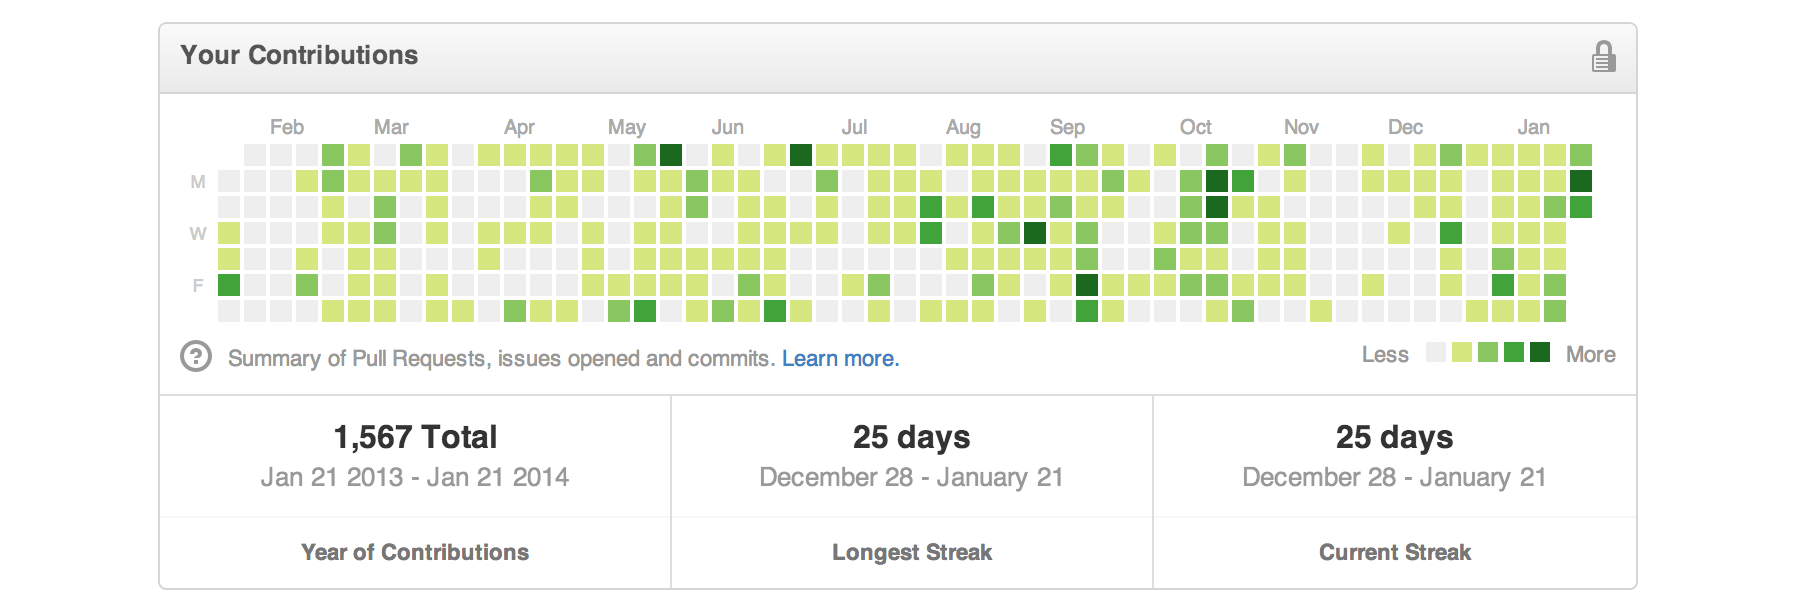
This app runs in your Terminal (Mac) or Bash (Windows) and has challenges for learning Git and GitHub. It uses the real terminal (so you'll be learning the awesome command line), it uses real Git and GitHub which means when you finish all of the challenges you'll have real repositories on your GitHub account and green squares on your contribution chart.
See what topics are covered in Git-it on the challenge table of contents within the Git-it guide.
Developer or workshop host? Useful links: Contributing // Troubleshooting // New Version in Progress!
Get Started
Sections: Install these first // Install Git-it // Using Git-it // Tips
What you'll need to run Git-it:
A few development essentials, all are free and/or free and open source.
- Git, this is your tracker of changes!
- If you're on Windows, download GitHub for Windows, which includes Git, and use the Git Shell for your terminal.
- If you're on a Mac, download GitHub for Mac, which includes Git, and select Preferences > Advanced > Install Command Line Tools.
- Node.js, this is what this app is written in so you'll need this to run it. It's an engine for running JavaScript on servers (your computer is a server!) and will live quietly in the background. You can download Node here (For most, you can just pick the Windows
.msior Mac.pkgoption). - If you already have Node and npm, make sure you have updated versions with at least v 1.4.3 for npm.
- Text Editor, if you don't have one already, you may want one for editing code*. A few options: Atom, Sublime Text, Textmate, Brackets.
- English locales, since the backend is English only at the moment. If you are using different language on your system, please refer to the corresponding section in the file TROUBLESHOOT.md.
*There actually isn't "coding" required to complete Git-it so you're fine to use the default Notepad or TextEdit that comes with Mac/PC.
Install Git-it
Once you have the essentials above, install Git-it.
- Open up a terminal window and install Git-it globally on your computer (so that you can run it from anywhere). NPM (which is included when you download Node.js) delivers Node.js modules (that's what this app is) to your computer from the command line, real easy like:
$ npm install -g git-it- If you run into trouble with this command it may be due to permissions on your computer, try adding 'sudo':
sudo npm install -g git-it - Once it's done installing components, you can run it:
$ git-it- This should load the menu. You're ready to go! Select the first challenge, hit enter and you're on your way!
How it Works
- Once you've run
git-itand the menu has loaded, use the arrows ↑↓ to select the first challenge and press 'enter'. - With the challenge loaded, follow the instructions at the bottom of the input to open the guide. Preview a web hosted version of the guide here.
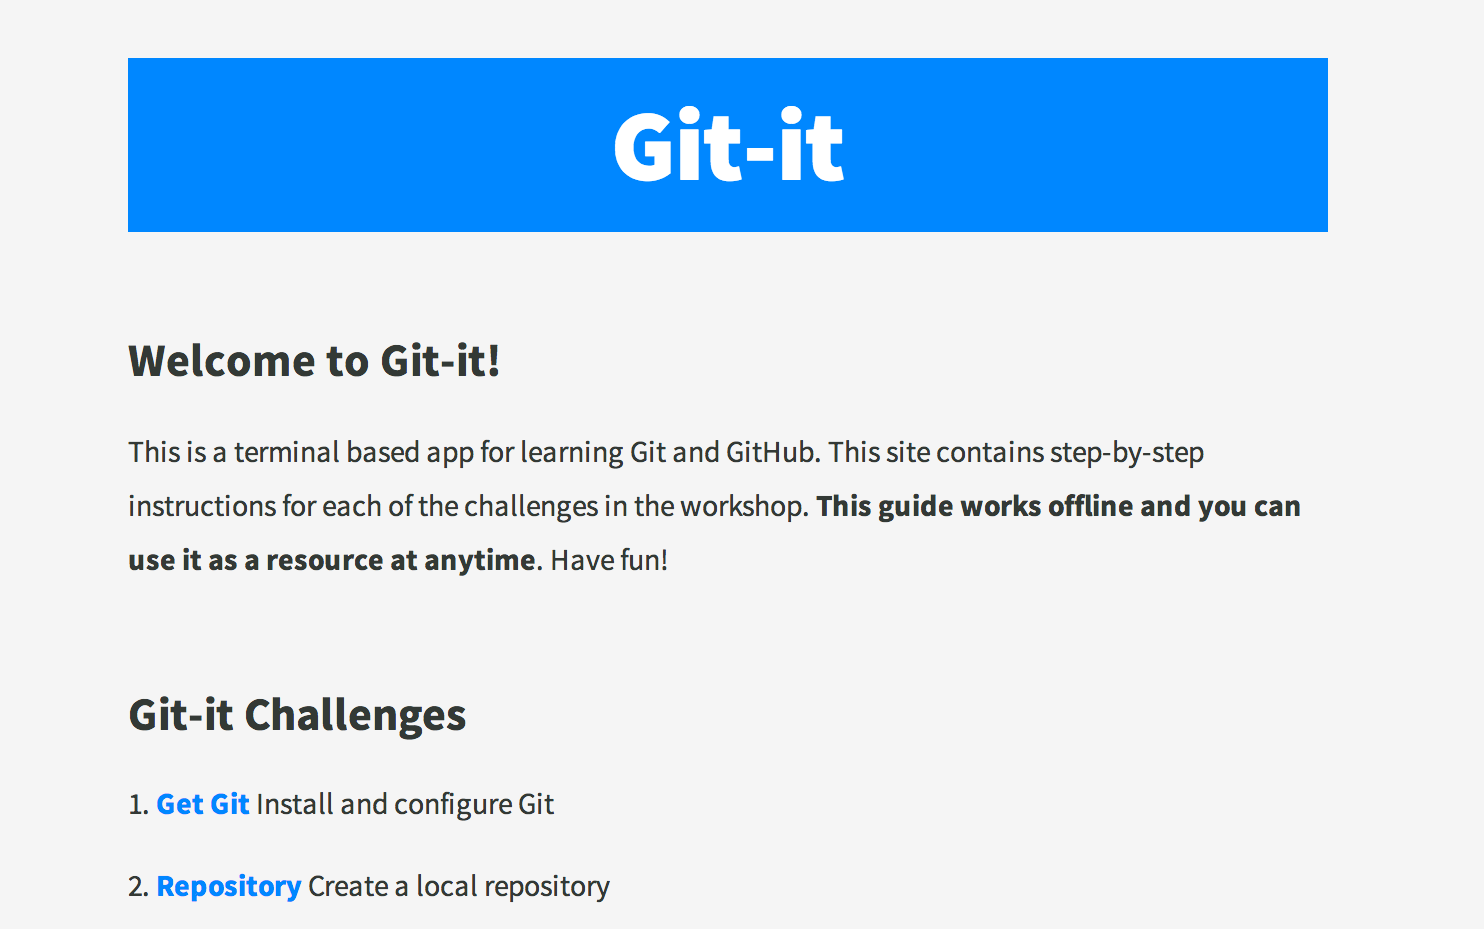
- Read the instructions in the guide and use your terminal to complete the tasks.
- When you're done with a challenge, type
git-it verifyin terminal. - If the challenge components were not completed correctly, Git-it returns some text to help you know what went wrong.
- Run
git-itagain to load the menu and select the next challenge!
If you have any questions about something, just create a new issue or visit the troubleshooting doc.
Tips For Getting Started
Code snippets often times look like $ some code-stuff --here. The dollar sign identifies the line as one a user would enter into the the command line, but you don't actually include it when you type it into terminal. In this case, you'd actually just type some code-stuff --here.
Variables are indicated by <VARIABLENAME> in code snippets. When you actually use the line of code, replace it, including the <>, with your variable. For instance to make a new folder in terminal the format is, mkdir <FOLDERNAME>, so if you wanted to make a folder named 'octocat', you'd type: mkdir octocat.
Command line, terminal, bash all basically mean the same thing: the MS-DOS, Doogie Howser looking screen full of words and numbers. It's awesomely powerful and allows you to control your computer with text commands.
You can do a lot of things from your terminal like delete, rename, copy or create files and folders; run scripts and send things back and forth between servers (like the ones storing things on GitHub.com) and your computer (also a server!).