
gumloop-mcp-tools
v1.0.4
Published
Model Context Protocol server for Gumloop automation platform

Readme
Gumloop MCP Tools
An AI assistant integration that connects your AI applications (like Claude Desktop and Cursor) with Gumloop, allowing you to manage your automation flows through natural conversation.
Table of Contents
- Overview
- Installation
- Configuration
- What You Can Do
- Available Tools
- Smart Prompts
- Example Conversations
- Authentication Modes
- Troubleshooting
- Development
Overview
This server lets you talk to your AI assistant about your Gumloop flows using plain English. Instead of switching between your AI chat and the Gumloop website, you can:
- Start and monitor your automation flows
- Get help troubleshooting when things go wrong
- Analyze your flow performance and costs
- Get guidance on building new automations
- Access Gumloop documentation instantly
Installation
Prerequisites
You'll need:
- Node.js installed on your computer
- A Gumloop account with API access
- Either Claude Desktop or Cursor (or another MCP-compatible AI app)
Quick Start
No installation required! The server runs directly using npx:
npx gumloop-mcp-toolsThat's it! The server will start and be ready to use with your AI assistant.
Note: For development or customization, see the Development section below.
Configuration
Claude Desktop
Add this to your Claude Desktop configuration file:
{
  "mcpServers": {
    "gumloop-mcp-tools": {
      "command": "npx",
      "args": ["-y", "gumloop-mcp-tools"],
      "env": {
        "GUMLOOP_API_KEY": "your-api-key-here",
        "GUMLOOP_USER_ID": "your-user-id-here",
        "GUMLOOP_SAVED_ITEM_IDS": "your-flow-id",
        "GUMLOOP_USE_WEBHOOK_AUTH": "false"
      }
    }
  }
}
Cursor
Add this to your Cursor MCP settings:
{
  "mcpServers": {
    "gumloop-mcp-tools": {
      "command": "npx",
      "args": ["-y", "gumloop-mcp-tools"],
      "env": {
        "GUMLOOP_API_KEY": "your-api-key-here",
        "GUMLOOP_USER_ID": "your-user-id-here",
        "GUMLOOP_SAVED_ITEM_IDS": "your-flow-id",
        "GUMLOOP_USE_WEBHOOK_AUTH": "false"
      }
    }
  }
}Note: For multiple flows, use comma-separated values:
"flow-id-1,flow-id-2,flow-id-3"
Getting Your Credentials
You'll need these three pieces of information from your Gumloop account:
1. API Key
Generate an API key in your account settings under API access.
2. User ID
Found in your workbook URL when viewing your workbook (the part after /user/).
3. Saved Item IDs (One or More)
These are the specific flow IDs you want to use with the MCP server. You can configure:
- Single flow:
"your-flow-id" - Multiple flows:
"flow-id-1,flow-id-2,flow-id-3"
How to get saved item IDs:
- Method 1: Run any flow manually in Gumloop and check the response for
saved_item_id - Method 2: Use the
discover_flow_inputstool after getting a workbook ID - Method 3: Check your Gumloop dashboard - each flow has a unique saved item ID

Important: This server uses saved item IDs only - no project ID needed! The system is designed to work efficiently with direct flow references.
What You Can Do
Flow Management
- Start any of your Gumloop flows with custom inputs
- Monitor running flows to see their progress
- Stop flows that are running too long or causing issues
- View detailed results when flows complete
Performance Analysis
- Review your flow run history
- Understand credit usage and costs
- Identify flows that succeed or fail most often
- Get suggestions for improving performance
Documentation Access
- Ask questions about Gumloop features
- Get help with specific nodes or integrations
- Learn about best practices and troubleshooting
- Access the latest Gumloop documentation
Flow Design Guidance
- Get step-by-step help designing new automations
- Understand which triggers and nodes to use
- Learn about connecting different services
- Optimize existing flows for better performance
Available Tools
The server provides these capabilities to your AI assistant:
- start_flow - Start any Gumloop flow with custom inputs
- get_run_details - Check the status and results of running flows
- get_run_history - View historical performance data
- kill_run - Stop flows that need to be terminated
- fetch_documentation - Access current Gumloop documentation
Smart Prompts
The server includes helpful prompt templates that guide conversations:
- Flow Execution Guidance - Step-by-step help running flows from start to finish
- Troubleshooting Assistant - Help diagnosing and fixing flow problems
- Performance Analyzer - Insights into flow efficiency and optimization
- Flow Designer - Guidance for building new automations
- Documentation Helper - Easy access to relevant help content
Example Conversations
Here are some natural ways to interact with your AI assistant once this is set up:
Starting a Flow
"I need to run my customer email processing flow. The flow ID is abc123 and I want to process this email: [email content]"
Monitoring Progress
"I started a flow 10 minutes ago with run ID xyz789. Can you check if it's finished and show me the results?"
Troubleshooting
"My Slack notification flow keeps failing. Can you help me figure out what's wrong and suggest a fix?"
Performance Analysis
"I want to understand how my flows are performing this month. Can you analyze my run history and tell me about success rates and credit usage?"
Getting Help
"I'm confused about how Gumloop triggers work. Can you explain the different types and help me choose the right one?"
Flow Design
"I want to build an automation that monitors my Gmail for support requests, extracts the key information, and creates tickets in our system. Can you help me design this?"
Documentation Questions
"How do I connect Gumloop to Google Sheets? Can you walk me through the setup process?"
Optimization
"My flow is using too many credits. Can you analyze it and suggest ways to make it more efficient?"
Authentication Modes
The server supports two authentication methods:
- SDK Mode (Recommended): Uses your API key directly with Gumloop's API
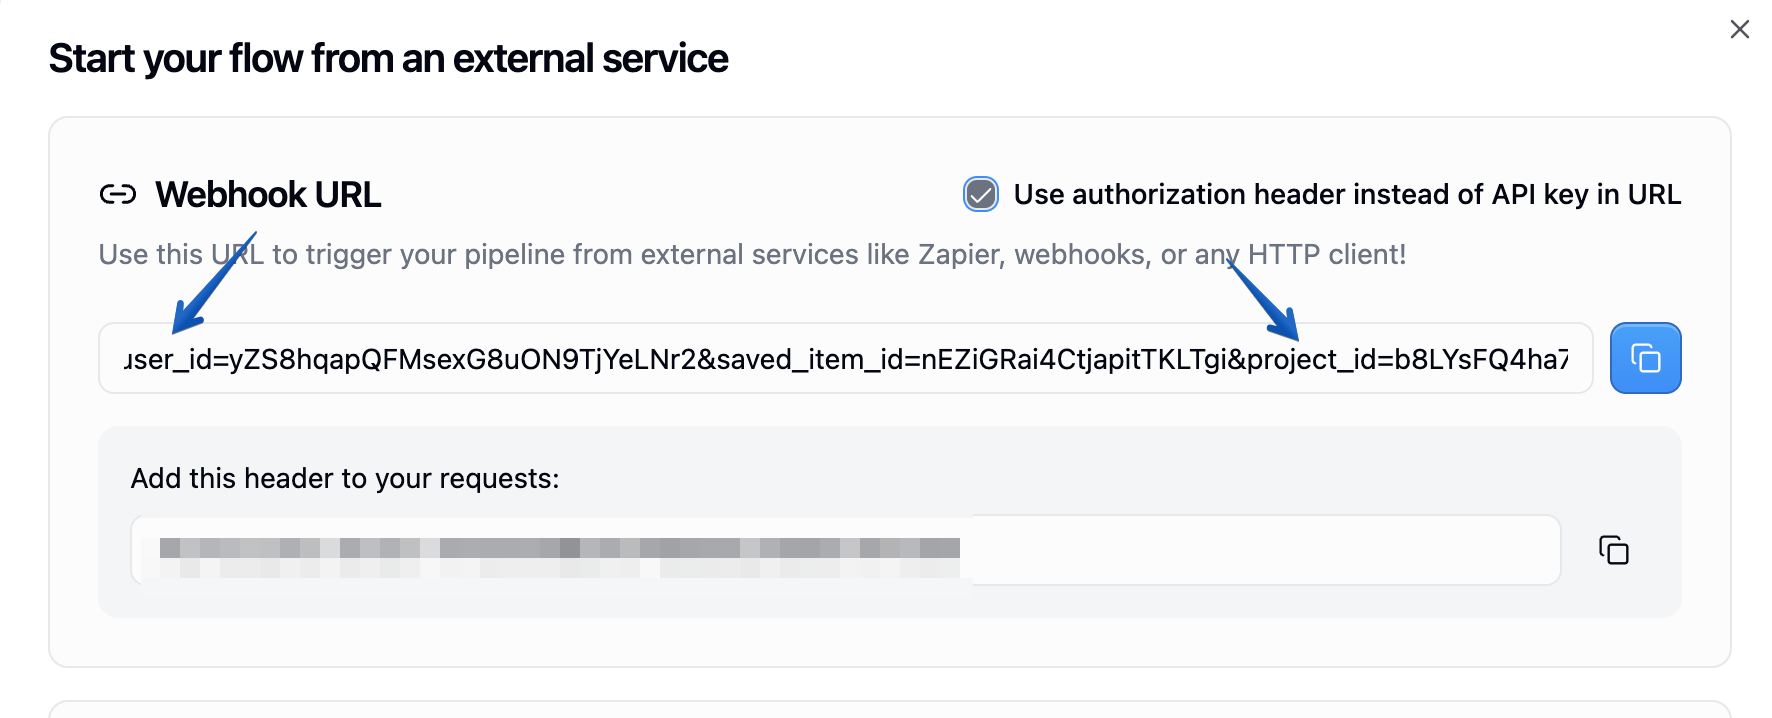
- Webhook Mode: Uses query parameters for webhook-triggered flows
Most users should stick with SDK mode unless specifically working with webhooks.
Troubleshooting
Server Won't Start
- Make sure you have Node.js installed
- Check that all your environment variables are set correctly in the configuration
- Verify your Gumloop credentials are valid
- Try running
npx gumloop-mcp-toolsdirectly to see any error messages
AI Assistant Can't See the Server
- Restart your AI application after adding the configuration
- Check that the npx command is correct in your configuration
- Make sure the server process can start without errors
Flows Won't Start
- Confirm your Project ID matches the project containing your flows
- Check that your API key has the necessary permissions
- Verify the flow ID you're using is correct
Package Not Found
If you get an error about the package not being found:
- Make sure you have an internet connection
- Try running
npm cache clean --force - Check that you have the latest version of npm:
npm install -g npm
Development
If you want to develop or contribute to the server, follow these steps for local development:
Development Setup
- Clone this repository:
git clone <repository-url>
cd gumloop-mcp-tools- Install dependencies:
npm install- Build the server:
npm run build- Run in development mode:
npm run devProject Structure
gumloop-mcp-tools/
├── src/
│   ├── index.ts           # Main server entry point
│   ├── tools/             # Tool implementations
│   │   ├── start_flow.ts
│   │   ├── get_run_details.ts
│   │   ├── get_run_history.ts
│   │   ├── kill_run.ts
│   │   └── fetch_documentation.ts
│   ├── prompts/           # Prompt templates
│   ├── lib/               # Utility libraries
│   │   ├── gumloop.ts     # Gumloop API client
│   │   ├── fetcher.ts     # Documentation fetcher
│   │   └── auth.ts        # Authentication helpers
│   └── schemas/           # Zod validation schemas
├── dist/                  # Compiled JavaScript output
├── package.json
└── tsconfig.json
Adding New Tools
To add a new tool, create a file in src/tools/ following this pattern:
import { z } from "zod";
import { GumloopClient } from "../lib/gumloop.js";

const YourToolArgsSchema = z.object({
  // Define your tool's input parameters
  parameter: z.string().describe("Description of the parameter"),
});

export const yourToolTool = {
  name: "your_tool_name",
  description: "Description of what your tool does",
  inputSchema: YourToolArgsSchema,
  handler: async (args: z.infer<typeof YourToolArgsSchema>) => {
    // Implement your tool's logic here
    return {
      content: [{ type: "text", text: "Tool response" }],
      isError: false,
    };
  },
};
Adding New Prompts
Create prompt templates in src/prompts/ to guide AI conversations:
export const yourPrompt = {
  name: "your_prompt_name",
  description: "Description of the prompt's purpose",
  arguments: [
    {
      name: "input",
      description: "Input parameter description",
      required: true,
    },
  ],
  handler: async (args: any) => {
    return {
      messages: [
        {
          role: "user",
          content: {
            type: "text",
            text: `Your prompt template with ${args.input}`,
          },
        },
      ],
    };
  },
};
Testing
- Use the MCP Inspector for testing your server locally
- Test with real Claude Desktop or Cursor integration
- Verify all authentication modes work correctly
- Test error handling with invalid inputs
Building for Production
npm run buildThis compiles TypeScript to JavaScript in the dist/ folder, which is what gets executed by the MCP clients.
Local Development Configuration
For local development, you can use the built version directly:
{
  "mcpServers": {
    "gumloop-mcp-tools": {
      "command": "node",
      "args": ["/path/to/gumloop-mcp-tools/dist/index.js"],
      "env": {
        "GUMLOOP_API_KEY": "your-api-key-here",
        "GUMLOOP_USER_ID": "your-user-id-here",
        "GUMLOOP_SAVED_ITEM_IDS": "your-flow-id",
        "GUMLOOP_USE_WEBHOOK_AUTH": "false"
      }
    }
  }
}
Example with multiple flows:
{
  "mcpServers": {
    "gumloop-mcp-tools": {
      "command": "node",
      "args": ["/Users/yourname/gumloop-mcp-server/dist/index.js"],
      "env": {
        "GUMLOOP_API_KEY": "your-api-key-here",
        "GUMLOOP_USER_ID": "your-user-id-here",
        "GUMLOOP_SAVED_ITEM_IDS": "abc123xyz,def456uvw,ghi789rst",
        "GUMLOOP_USE_WEBHOOK_AUTH": "false"
      }
    }
  }
}