
next-swagger-doc
v0.5.0
Published
<!-- ALL-CONTRIBUTORS-BADGE:START - Do not remove or modify this section -->

Maintainers
 jellydn
Readme
Welcome to next-swagger-doc 👋







Generate Swagger JSON API from NextJS Api Routes
If you enjoy working with next-swagger-doc, you will love next-validations: NextJS API Validations, support Zod, Yup, Fastest-Validator, Joi, and more
🏠 Homepage
✨ Demo
Prerequisites
- Nextjs >= 9
- Node >= 18
Motivation
This package reads your JSDoc-annotated source code on NextJS API route and generates an OpenAPI (Swagger) specification.
nextjs + swagger-jsdoc = next-swagger-doc
Install
yarn add next-swagger-docUsage #1: next-swagger-doc with Next.js 13
To incorporate next-swagger-doc with your Next.js 13 project, follow these steps. This setup will generate Swagger documentation for your API based on your code and provide a built-in Swagger UI for viewing the documentation.
1. Create Swagger Spec
Next, create a new file lib/swagger.ts. This file uses the next-swagger-doc library to create a Swagger specification based on the API routes in your Next.js project.
import { createSwaggerSpec } from "next-swagger-doc";

export const getApiDocs = async () => {
  const spec = createSwaggerSpec({
    apiFolder: "app/api", // define api folder under app folder
    definition: {
      openapi: "3.0.0",
      info: {
        title: "Next Swagger API Example",
        version: "1.0",
      },
      components: {
        securitySchemes: {
          BearerAuth: {
            type: "http",
            scheme: "bearer",
            bearerFormat: "JWT",
          },
        },
      },
      security: [],
    },
  });
  return spec;
};
2. Create Swagger UI Component
Generate a new file named app/api-doc/react-swagger.tsx. In this file, create and export a React component that utilizes the swagger-ui-react library to render the Swagger UI according to the provided specification.
For demonstration purposes, here is an example using swagger-ui-react
Feel free to employ any alternative swagger UI library, such as stoplightio/elements or Scalar. I have added an example using Stoplight Elements in the example folder.
Load swagger-ui-react on the client only. Next.js enables React Strict Mode by default, and swagger-ui-react still uses UNSAFE_componentWillReceiveProps in components such as ExamplesSelect and ParameterRow. That warning comes from Swagger UI, not this library.
'use client';

import dynamic from 'next/dynamic';
import 'swagger-ui-react/swagger-ui.css';

const SwaggerUI = dynamic(() => import('swagger-ui-react'), { ssr: false });

type Props = {
  spec: Record<string, unknown>,
};

function ReactSwagger({ spec }: Props) {
  return <SwaggerUI spec={spec} />;
}

export default ReactSwagger;
3. Create API Documentation Page
Create a new file app/api-doc/page.tsx. This page imports the Swagger spec and the Swagger UI component to display the Swagger documentation.
import { getApiDocs } from "@/lib/swagger";
import ReactSwagger from "./react-swagger";

export default async function IndexPage() {
  const spec = await getApiDocs();
  return (
    <section className="container">
      <ReactSwagger spec={spec} />
    </section>
  );
}
4. Add Swagger Comment to API Route
Lastly, add a Swagger comment to your API route in app/api/hello/route.ts. This comment includes metadata about the API endpoint which will be read by next-swagger-doc and included in the Swagger spec.
/**
 * @swagger
 * /api/hello:
 *   get:
 *     description: Returns the hello world
 *     responses:
 *       200:
 *         description: Hello World!
 */
export async function GET(_request: Request) {
  // Do whatever you want
  return new Response('Hello World!', {
    status: 200,
  });
}
Automatic App Router Documentation
Set autoDoc: true to generate basic operations for App Router route.ts files.
The path is derived from the route directory, dynamic segments such as [id]
become {id}, and exported HTTP handlers such as GET and POST become
operations. Generated operations include a default successful response; use a
manual @swagger block when an endpoint needs request, response, or other
operation metadata. Manual operations take precedence over generated ones.
const spec = createSwaggerSpec({
  apiFolder: 'app/api',
  autoDoc: true,
  definition: {
    openapi: '3.0.0',
    info: { title: 'My API', version: '1.0.0' },
  },
});
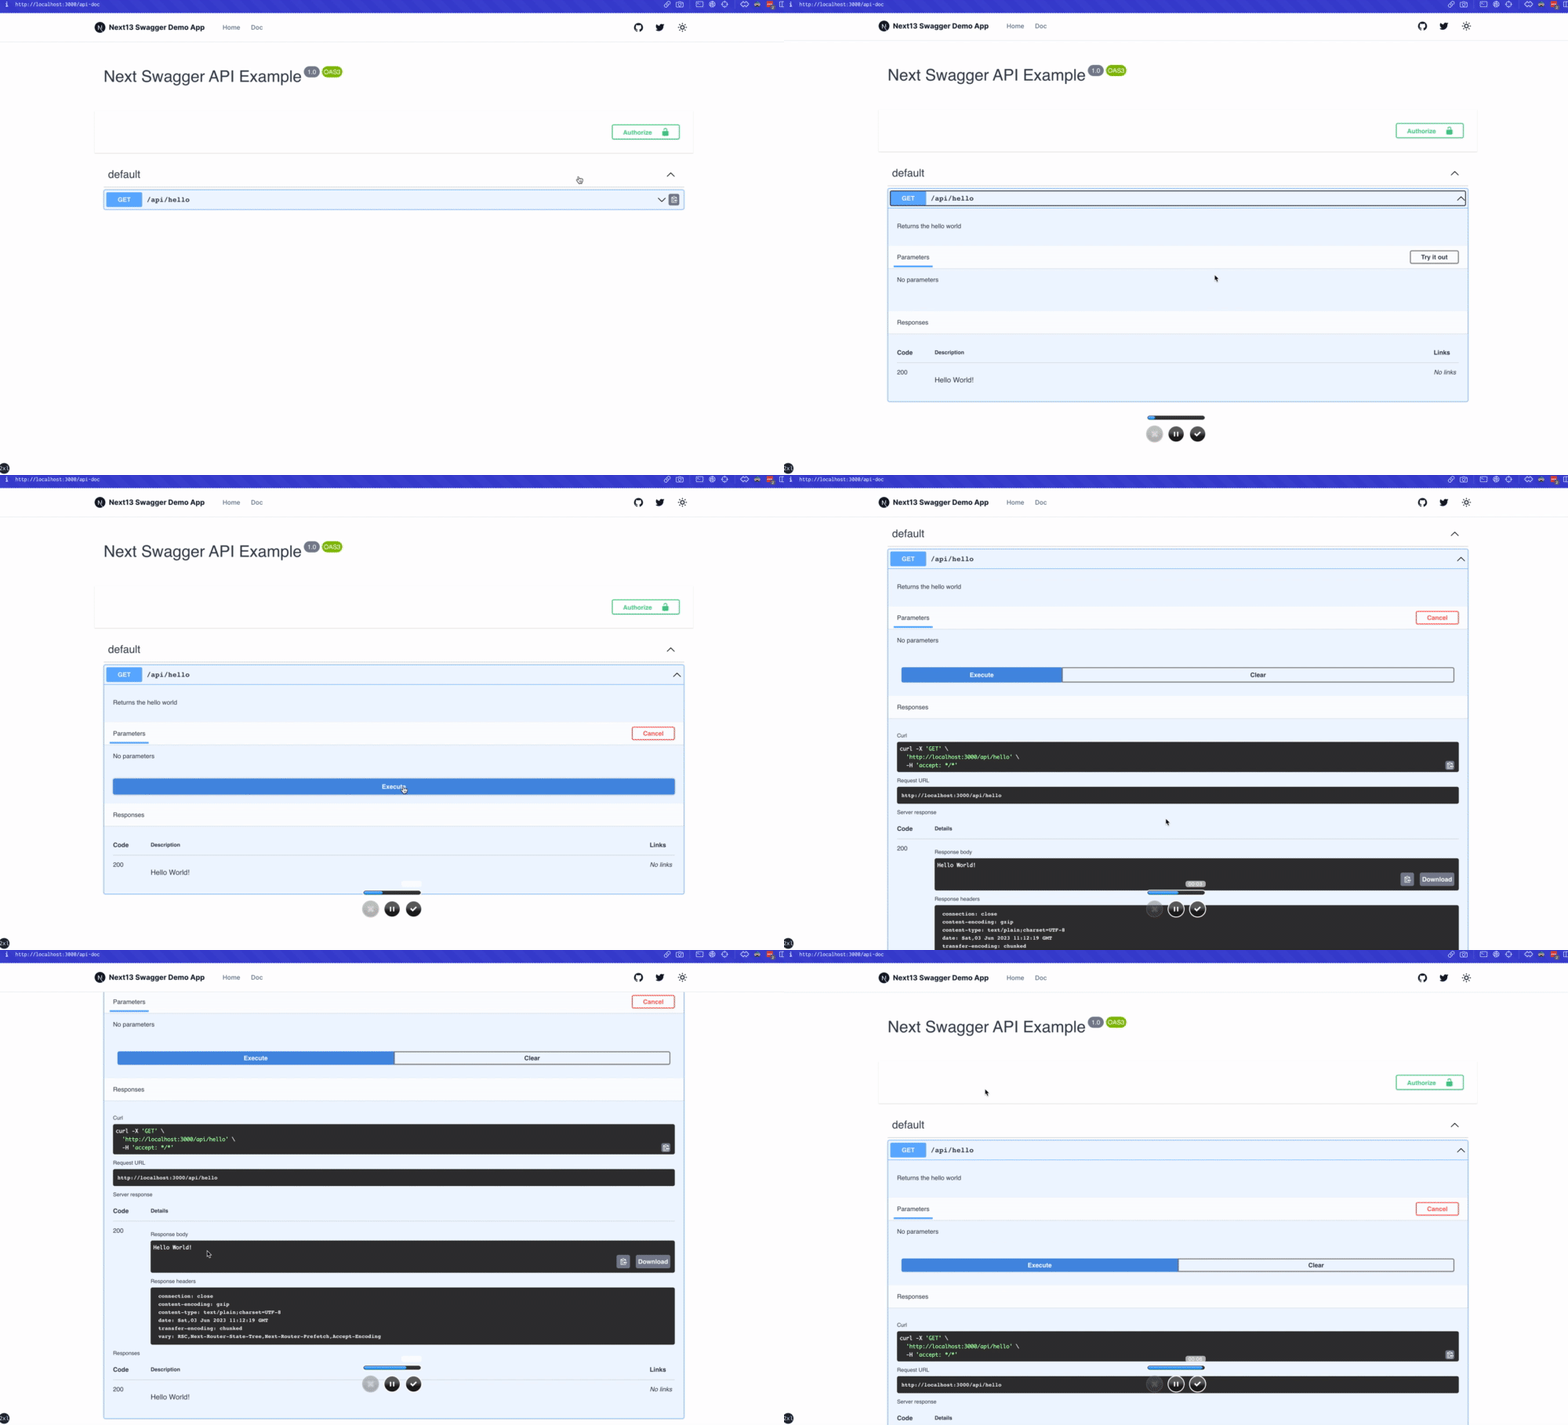
Now, navigate to localhost:3000/api-doc (or wherever you host your Next.js application), and you should see the swagger UI.
Vercel builds
createSwaggerSpec does not glob .next during next build. Walking that folder while Next.js is compiling it can fail Vercel with ENOENT: .next/export-detail.json. Source API files and public OpenAPI files are scanned instead. Set scanBuildOutput: true only when you intentionally want compiled .next/server files included.
Next.js standalone output
output: 'standalone' copies a minimal server. Source app/api files are not included, so scanning routes at runtime yields an empty spec.
Generate the document at build time and load it from public/ (copied into the standalone output):
npx next-swagger-doc-cli next-swagger-doc.json --output public/swagger.jsonconst spec = createSwaggerSpec({
specFile: 'public/swagger.json',
apiFolder: 'app/api',
autoDoc: true,
definition: {
openapi: '3.0.0',
info: { title: 'Next Swagger API Example', version: '1.0' },
},
});If specFile is missing at runtime, autoDoc still documents compiled route.js handlers under .next/server (paths and methods only; JSDoc comments are stripped from compiled output). You can also set outputFile to write the spec when source files are present.
swagger-ui-react Strict Mode warning
React may log UNSAFE_componentWillReceiveProps for ExamplesSelect and ParameterRow. Those components live in swagger-ui-react, which this package does not depend on. Next.js turns Strict Mode on by default.
Workarounds:
- Render Swagger UI with
next/dynamic(..., { ssr: false })as shown in Usage #1 - Switch the viewer to Scalar or Stoplight Elements
- Ignore the warning until Swagger UI drops the unsafe lifecycles
Usage #2: Create an single API document
yarn add next-swagger-doc swagger-ui-react- Create an live swagger page, e.g:
pages/api-doc.tsx
import { GetStaticProps, InferGetStaticPropsType } from 'next';
import { createSwaggerSpec } from 'next-swagger-doc';
import dynamic from 'next/dynamic';
import 'swagger-ui-react/swagger-ui.css';

const SwaggerUI = dynamic<{
  spec: any;
}>(import('swagger-ui-react'), { ssr: false });

function ApiDoc({ spec }: InferGetStaticPropsType<typeof getStaticProps>) {
  return <SwaggerUI spec={spec} />;
}

export const getStaticProps: GetStaticProps = async () => {
  const spec: Record<string, any> = createSwaggerSpec({
    apiFolder: 'pages/api' // or 'src/pages/api',
    definition: {
      openapi: '3.0.0',
      info: {
        title: 'Next Swagger API Example',
        version: '1.0',
      },
    },
  });

  return {
    props: {
      spec,
    },
  };
};

export default ApiDoc;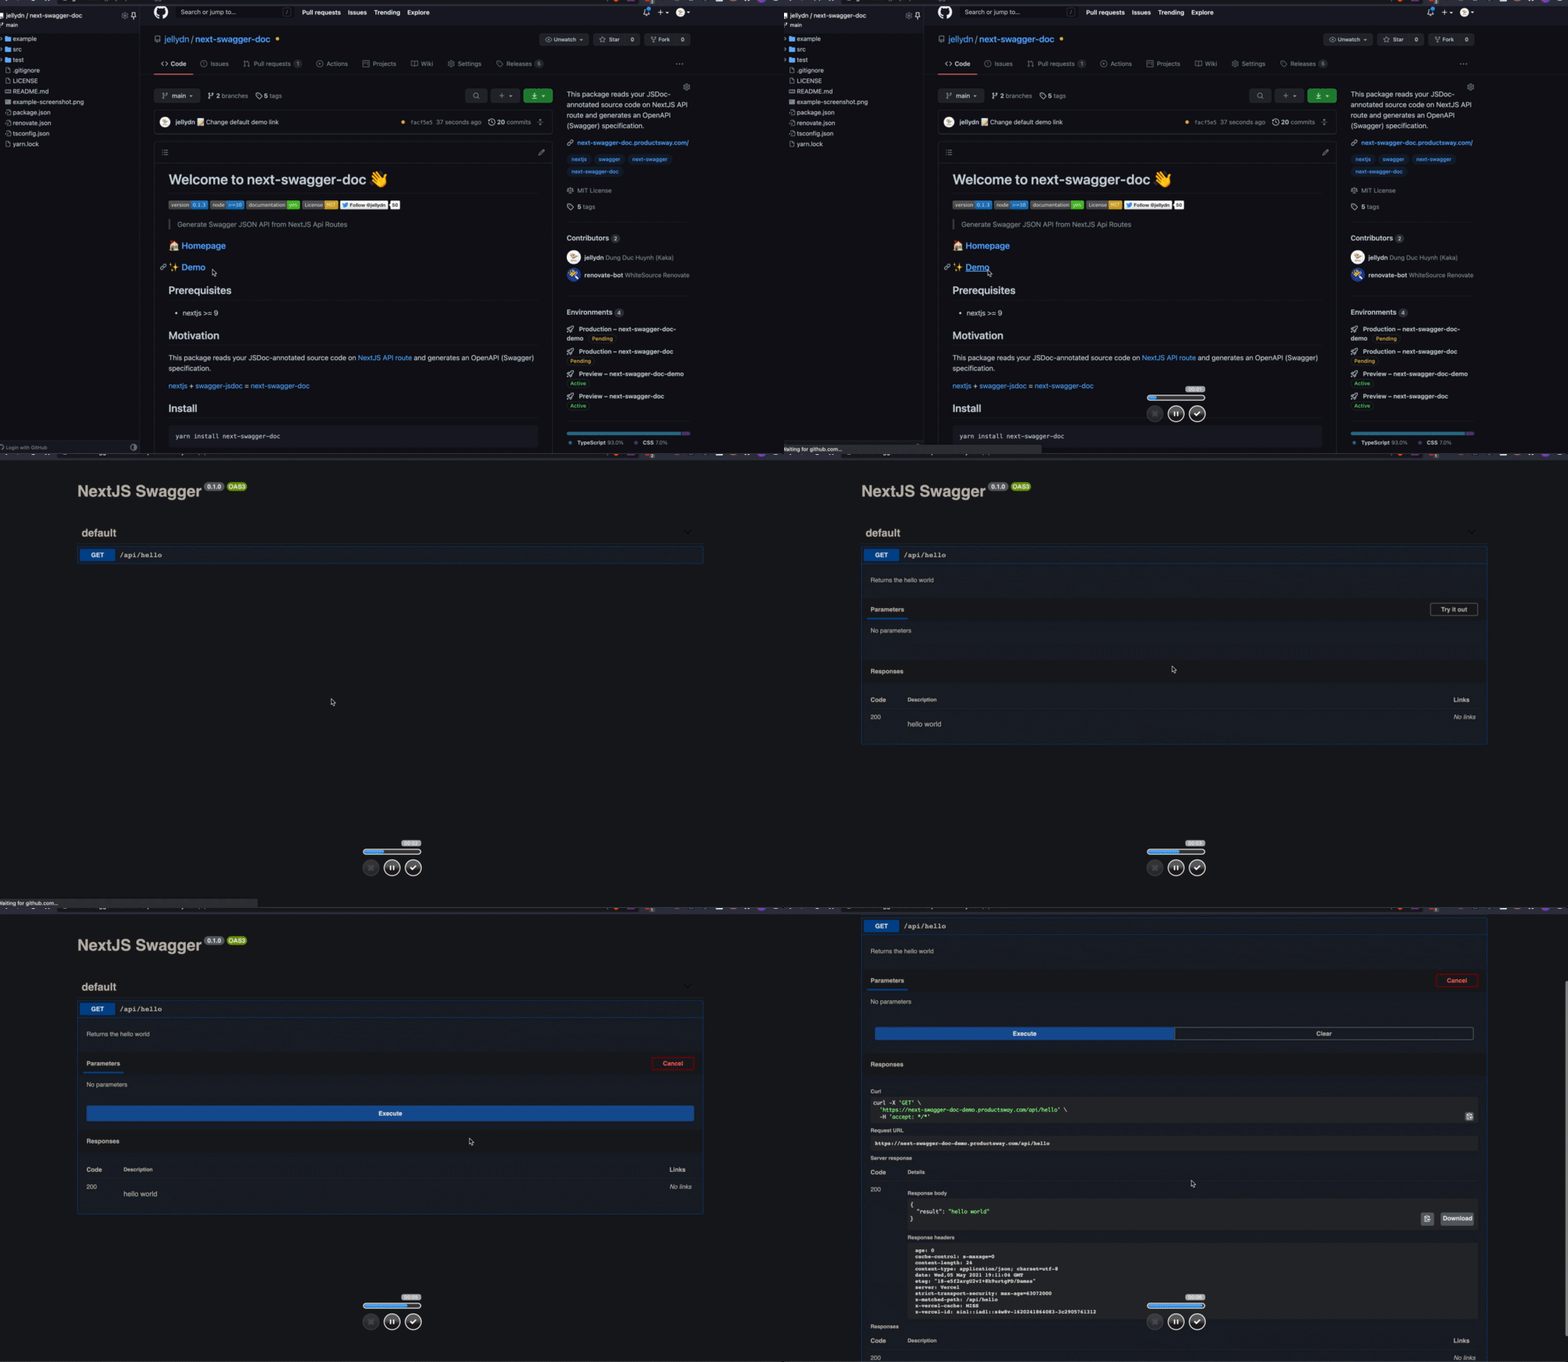
Usage #3: Use NextJS API route to create Swagger JSON spec
- Step 1: Create an api route on nextjs, e.g:
pages/api/doc.ts
import { withSwagger } from "next-swagger-doc";

const swaggerHandler = withSwagger({
  definition: {
    openapi: "3.0.0",
    info: {
      title: "NextJS Swagger",
      version: "0.1.0",
    },
  },
  apiFolder: "pages/api",
});
export default swaggerHandler();- Step 2: Add JSdoc to any NextJS API routes, for example:
pages/api/hello.ts
import { NextApiRequest, NextApiResponse } from "next";

/**
 * @swagger
 * /api/hello:
 *   get:
 *     description: Returns the hello world
 *     responses:
 *       200:
 *         description: hello world
 */
const handler = (_req: NextApiRequest, res: NextApiResponse) => {
  res.status(200).json({
    result: "hello world",
  });
};

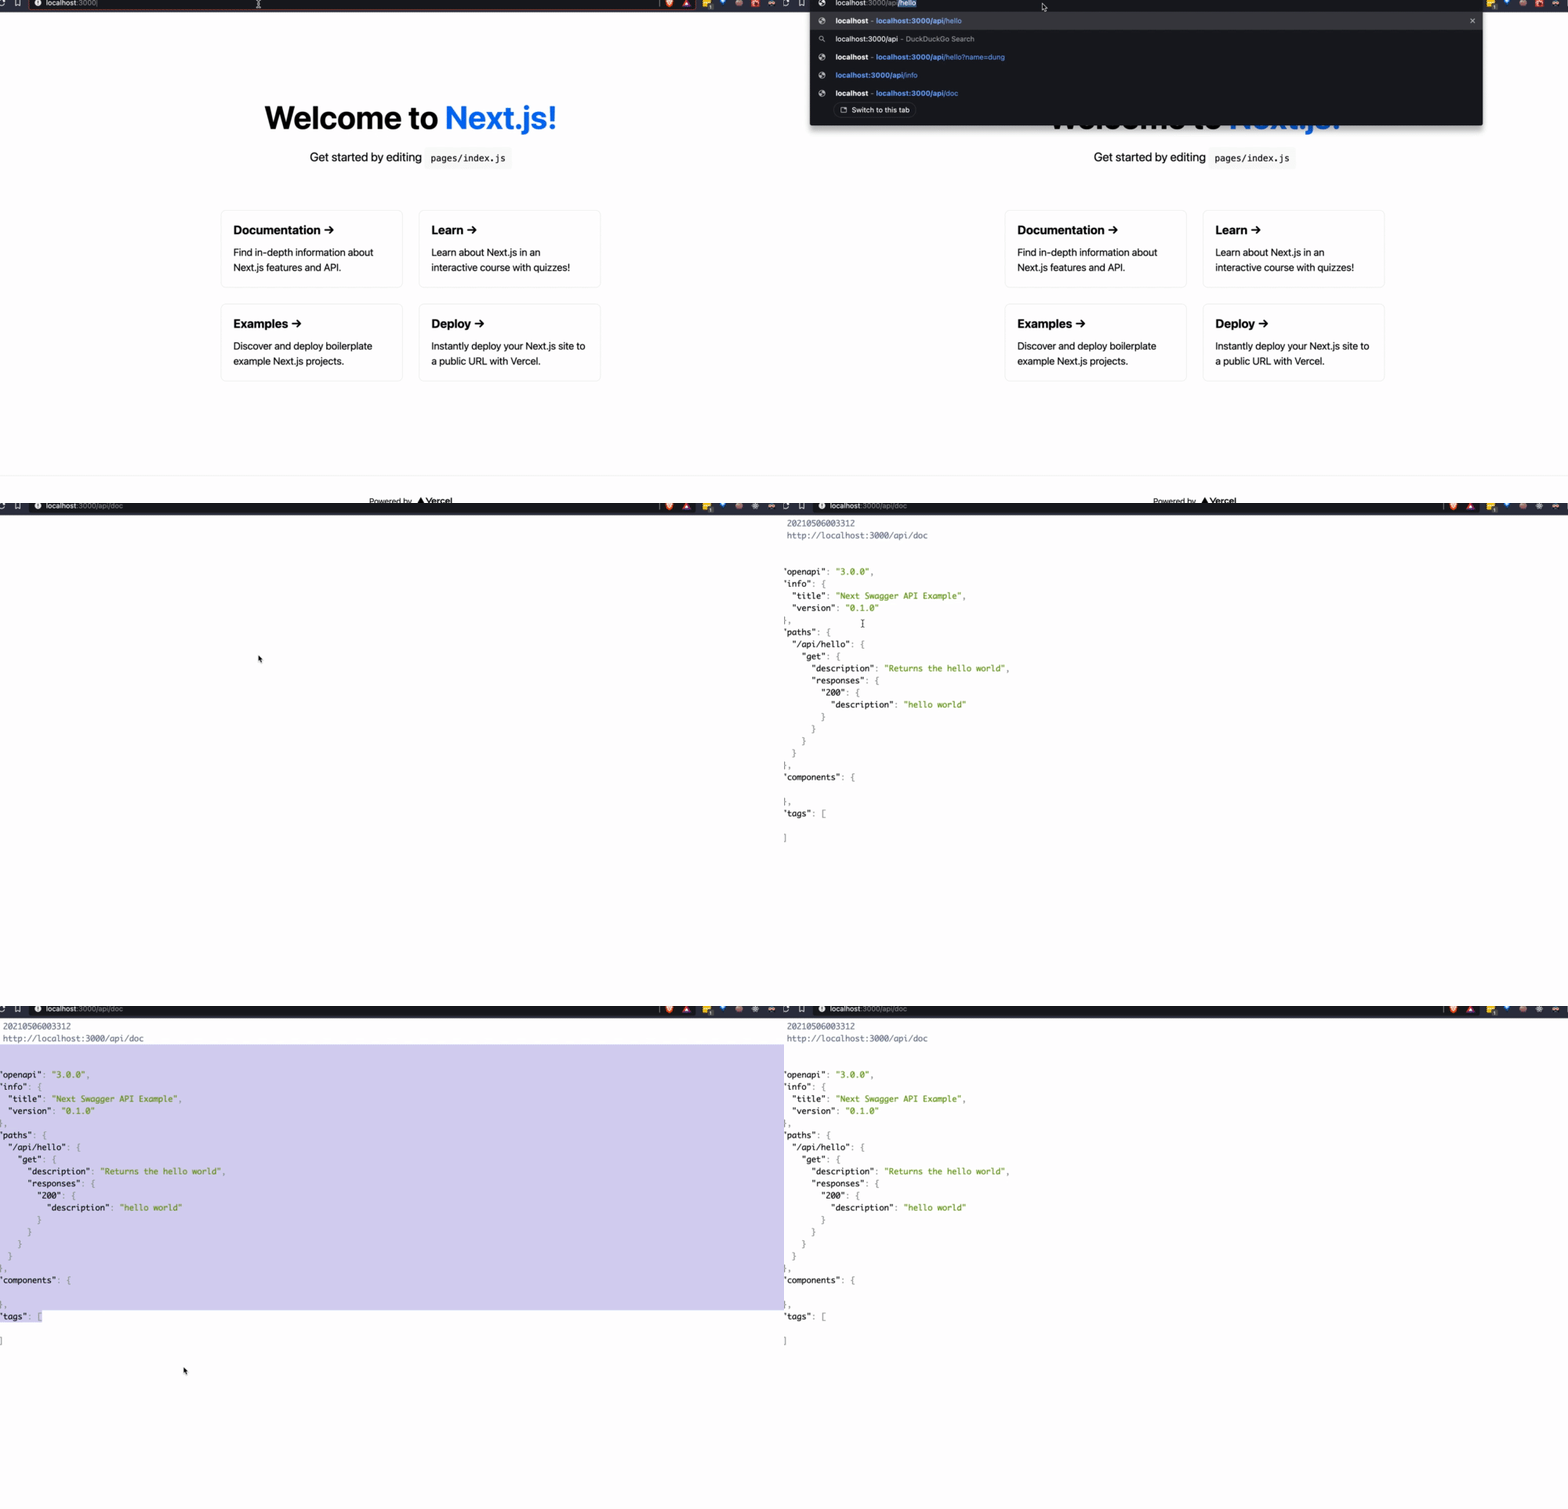
export default handler;- Step 3: Access the Swagger API doc
Usage #4: Generate Swagger file from CLI
- Step 1: create a JSON config file as
next-swagger-doc.json
{
  "apiFolder": "pages/api",
  "schemaFolders": ["models"],
  "definition": {
    "openapi": "3.0.0",
    "info": {
      "title": "Next Swagger API Example",
      "version": "1.0"
    }
  }
}- Step 2: run cli for generating swagger file
yarn next-swagger-doc-cli next-swagger-doc.jsonRun example app
Versioned sample apps live under examples/:
examples/next13-simple— Next.js 13 (Pages Router)examples/next14-app— Next.js 14 (App Router)examples/next15-app— Next.js 15 (App Router)examples/next16-app— Next.js 16 (App Router)
gh repo clone jellydn/next-swagger-doc
cd examples/next16-app
pnpm install
pnpm dev
Then open http://localhost:3000/api-doc or http://localhost:3000/ on your browser

Linter
In order to set an eslint rule that checks that all the APIs actually have a swagger JsDoc description we can use the following settings:
Install the JsDoc eslint plugin:
yarn add -D eslint-plugin-jsdocCreate the custom rule in your eslint configuration file:
{
    //...your configuration
    "overrides": [
        //...your overrides
        {
            // Force the setting of a swagger description on each api endpoint
            "files": ["pages/api/**/*.ts"],
            "plugins": ["jsdoc"],
            "rules": {
                "jsdoc/no-missing-syntax": [
                "error",
                {
                    "contexts": [
                    {
                        "comment": "JsdocBlock:has(JsdocTag[tag=swagger])",
                        "context": "any",
                        "message": "@swagger documentation is required on each API. Check this out for syntax info: https://github.com/jellydn/next-swagger-doc"
                    }
                    ]
                }
            ]
        }
    ]
}
Pre-commit hook
This project uses pre-commit to enforce code quality. To install pre-commit hooks, run:
pre-commit installAuthor
👤 Huynh Duc Dung
Stargazers
Show your support



Give a ⭐️ if this project helped you!
Contributors ✨
Thanks goes to these wonderful people (emoji key):
This project follows the all-contributors specification. Contributions of any kind welcome!