
okd-runner
v0.2.8
Published
Self deploying Node.JS applications in OpenShift.
Maintainers
 cvaldezr
Readme
OKD-runner
This library helps to write self-deploying Node.js applications for OpenShift and soon in Kubernetes.
Setup
Now this guide assume you got an OpenShift cluster up and running, if you don't, you still can get access to OpenShift Online for free or setup one in your computer via Minishift or oc cluster-up.
Once you have OpenShift sorted out, you'll need to create a project/namespace manually, you can do this by login into the console and clicking into new project, thats the only limitation of the module at the moment of not being able to create it for you.
Getting Started
Before continue you'll need an OpenShift cluster up and running, the easiest way is to subscribe here OpenShift Online for free or if you feel strong you can setup one in your computer via Minishift or oc cluster-up.
Once you have OpenShift sorted out, you'll need to create a project/namespace manually, you can do this by login into the web console and clicking into new project.
Self Deploying
Now we should get back to our working directory and install okd-runner module from npm, this is the module that does the magic:
npm install install okd-runner --saveWe add the module:
let count = 0
const run = require('okd-runner') // <- self-deploy module
require('http')
.createServer((req, res) => {
res.end(`<HTML>
<h1>Hello From -> ${process.platform}</h1>
<h2>Visitor: ${count++} </h2>
</HTML>`)
console.log(`response: ${Date.now()}`)
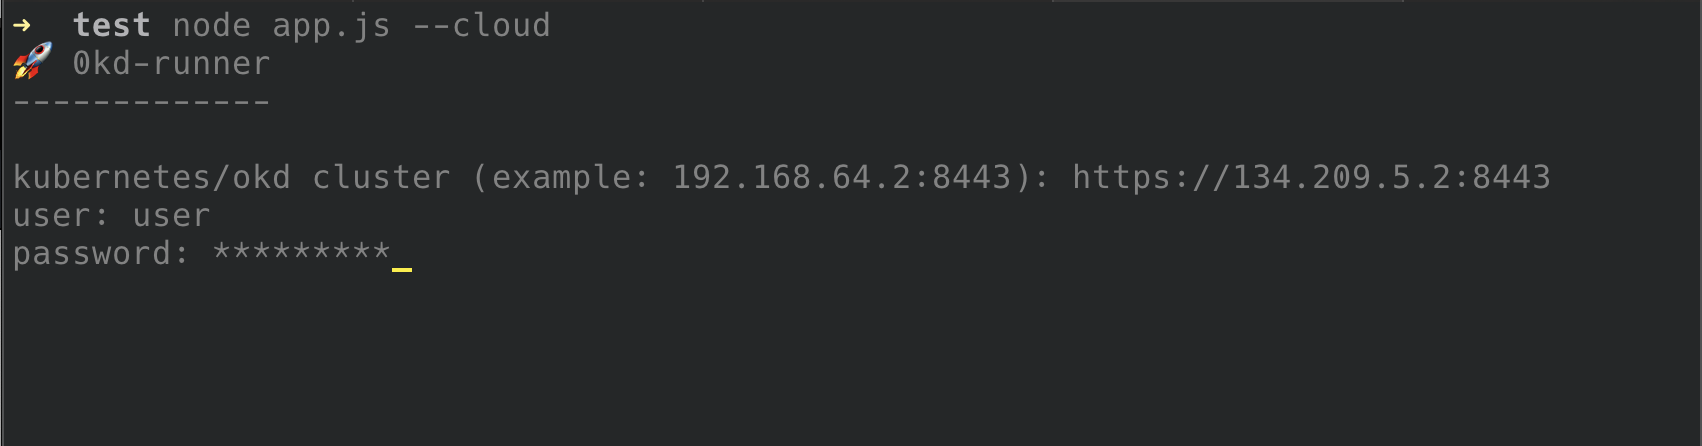
}).listen(8080)By adding this module you still can run your application locally, the only difference is that now you can choose a different execution runtime by passing the --cloud flag, this flag will tell your JS program to run in OpenShift:
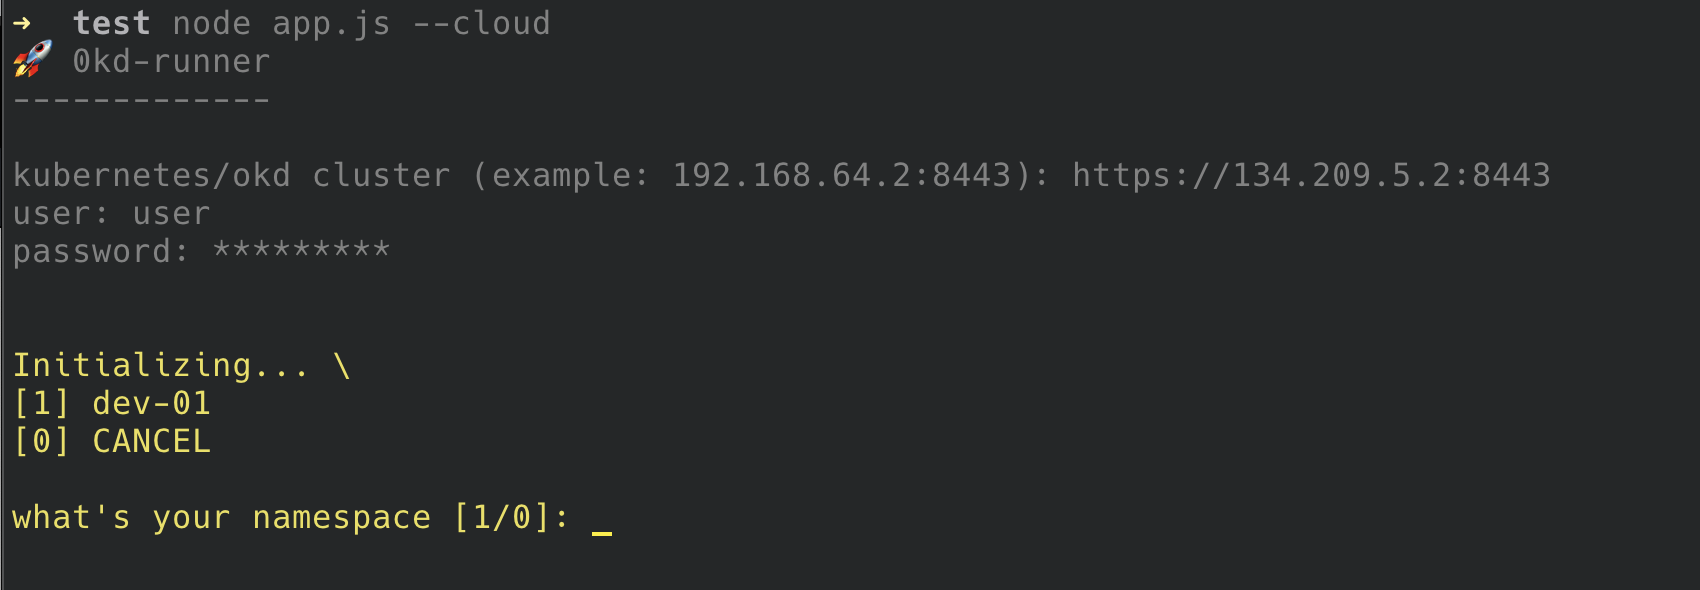
node app --cloud # or node app -c for short- The first time it will ask you for your cluster credentials:
- And also to choose the namespace/project:
Runtime
After that your application will start the deployment:

...
building  ok
URL:  http://my-app-dev-01.7e14.starter-us-west-2.openshiftapps.com
...
...
npm info using [email protected]
npm info lifecycle [email protected]~prestart: [email protected]
npm info lifecycle [email protected]~start: [email protected]

> [email protected] start /opt/app-root/src
> node app.js

response: 1550511176623
...
Here you can see the logs of you container plus the URL, to exit you just need to press Ctrl-C and you will get back to your console.
Updating
From now everything is similar as to run your application locally, let's add a line of code to get the pods name, this way showcase how we can make an update:
let count = 0
const run = require('okd-runner')
console.log('listening in 8080')
require('http')
    .createServer((req, res) => {
        res.end(`<HTML>
                    <h1>Hello From ${process.platform}</h1>
                    <h2>Visitors ${count++} </h2>

                    <!-- changes -->
                    <p>Pod ${require('os').hostname()}<p>
                    <img src="https://media.giphy.com/media/12NUbkX6p4xOO4/giphy.gif">
                    <!--         -->

                </HTML>`)
        console.log(`response: ${Date.now()}`)
    }).listen(8080)
We run our application again:
node app --cloudThis time it goes straight to deployment.

Cleaning up
To remove your application you just need to pass the -rm flag:
node app -rmYou see not a single YAML file, hope this module helps you simplify your workflow while developing Node.JS micro-services. Also this module is still under development so feel free to contribute by sending suggestions, pull request, improvements or by opening an issue.