
react-comment
v2.6.0
Published
a comment component written in React.js
Downloads
4,359

Readme
react-comment
前端评论组件,支持分页。带后端 demo server 。

安装与使用
安装
npm install react-coment傻瓜式使用:
根据“约定大于配置”原则,要求作为placeholder的div容器遵循如下约定:
id属性值固定,这样可以锁定容器元素。data-scope属性名固定data-topicId属性名固定data-loginUrl属性名固定
则入口文件也是固定的,从而编译出的comment.js也是固定的。
这样,就只要引入提前编译的comment.js即可(即是通过script标签引入demo/dist/comment.js):
<!-- 占位,评论的容器 -->
<div id="react-comment-container" data-topicId="" data-scope="movie" data-login-url="/account/login"></div>

<!-- 引入 react-comment/precompile/comment.js 脚本 -->
<script src="/js/comment.js"></script>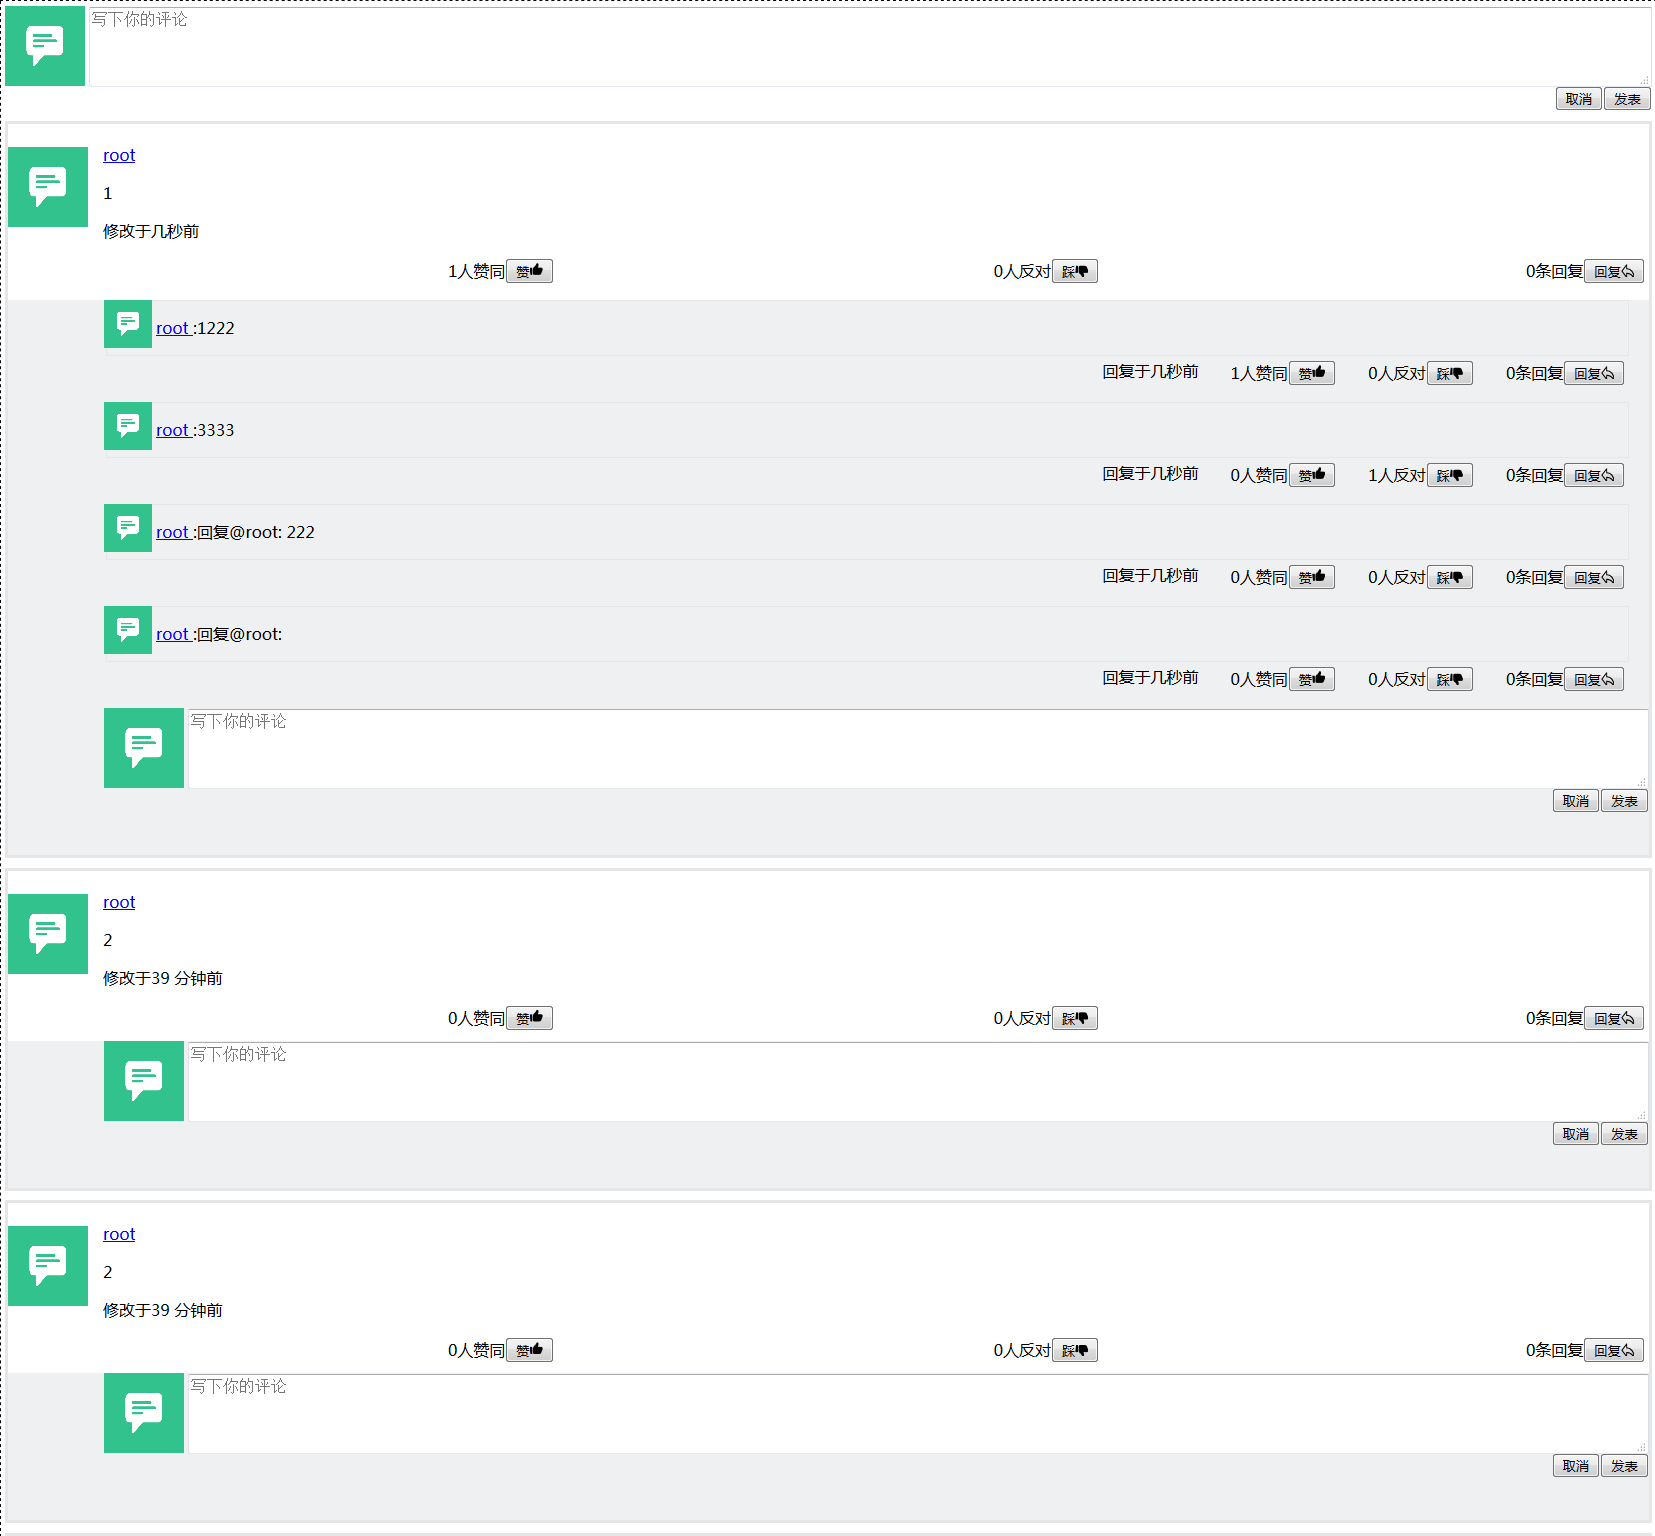
如果不是通过上述“傻瓜式”方式使用,需要进行手工配置、编译。
高级使用
一个高级点的使用方式是自己控制评论组件的渲染,就像一个真正的React组件那样。
一个使用场景:在一个CMS系统中,其余部分都是服务端渲染,评论部分是客户端渲染,可以在服务端模板中加入以下HTML代码:
<div id="react-comment-container"
    data-scope="movie"
    data-topicId="UniquetopicId"
    data-loginUrl="/sth/like/account/login"
></div>
然后编写以下入口文件:
import React from 'react';
import ReactDOM from 'react-dom';

import {Provider} from 'react-redux';
import {Comment} from 'react-comment';
// 你可以导入默认提供的store,也可以根据暴露的reducer创建自己的store
import {store} from 'react-comment';

import 'path/to/dist/style.css';    // 这里可以导入你的自定义CSS

const scope="ebook";  // 根据某种方式所获得的评论的scope
const topicId=1;      // 根据某种方式所获取的评论的主题id

const loginUrl='/account/login';  // 登录页面,会自动附加`?redirectUrl=${document.location}`参数

ReactDOM.render(
    (<Provider store={store}>
        <div style={{ position:'relative' }}>
            <LoginMaskLayer loginUrl={loginUrl} />
            <Comment scope={scope} topicId={topicId} />
        </div>
    </Provider>),
    document.getElementById("react-comment-container")
);编译、打包之,得到comment.js文件,以script的形式引入HTML中即可。
出于通用性考虑,目前入口文件index.js没有载入css,如果想要使用预定义的样式,需要手工载入。
- 如果使用
webpack打包css,只需要require('react-comment/dist/style.css') - 如果使用了其他技术,可以把
/dist/style.css拷贝到相应目录下通过link链接。
当然,你完全可以使用自己的样式。
API
对外接口
出于要适应更多的使用场景的目的,本 package 对外暴露comment组件、store、reducer几个属性:
Comment:评论组件reducer: 相关的redux reducer,可以配合其他组件使用,store:就是一个非常简单的、针对评论组件预定义的、普通的redux store,大可以自定义之。
对于一种CMS,可能页面的文章部分或者其他部分是由服务端渲染,而评论部分可以用react-comment。在这种情况下,可以默认提供的store,如同上例那样。
而如果是要在单页面场景中使用,则很可能需要把react-comment融入自己的一个大store中,从而跟其他组件互动。这时候可以利用package暴露出来的reducer来创建store。默认的store定义为:
import thunkMw from 'redux-thunk';
import {createStore,applyMiddleware,compose} from 'redux';
import {reducer} from 'react-comment';

const composeEnhancers = window.__REDUX_DEVTOOLS_EXTENSION_COMPOSE__ || compose;
export const store = createStore(
    reducer,
    {
        user:{
            list:[],
            currentLoginUser:ANONYMOUS_USER,
            hasSignedIn:false,
        }
    },
    composeEnhancers(
        applyMiddleware( thunkMw, )
    )
);
Comment 基本属性
Comment组件有以下基本属性:
scope: 评论所述的域,可以用来分类,比如文章、视频、书籍等topicId:评论对应的主题ID
实际上,Comment组件是个容器组件,它会把将来传递给它的store的状态里的评论、回复、用户及相关配置等信息丢给内部一个真正的Comment视图组件,从而渲染出评论效果。
与后端交互的API
由于react-comment本身只是个前端,需要向后端交互,为了保持通用性,在lib/api/index.js中规定了与后端通信接口。
- 获取评论列表:
fetchCommentList(scope,topicId,page=1,size=8)=>Promise<{comments,count}> - 创建新评论:
create(scope,topicId,content)=>Promise<any> - 投票支持某条评论:
onUpvote(commentId)=>Promise<Comment>或 Promise<false> - 投票反对某条评论
onDownvote(commentId)=>Promise<Comment>或Promise<false>: - ...
默认情况下,
- 预定义的
fetchComentList(scope,topicId,page,size)发起的请求为:
POST "/comment/list"
{
    credentials:'same-origin',
    headers:{
        "Content-Type":"application/json",
    },
    body:JSON.stringify({scope, topicId, page, size, }),
})并假定服务器返回{rows:comments,count:count}对象,并将之转换为{comments,count}。
- 预定义的
create(scope,topicId,content)=>Promise<any>发起的请求为:
POST `/comment/new`
{
    credentials:'same-origin',
    headers:{
        'Content-Type':'application/json',
    },
    body:JSON.stringify({ scope, topicId, content })
}
并假定服务器返回评论信息组成的数组
- 预定义的
onUpvote(commentId)发起的请求为:
POST "/comment/upvote"
{
    method:'post',
    credentials:'same-origin',
    headers:{
        "Content-Type":"application/json",
    },
    body:JSON.stringify({id:commentId}),
}- 预定义的
onDownvote(commentId)发起的请求为:
POST "/comment/downvote"
{
    method:'post',
    credentials:'same-origin',
    headers:{
        "Content-Type":"application/json",
    },
    body:JSON.stringify({id:commentId}),
})更多的与后端交互的API请参考lib/api/index.js文件。
开发
基本原理
- 使用
babel编译lib/文件夹下的所有JavaScript文件到dist/文件夹下 - 使用
less预处理lib/components/style.less,渲染后存为dist/style.css
目录介绍
基本结构:
index.js            # 入口文件
lib/                # 源码文件夹,
dist/ # 发布文件夹注意,dist/会被git忽略,但是不会被npm仓库忽略。
构建
从命令行构建
> npm run build此命令等效于
> npm run babel
> npm run lessc
自带 demo
添加配置demo/server/config/config.dev.js后,启动服务器:
npm run start-demo-serverwebpack
npm run webpack -- --watch