
react-live-inspector
v8.2.2
Published
A fork of react-inspector optimized for very large datasets and frequent updates
Maintainers
 branzhang
Readme
react-live-inspector


Power of Browser DevTools inspectors right inside your React app. Check out the storybook for a demo.
About this fork
react-live-inspector is a fork of react-inspector (MIT), tuned for scenarios where data refreshes at high frequency (e.g. live/streaming previews). The upstream library re-renders the whole tree whenever the data reference changes and resets the user's expand/collapse state on every update, which becomes a performance and UX problem under continuous refresh.
This fork targets the following improvements. Status reflects what is actually implemented today.
Features
- Large-data support (full virtualization) — ✅ implemented. The tree is now fully virtualized (via
@tanstack/react-virtual) regardless of node count: only the rows currently on screen are mounted, so expanding very large arrays/objects no longer freezes the UI, and adatarefresh only re-renders the handful of visible rows (the whole-tree re-render that node-level memoization used to target is no longer possible). The component now owns an internal scroll container — see the newheight/maxHeight/rowHeight/overscanprops below. By default rows are rendered single-line (long values are clipped, not wrapped) so the virtualizer can use a cheap fixed row height; opt into wrapping with themultilineprop (rows then size to content via dynamic measurement). - Safe "expand all" — ✅ implemented. A large
expandLevelis resolved in a single bounded tree walk instead of re-walking the tree once per level, eliminating the upstream O(level × n) cost of fully expanding a deep tree (this is independent of rendering, so virtualization alone does not address it).
Fixes (vs. upstream)
- Expand/collapse state decoupled from
data— ✅ implemented.expandLevel/expandPathsare applied only on mount (and when those props change), not re-asserted on everydatachange, so refreshing the data no longer reopens nodes the user has collapsed. See the "Verify - collapse persists under refresh" Storybook story.
The component API is kept fully compatible with
react-inspector. Existing props and components work unchanged — migration is a drop-in replacement.

Install
NPM:
npm install react-live-inspectorRequires React ^18.0.0 || ^19.0.0 (peer dependency).
Getting started
<Inspector />
A shorthand for the inspectors.
<Inspector/>is equivalent to<ObjectInspector>or<DOMInspector>if inspecting a DOM Node.<Inspector table/>is equivalent to<TableInspector>.
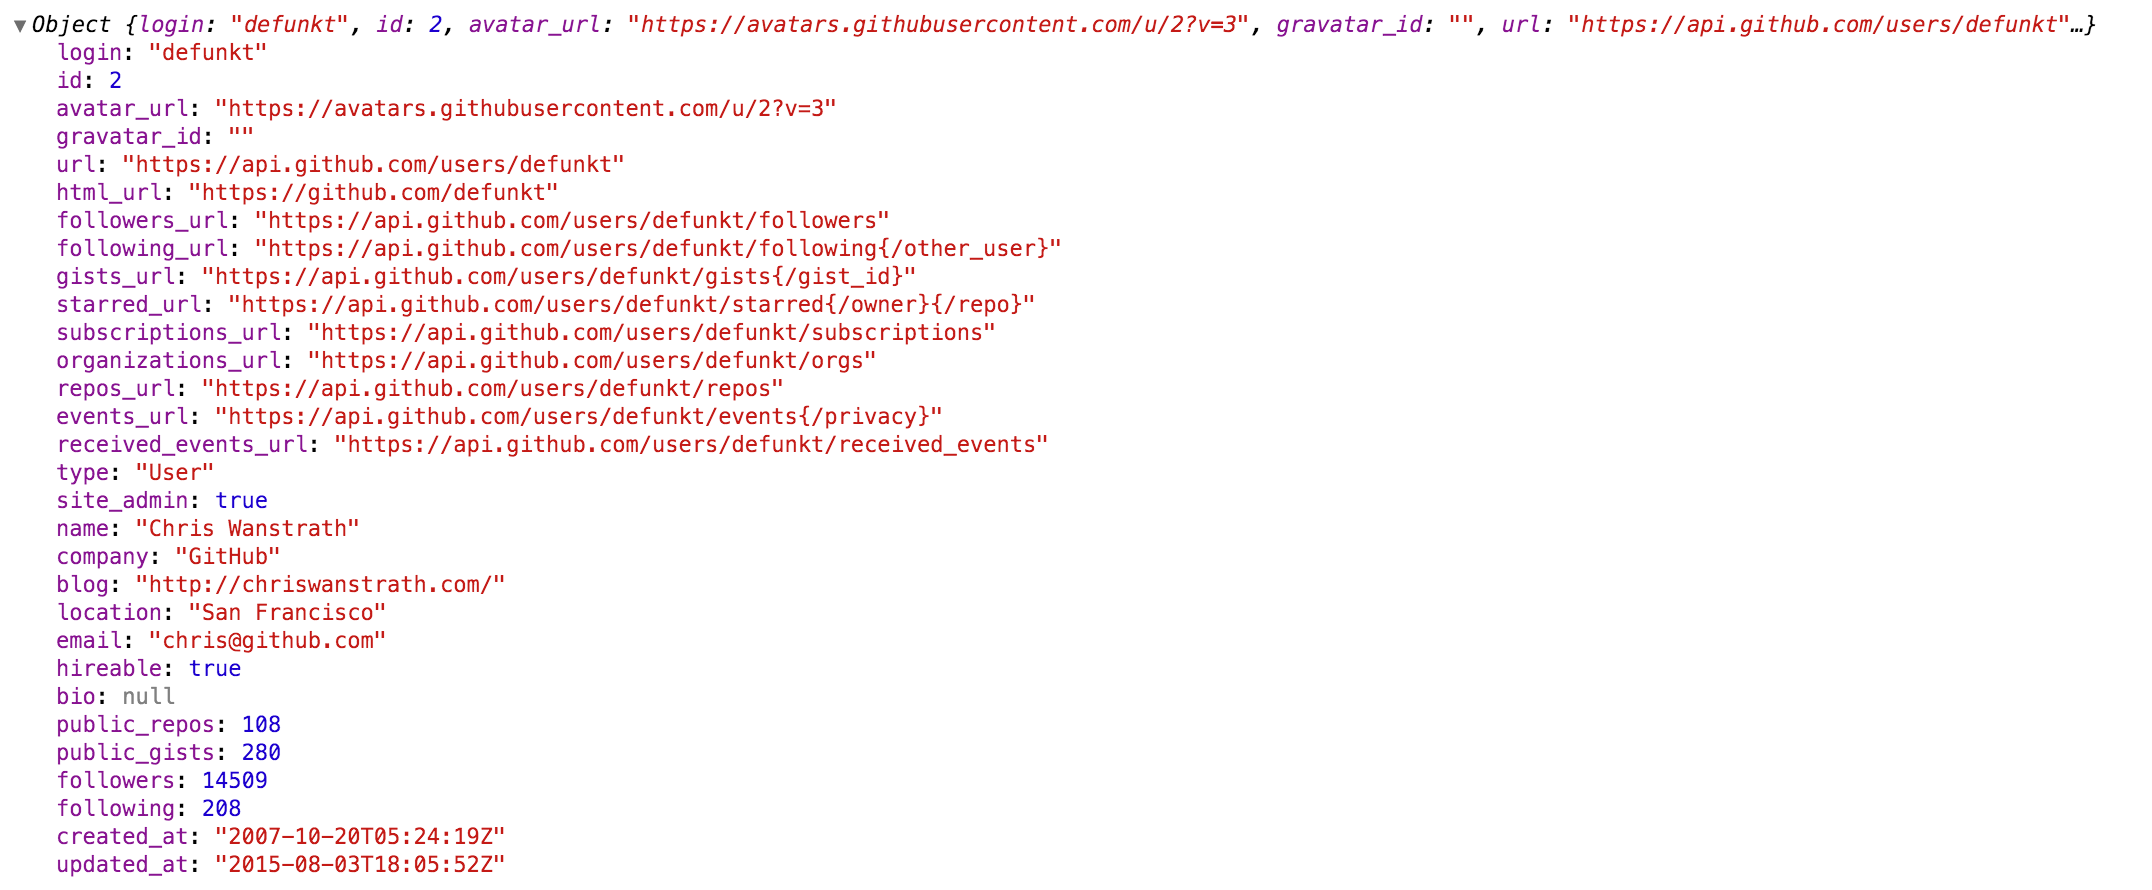
<ObjectInspector />
Like console.log. Consider this as a glorified version of <pre>JSON.stringify(data, null, 2)</pre>.
How it works
Tree state is saved at root. If you click to expand some elements in the hierarchy, the state will be preserved after the element is unmounted.
API
The component accepts the following props:
data: PropTypes.any: the Javascript object you would like to inspect
name: PropTypes.string: specify the optional name of the root node, default to undefined
expandLevel: PropTypes.number: an integer specifying to which level the tree should be initially expanded
expandPaths: PropTypes.oneOfType([PropTypes.string, PropTypes.array]): an array containing all the paths that should be expanded when the component is initialized, or a string of just one path
- The path string is similar to JSONPath.
- It is a dot separated string like
$.foo.bar.$.foo.barexpands the path$.foo.barwhere$refers to the root node. Note that it only expands that single node (but not all its parents and the root node). Instead, you should useexpandPaths={['$', '$.foo', '$.foo.bar']}to expand all the way to the$.foo.barnode. - You can refer to array index paths using
['$', '$.1'] - You can use wildcard to expand all paths on a specific level
- For example, to expand all first level and second level nodes, use
['$', '$.*'](equivalent toexpandLevel={2})
- For example, to expand all first level and second level nodes, use
- It is a dot separated string like
- the results are merged with expandLevel
showNonenumerable: PropTypes.bool: show non-enumerable properties
sortObjectKeys: PropTypes.oneOfType([PropTypes.bool, PropTypes.func]): Sort object keys with optional compare function
When sortObjectKeys={true} is provided, keys of objects are sorted in alphabetical order except for arrays.
nodeRenderer: PropTypes.func: Use a custom nodeRenderer to render the object properties (optional)
Instead of using the default
nodeRenderer, you can provide a custom function for rendering object properties. The default nodeRender looks like this:import { ObjectRootLabel, ObjectLabel } from 'react-live-inspector' const defaultNodeRenderer = ({ depth, name, data, isNonenumerable, expanded }) => depth === 0 ? <ObjectRootLabel name={name} data={data} /> : <ObjectLabel name={name} data={data} isNonenumerable={isNonenumerable} />;
Virtualization props (this fork)
The tree view is fully virtualized and renders inside an internal scroll container.
These optional props are accepted by <ObjectInspector>, <DOMInspector> and <Inspector>:
height: PropTypes.oneOfType([PropTypes.number, PropTypes.string]): height of the scroll container (numbers are treated as px). Defaults to 400.
maxHeight: PropTypes.oneOfType([PropTypes.number, PropTypes.string]): use a max-height instead of a fixed height, so the container shrinks to fit small trees and scrolls once it would exceed this value.
rowHeight: PropTypes.number: fixed row height in px used to estimate/position rows. Defaults to 16. In the default single-line mode (white-space: nowrap) long values are clipped rather than wrapped; when multiline is enabled this value is only used as the initial estimate before each row is measured.
overscan: PropTypes.number: number of extra rows rendered above/below the viewport. Defaults to 20.
multiline: PropTypes.bool: when true, rows wrap (white-space: normal; word-break: break-word) instead of being clipped to a single line, restoring the wrapping behaviour of the original react-inspector. Row heights are then measured dynamically from the DOM (variable size) rather than using the fixed rowHeight, so virtualization is preserved. Defaults to false (the cheaper fixed-height path). Enable it when long values need to be fully visible without horizontal scrolling.
fill: PropTypes.bool: when true, the inspector fills the remaining space of a flex container instead of taking an explicit height — the scroll region sizes itself via flex: 1; min-height: 0, so scrolling stays inside the inspector and a sibling above it (e.g. a search box) is never pushed out into a second scrollbar. Requires the parent to be a flex column with a bounded height. Defaults to false. height/maxHeight are ignored for layout in this mode (still used only as the virtualizer's initial size seed).
<TableInspector />
Like console.table.
API
The component accepts the following props:
data: PropTypes.oneOfType([PropTypes.array, PropTypes.object]): the Javascript object you would like to inspect, either an array or an object
columns: PropTypes.array: An array of the names of the columns you'd like to display in the table
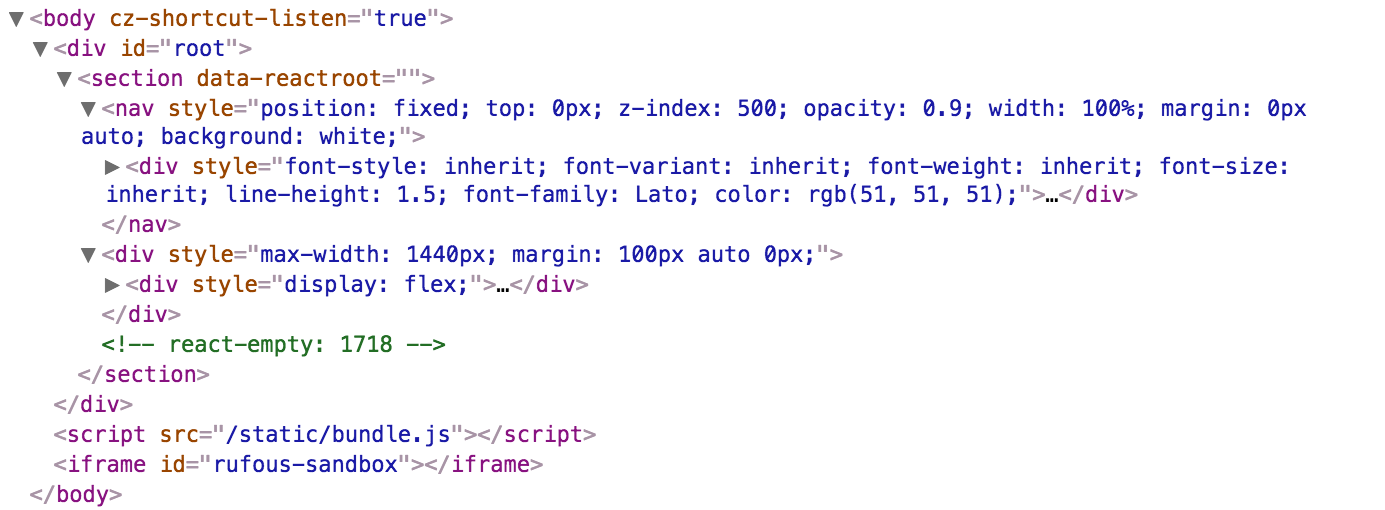
<DOMInspector />
API
The component accepts the following props:
data: PropTypes.object: the DOM Node you would like to inspect
Usage
import { ObjectInspector, TableInspector } from 'react-live-inspector';

// or use the shorthand
import { Inspector } from 'react-live-inspector';

const MyComponent = ({ data }) =>
  <div>
    <ObjectInspector data={data} />
    <TableInspector data={data} />

    <Inspector data={data} />
    <Inspector table data={data} />
  </div>

let data = { /* ... */ };

ReactDOM.render(
  <MyComponent data={data} />,
  document.getElementById('root')
);
Try embedding the inspectors inside a component's render() method to provide a live view for its props/state (Works even better with hot reloading).
More Examples
Check out the storybook for more examples.
npm install && npm run storybookTheme
By specifying the theme prop you can customize the inspectors. theme prop can be
- a string referring to a preset theme (
"chromeLight"or"chromeDark", default to"chromeLight") - or a custom object that provides the necessary variables. Checkout
src/styles/themesfor possible theme variables.
Example 1: Using a preset theme:
<Inspector theme="chromeDark" data={{a: 'a', b: 'b'}}/>Example 2: changing the tree node indentation by inheriting the chrome light theme:
import { chromeLight } from 'react-live-inspector'

<Inspector theme={{...chromeLight, ...({ TREENODE_PADDING_LEFT: 20 })}} data={{a: 'a', b: 'b'}}/>
Caveats
Blurry / washed-out text on a transparent background (virtualization + transform)
Because the tree is virtualized, every visible row is positioned with
transform: translateY(...). On Chromium/WebKit a transformed element is
painted into its own buffer, and sub-pixel (LCD) antialiasing is disabled
there unless the text has an opaque backdrop to blend against. If the
inspector sits on a transparent background, the rows fall back to grayscale
antialiasing and the scrolled region looks hazy / washed-out — often
perceived as a faint diagonal texture or the content "dimming" once a scrollbar
appears. It is most noticeable with multiline (more wrapped text per screen).
This is inherent to any transform-based virtualization (react-virtual,
react-window, …) — not a measurement bug. The fix is to give the inspector,
or any ancestor, an opaque background matching the surrounding surface.
It is visually identical but restores sub-pixel antialiasing:
// surface is #141414 → make the inspector's background opaque, not transparent
<div style={{ background: '#141414' }}>
  <Inspector multiline data={data} height="100%" />
</div>
(Don't rely on the parent's background showing through a transparent inspector — the text layer needs the opaque color in its own paint backdrop.)
TODO
- Expose expanded paths (upstream #109): make the user-driven expand/collapse state accessible — e.g. an
onExpandedPathsChangecallback (optionally paired withexpandPathsfor controlled usage) — so callers can persist and restore the expansion state. A natural fit for this fork, since the tree already owns its expansion state internally.
Additional
- If you intend to capture
console.logs, you may want to look atconsole-feed. - Why inline style? This document summarizes it well.