
sanity-plugin-media-library
v2.1.2
Published
The missing media library for Sanity. With filters per tag and filetype.


Readme
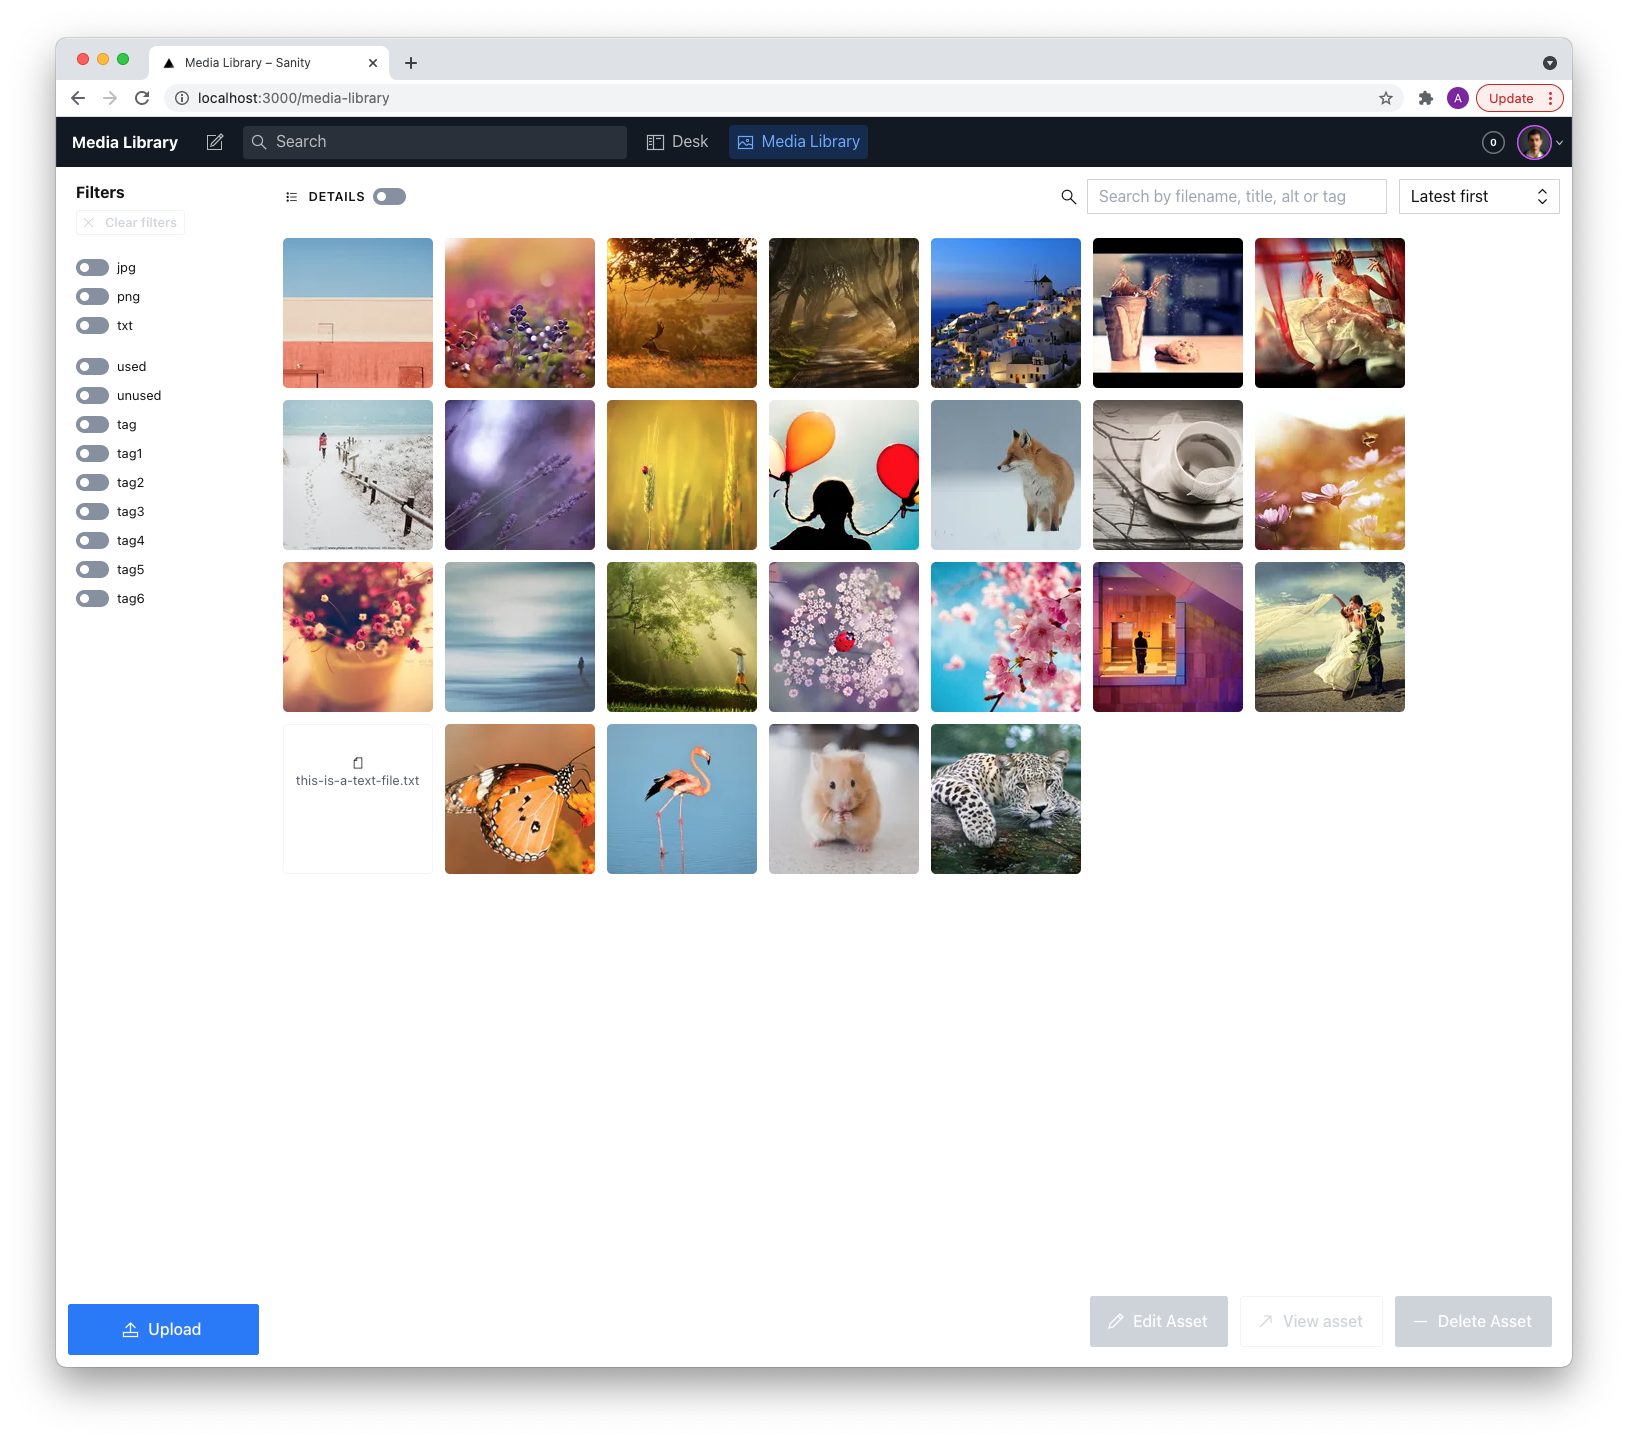
Media Library for Sanity
The missing media library for Sanity. With support for filters per tag and extension 🔥

Features
- Media library appears in CMS navigation
- Support for images and files
- View/Edit your assets in once single place:
- View asset details
- Add alt tags to your image in a central place
- Easily add custom fields to your assets (like location and attribution)
- Grid view and list view (with more details):
- Sort by latest or alphabetically
- Search by alt, id, tag, or file name
- View asset details in a list view
- Asset organizing:
- Add tags to your assets to create structure in your media library
- See which assets are unused
- Select 1 or multiple assets with cmd/ctrl or shift
- Delete 1 or multiple asset(s) at a time
- Filter by (multiple) file extension(s) or tag(s)
- Clear filters with a click on a button
- Drag 1 or multiple assets to a tag to add them
- Asset uploading:
- Upload 1 or multiple files with the upload button
- Also drag to upload 1 or multiple files
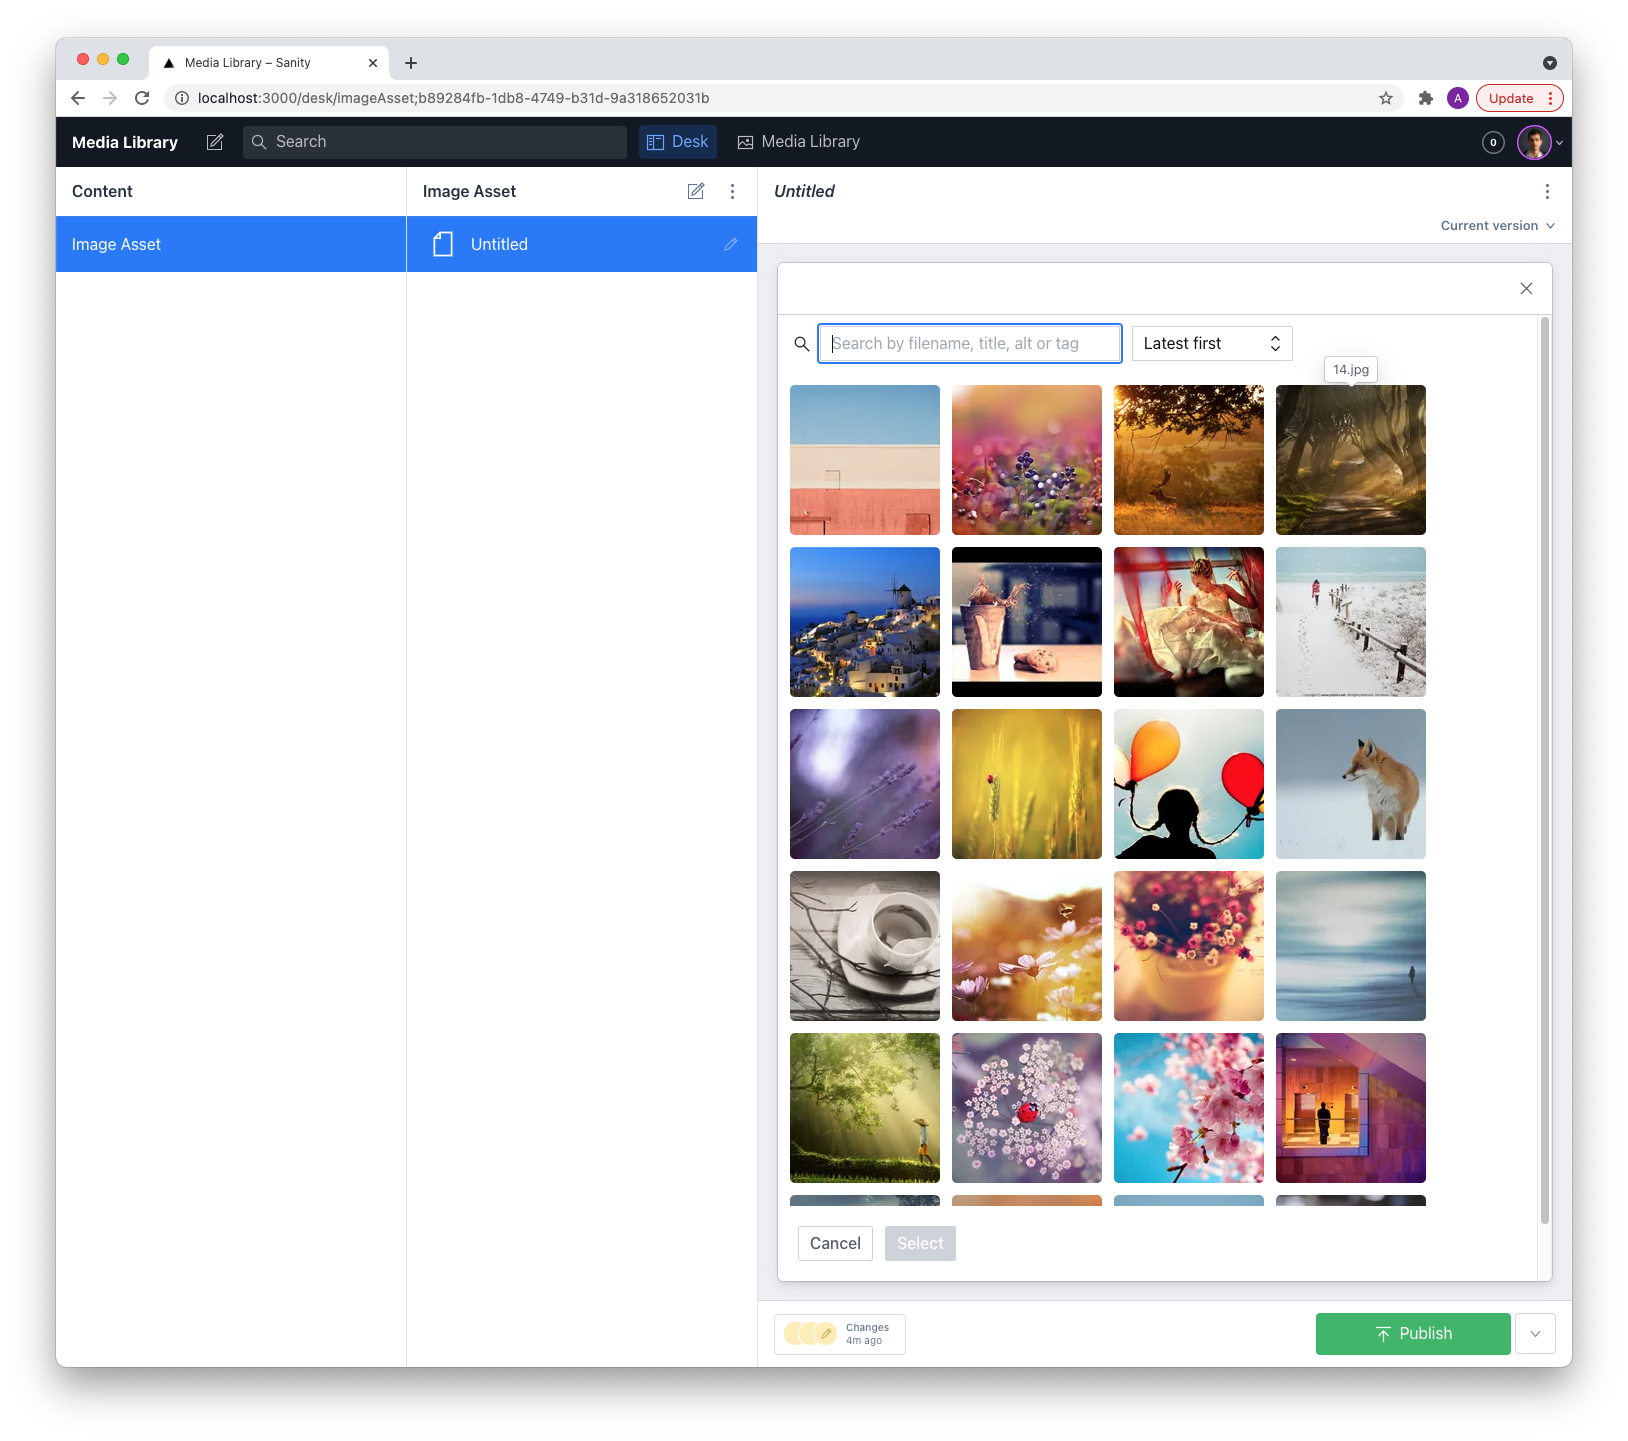
- Asset source:
- Use it where it's useful: select images with the media library in your documents
- Quick action: Double click an asset to trigger it's primary action
- Customizable fields
- Define custom fields for your assets (text, number, checkbox, textarea)
Installation
Automagically
In your Sanity project's directory run :
sanity install media-libraryManually
yarn add sanity-plugin-media-libraryor
npm install --save sanity-plugin-media-libraryAdding the library
In your sanity.json add it to the list of plugins:
{
  "plugins": [
    "@sanity/base",
    "@sanity/components",
    "@sanity/default-layout",
    "@sanity/default-login",
    "@sanity/desk-tool",
    "media-library"
  ]
}
Using the Media Library
Setting Globally
By default the media library will be added to all image fields, next to any other asset sources you might have. You can customise this behaviour in your sanity.json by adding the following to the parts array:
{
  "implements": "part:@sanity/form-builder/input/image/asset-sources",
  "path": "./assetSources.js"
}
In assetSources.js:
import AssetSource from 'part:sanity-plugin-media-library/asset-source';
export default [AssetSource];
Setting per field
If you want to define the media library for specific fields, you can set the sources option on your field:
import AssetSource from 'part:sanity-plugin-media-library/asset-source';

export default {
  name: 'mySchema',
  type: 'document',
  title: 'My Schema',
  fields: [
    {
      name: 'image',
      type: 'image',
      title: 'Image',
      options: { sources: [AssetSource] },
    },
  ],
};
See Sanity Custom Asset Sources for more options.
Theming
In the 2.0.0 release support for custom themes has been dropped, the interface is built using Sanity UI. If you want to continue theming, pick a version in the 1.0.x range.
Configuration
After installing the plugin, a config file is automatically created at config/media-library.json.
Example with asset fields listed and custom fields added:
{
  "customFields": [
    {
      "label": "Additional description",
      "name": "description",
      "placeholder": "No description yet...",
      "type": "textarea"
    },
    {
      "label": "Decade when photo captured",
      "max": 2200,
      "min": 1800,
      "name": "decade",
      "placeholder": "Between 1800 and 2200",
      "step": 10,
      "type": "number"
    },
    {
      "label": "Is a premium photo",
      "name": "premiumPhoto",
      "type": "checkbox"
    },
    {
      "label": "Attribution",
      "name": "attribution",
      "placeholder": "No attribution yet"
    },
    {
      "name": "location",
      "label": "Location",
      "type": "location"
    },
    {
      "label": "Copyright",
      "name": "copyright",
      "placeholder": "pick one…",
      "type": "select",
      "options": [
        { "title": "Copyright", "value": "copyright" },
        { "title": "Public Domain", "value": "public-domain" },
        { "title": "Creative Commons", "value": "creative-commons" }
      ]
    }
  ]
}
Contributing
If you run into problems or have feature requests, please create an issue or pull request and I'll look into it as soon as I can.
Development
Run yarn dev in the root folder to make changes.
Optional: To use the included studio while developing, make a symlink inside the /test/studio/plugins folder that links to the root directory. Then run sanity start in test/studio. You can also add the plugin to the plugins directory in a Sanity studio of your own.
Testing
Create a Sanity bot token with write access at manage.sanity.io. Add a dataset named 'testing'. Then make a .env file inside the /test folder:
SANITY_PLAYWRIGHT_TEST_TOKEN=<SANITY_WRITE_API_TOKEN>
SANITY_PROJECT_ID=<PROJECT_ID>