
termcut
v1.4.2
Published
Script terminal sessions in TypeScript, render them to reproducible MP4/GIF/WebM/SVG/HTML with Bun.

Maintainers
 aman-varshney
Readme
tcut
Terminal videos, written in TypeScript. Record a session live or script it, then render it to MP4, GIF, WebM, SVG or HTML — the same recording gives the same pixels every time.
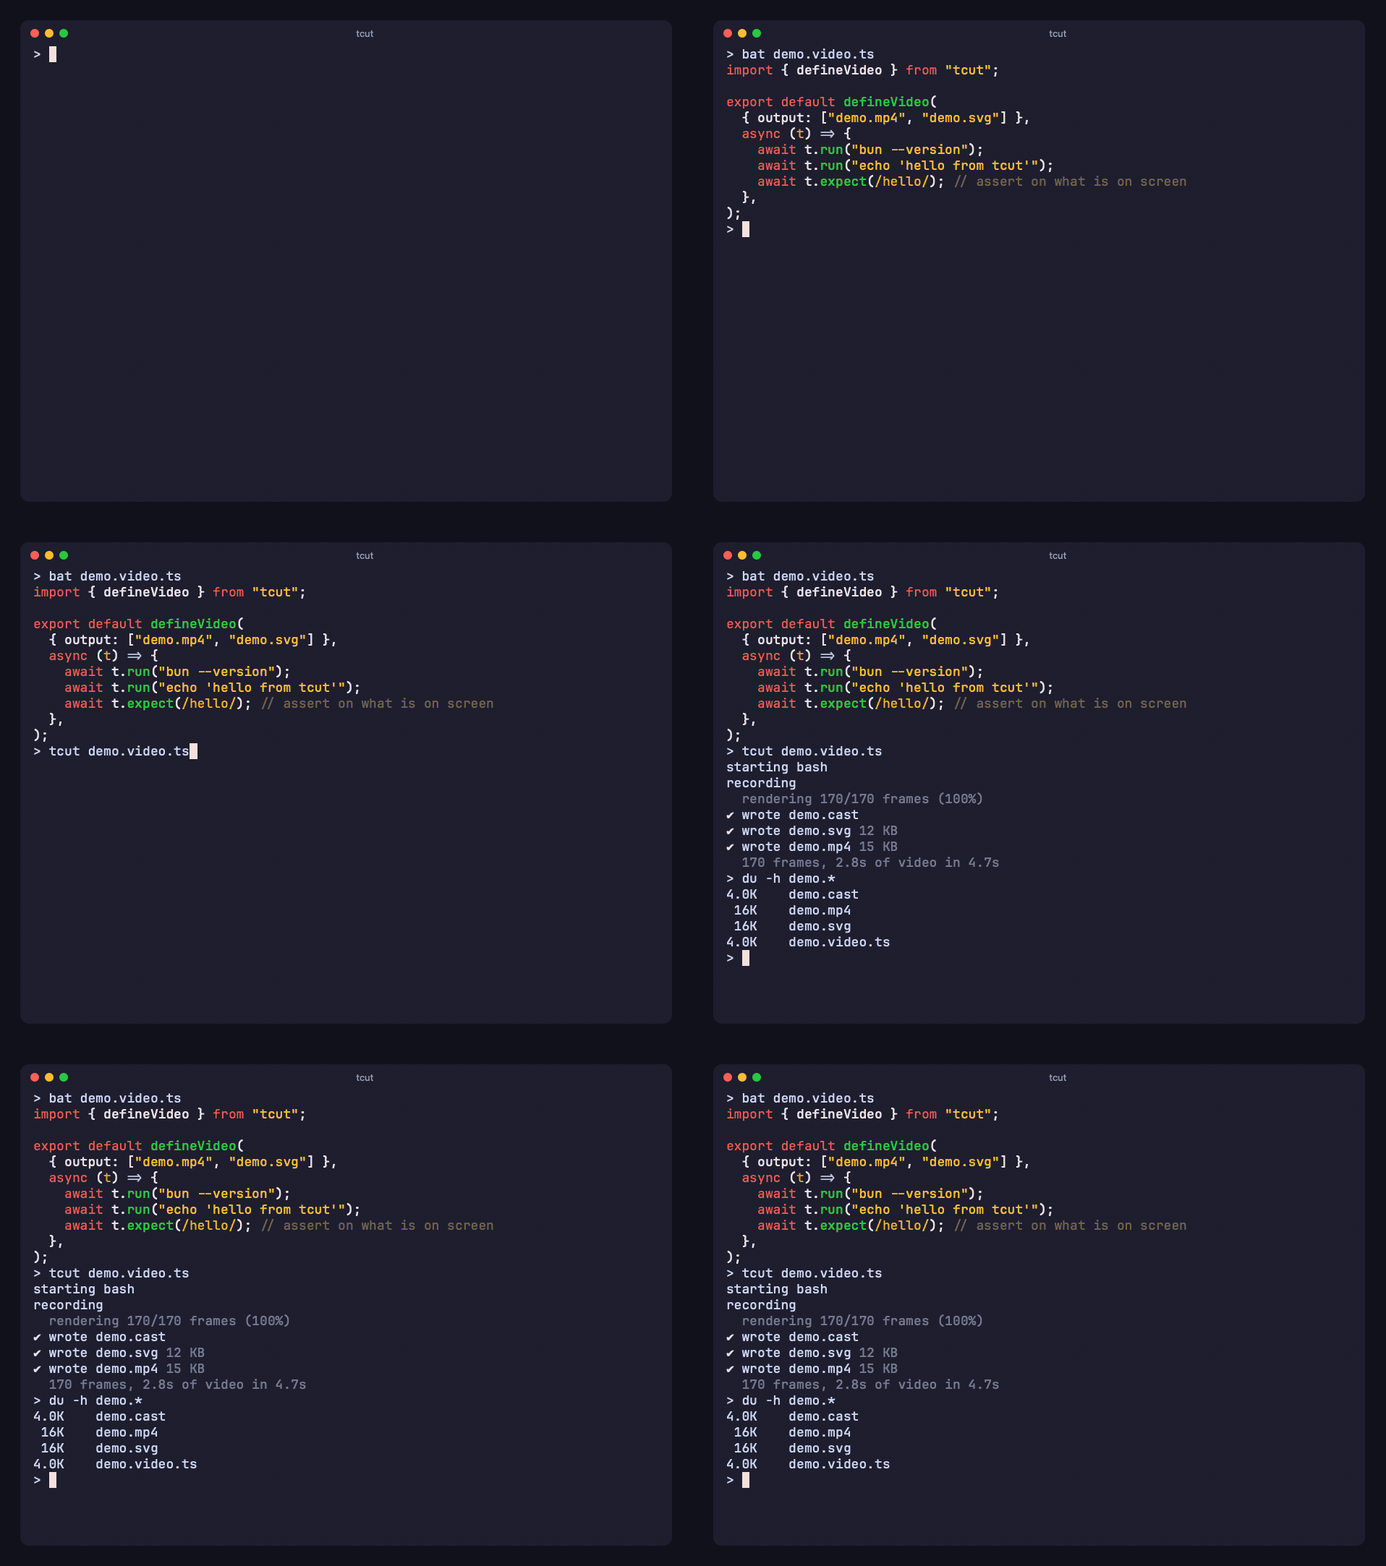
tcut.amanv.dev · Reference · Examples · llms.txt
Install
bun add -g termcut # Bun ≥ 1.4.1 · installs the `tcut` commandOr a standalone binary for macOS, Linux or Windows from Releases — all three are tested in CI.
- MP4, GIF, WebM, WebP need
ffmpegon the PATH. SVG, HTML and text outputs need nothing. - Linux and Windows render pixels through Chrome or Chromium (
BUN_CHROME_PATHto point at one).
Record
Live. Your own shell opens — prompt, config, aliases — in your terminal's colours and font (theme: "auto", font: "auto": asked from the terminal itself); type; exit. You get the video, the exact recording (demo.cast) and an editable script of what you typed (demo.video.ts): it reopens your shell (shell: "user"), waits for your prompt (promptPattern, detected from the recording) and replays the commands as run() calls. --clean opens a plain shell with a > prompt instead.
tcut rec -o demo.gif
tcut rec -o demo.mp4 -- npm create vite     # one command, ends when it exits
-- command runs through that same shell, so tcut rec -- ls records what your ls shows — aliases, functions, fish abbreviations and colours included. --raw runs the binary directly.
Scripted. Plain TypeScript, so loops, helpers and imports work, and the script lives in the repo next to the code it shows.
// demo.video.ts
import { defineVideo } from "tcut";

export default defineVideo({ output: ["demo.mp4", "demo.gif"] }, async (t) => {
  await t.run("bun --version");       // types it, presses Enter, waits for the prompt
  await t.run("ls -la");
  await t.expect(/package\.json/);    // asserts on the screen — the demo is a test
  await t.snapshot("files.png");      // a still of this exact moment
  await t.sleep("1.5s");
});
tcut demo.video.tsWhat a script can do, one line each:
| | |
|---|---|
| run(cmd) | waits for your prompt to come back, not for a timer |
| wait(/re/) · expect(/re/) | observe or assert the screen — including lines that already scrolled away ({ scope: "scrollback" }) |
| type · enter · arrows · ctrl("c") · key("f5") | keys, sent the way the running program asked for them |
| hide(fn) | runs setup off-camera; the state stays |
| snapshot("x.png" \| "x.svg") | a pixel or vector still of that exact moment, written on every render |
| chapter(name) | mp4 chapters, and cut points for --chapters / --split-chapters |
| print(markdown) · title(text) | Markdown and headings rendered into the terminal, nothing typed |
| caption(text, { style, duration }) | bottom subtitles: classic, tiktok, pop, or minimal; commands keep running |
| slide("Heading", { during }) | a full-screen transition card between feature demos; during does the setup behind it |
| zoom({ rows, cols }) | magnifies a region; keys: true shows what was pressed |
| timelapse(fn, { speed }) | fast-forwards an install or a build, not just the silence |
| browser | a real browser window beside or over the terminal (below) |
The full surface is in the reference.
Crisp output on HiDPI displays
Use scale: 2 in your video config, or tcut render demo.cast --scale 2 -o demo.mp4, to render twice the pixels while keeping the same layout. The default is 1; SVG and HTML retain their existing behavior.
Presentation mode
Prepare the demo once, then walk through it at your own pace. Each step plays its recorded clip and holds on the result until you advance. Go back, replay, seek, or change playback speed without running commands again.
await t.step("Show the result", async () => {
  await t.run("bun run demo");
  await t.caption("Here is the result", { style: "tiktok", duration: "2s" });
  await t.sleep("2s");
}, { notes: "Explain the output before moving on." });
tcut present demo.video.ts --open
tcut present demo.video.ts --typing-speed 0ms --openThe local player fills the viewport and plays prepared scenes. Click a scene to cue it; Space plays, pauses or advances after the scene finishes. Arrow keys change scenes, R replays, and F enters fullscreen. In fullscreen, the controls fade away while you explain. Notes are available in a collapsible right panel. Use your screen recorder for video, webcam and microphone narration.
Terminal output, browser panes, slides and captions are captured during preparation. Script code edits in a terminal editor such as Vim, then present the recorded result without typing live. The example walks from code to a scripted edit, CLI output and the browser. Desktop IDE automation is not part of this player.
Set typingSpeed: "0ms" for instant typing, or typingSpeed: "40ms", typingJitter: 0.5 for variation. Another walkthrough reuses the prepared source. --force explicitly reruns the script. Older casts use chapters as scenes, or one scene for the whole recording.
See the complete code/editor/browser example and presentation reference.
Subtitle captions
await t.caption("Make every word stand out", {
  style: "tiktok", // classic | tiktok | pop | minimal
  duration: "3s",
});
await t.run("bun --version"); // continues underneath the caption
await t.caption("A big moment", { style: "pop", color: "#ff91cf" });
await t.sleep("2s");
await t.caption(null); // clear; no duration means keep until replaced or cleared
Captions sit at the bottom of the terminal window. Set offset: 64 to move them above player controls: the offset is the distance in pixels from the selected edge (default 16). Use position: "top" to place them at the top; a larger offset moves top captions downward. Override fontSize (pixels), color, background, and highlightColor. Classic uses a dark box; TikTok highlights each word in turn; Pop has a bouncing entrance; Minimal is smaller text with a shadow. Caption timing follows playback speed, hidden sections, and idle compression. Word highlighting is evenly timed across the caption, not speech recognition.
await t.caption("Keep this above the player controls", {
  style: "tiktok", position: "bottom", offset: 64,
});
Captions render in videos, GIFs, SVG, HTML playback and snapshots. They stay out of the shell, screen assertions, and text transcripts. See the four-style example.
Render again
Recording and rendering are separate. A recording is an asciicast; frames are computed on a virtual clock. So a new theme, size or format never re-runs a shell — and cuts, joins and chapter splits happen on the recording, which is why they work for SVG as well as MP4.
tcut render demo.cast --theme "Gruvbox Dark" -o demo.svg -o demo.html
tcut render demo.cast --width 1280 --height 720 --speed 1.5 -o demo.mp4
tcut render demo.cast --from 2s --to 10s --shadow --watermark "@you" -o clip.gif
tcut render demo.cast --split-chapters --margin-fill transparent -o demo.webm
tcut concat intro.cast demo.cast --gap 500ms -o launch.mp4
tcut themes                                   # ~600 themes, Ghostty's collection
Outputs by extension: .mp4 .gif .webm .webp · .svg (animated, real text) · .html (single-file player) · .png .jpg (final frame) · .txt (final screen) · .log (full transcript) · dir/ (PNG frames).
Faithful to the terminal
The emulator is Ghostty's core, so what tcut sees is what your terminal would show — and what it records is what the program actually received.
- Arrow keys and pastes arrive exactly as the running program asked: application cursor mode, bracketed paste.
- Links printed with OSC 8 — including Markdown links in
print()captions — stay clickable in SVG and HTML. - Frames are never torn: synchronized-output blocks are captured whole.
- Symbols the font lacks (progress blocks, Nerd Font icons) stay on their cell, so status bars never drift — and tcut bundles the Nerd Font symbols (the same file Ghostty embeds) as the last fallback, so icons render on any machine.
theme: "auto"andfont: "auto"render with the colours and font of the terminal you record in — the video looks like your terminal, not like a default.- Kitty graphics (inline images) are rendered when using the Ghostty core (the default). Sixel and iTerm2 images are not supported.
tcut doctor demo.castexplains what a recording used, including Kitty graphics and any protocols tcut cannot render.
Test it
tcut test demo.video.ts        # runs the script with no delays — just the assertions
tcut diff a.cast b.cast        # catches output changes between two recordings
expect() makes a demo a test. tcut test runs it fast, and exits non-zero when the screen does not match — so the same script that renders your README video can guard it in CI.
A browser next to the terminal
For dev-server demos: the page is recorded on the same clock and composited beside or over the terminal.
defineVideo({ output: "demo.mp4", browser: { position: "overlay" } }, async (t) => {
  await t.run("bun run dev </dev/null >/tmp/dev.log 2>&1 &");
  await t.browser.goto("http://localhost:5173");
  await t.run("sed -i '' 's/Hello/Hi/' src/App.tsx");   // HMR updates the page
  await t.focus("browser");
});
Use it as a library
Everything the CLI does is an exported function — the site's own build records and renders its walkthrough frames from code.
import { defineVideo, renderCast } from "termcut";

const video = defineVideo({ output: ["demo.mp4", "demo.gif"] }, async (t) => {
  await t.run("bun --version");
  await t.expect(/1\.\d+/);
  await t.snapshot("version.svg");
});

const result = await video.run({ force: true, log: console.log });
// result.outputs, result.screenshots, result.durationSeconds, result.recording

const recording = await video.record();                 // just the .cast
await video.render(recording, { overrides: { theme: "Gruvbox Dark" }, clip: { from: 2, to: 10 } });

await renderCast("old.cast", { output: ["old.webm"], width: 1280, height: 720 });   // any cast, no shell
Also exported: recordLive (a live session under program control), cutRecording / concatRecordings / selectChapters, buildSvg / buildHtml / replayFrames (frames as a text grid, no pixels), diffCasts, diagnoseCast, generateScript (cast → script), runScriptTests, publishFiles, plus every type. Two things to know: theme: "auto" / font: "auto" read the terminal the process runs in, so in CI pass explicit values; and render one video at a time — each one drives a WebView.
Share it
tcut publish --setup        # once: your own S3-compatible bucket (RustFS, MinIO, R2, S3)
tcut publish demo.gif       # → https://…/3f9a1c2b7d4e/demo.gif
There is no hosted service; you bring the bucket.
For agents
npx skills add AmanVarshney01/tcut # skills for Claude Code, Cursor, Codex, …Two skills: tcut (record terminal videos) and tcut-remotion (compose tcut footage into a launch video with Remotion). Every command has --json, exit codes and no prompts; llms.txt is the condensed guide.
Compared with VHS
VHS is the reference point and the inspiration. Where tcut differs:
- Scripts are TypeScript — loops, imports, shared scenes, autocomplete — instead of a
.tapeDSL. - Waits on the screen —
run()returns when your prompt is back; VHS sleeps for a guessed duration. - Rendering never re-runs the shell — a new theme, size or format is computed from the recording. VHS screenshots Chrome live, so output depends on machine speed.
- Demos are tests —
expect()asserts on the screen;tcut testruns them in CI. - Same emulator as your terminal — Ghostty's core in WASM, its themes, plus SVG and HTML outputs that need no ffmpeg or browser.
How it works
- Record.
Bun.Terminalruns your shell in a PTY. Every byte is timestamped into a.cast. - Watch. The same bytes feed a headless Ghostty (via wterm). That is how
run()knows the prompt is back andexpect()sees what you see. - Render. The cast replays into the same terminal inside
Bun.WebView, one frame per tick, straight to ffmpeg. SVG and HTML are built from the terminal grid, no browser involved.
More
- Examples — driving an interactive TUI, recording Claude Code and Codex
- Reference — every CLI flag and script option
- tcut.amanv.dev
MIT