
vibepup
v1.0.4
Published
A loyal, DX-first split-brain agent harness with cyberpunk vibes.
Maintainers
 shantanusoam
Readme
🐾 Vibepup
"Fetch Code. Sit. Stay. Good Pup."
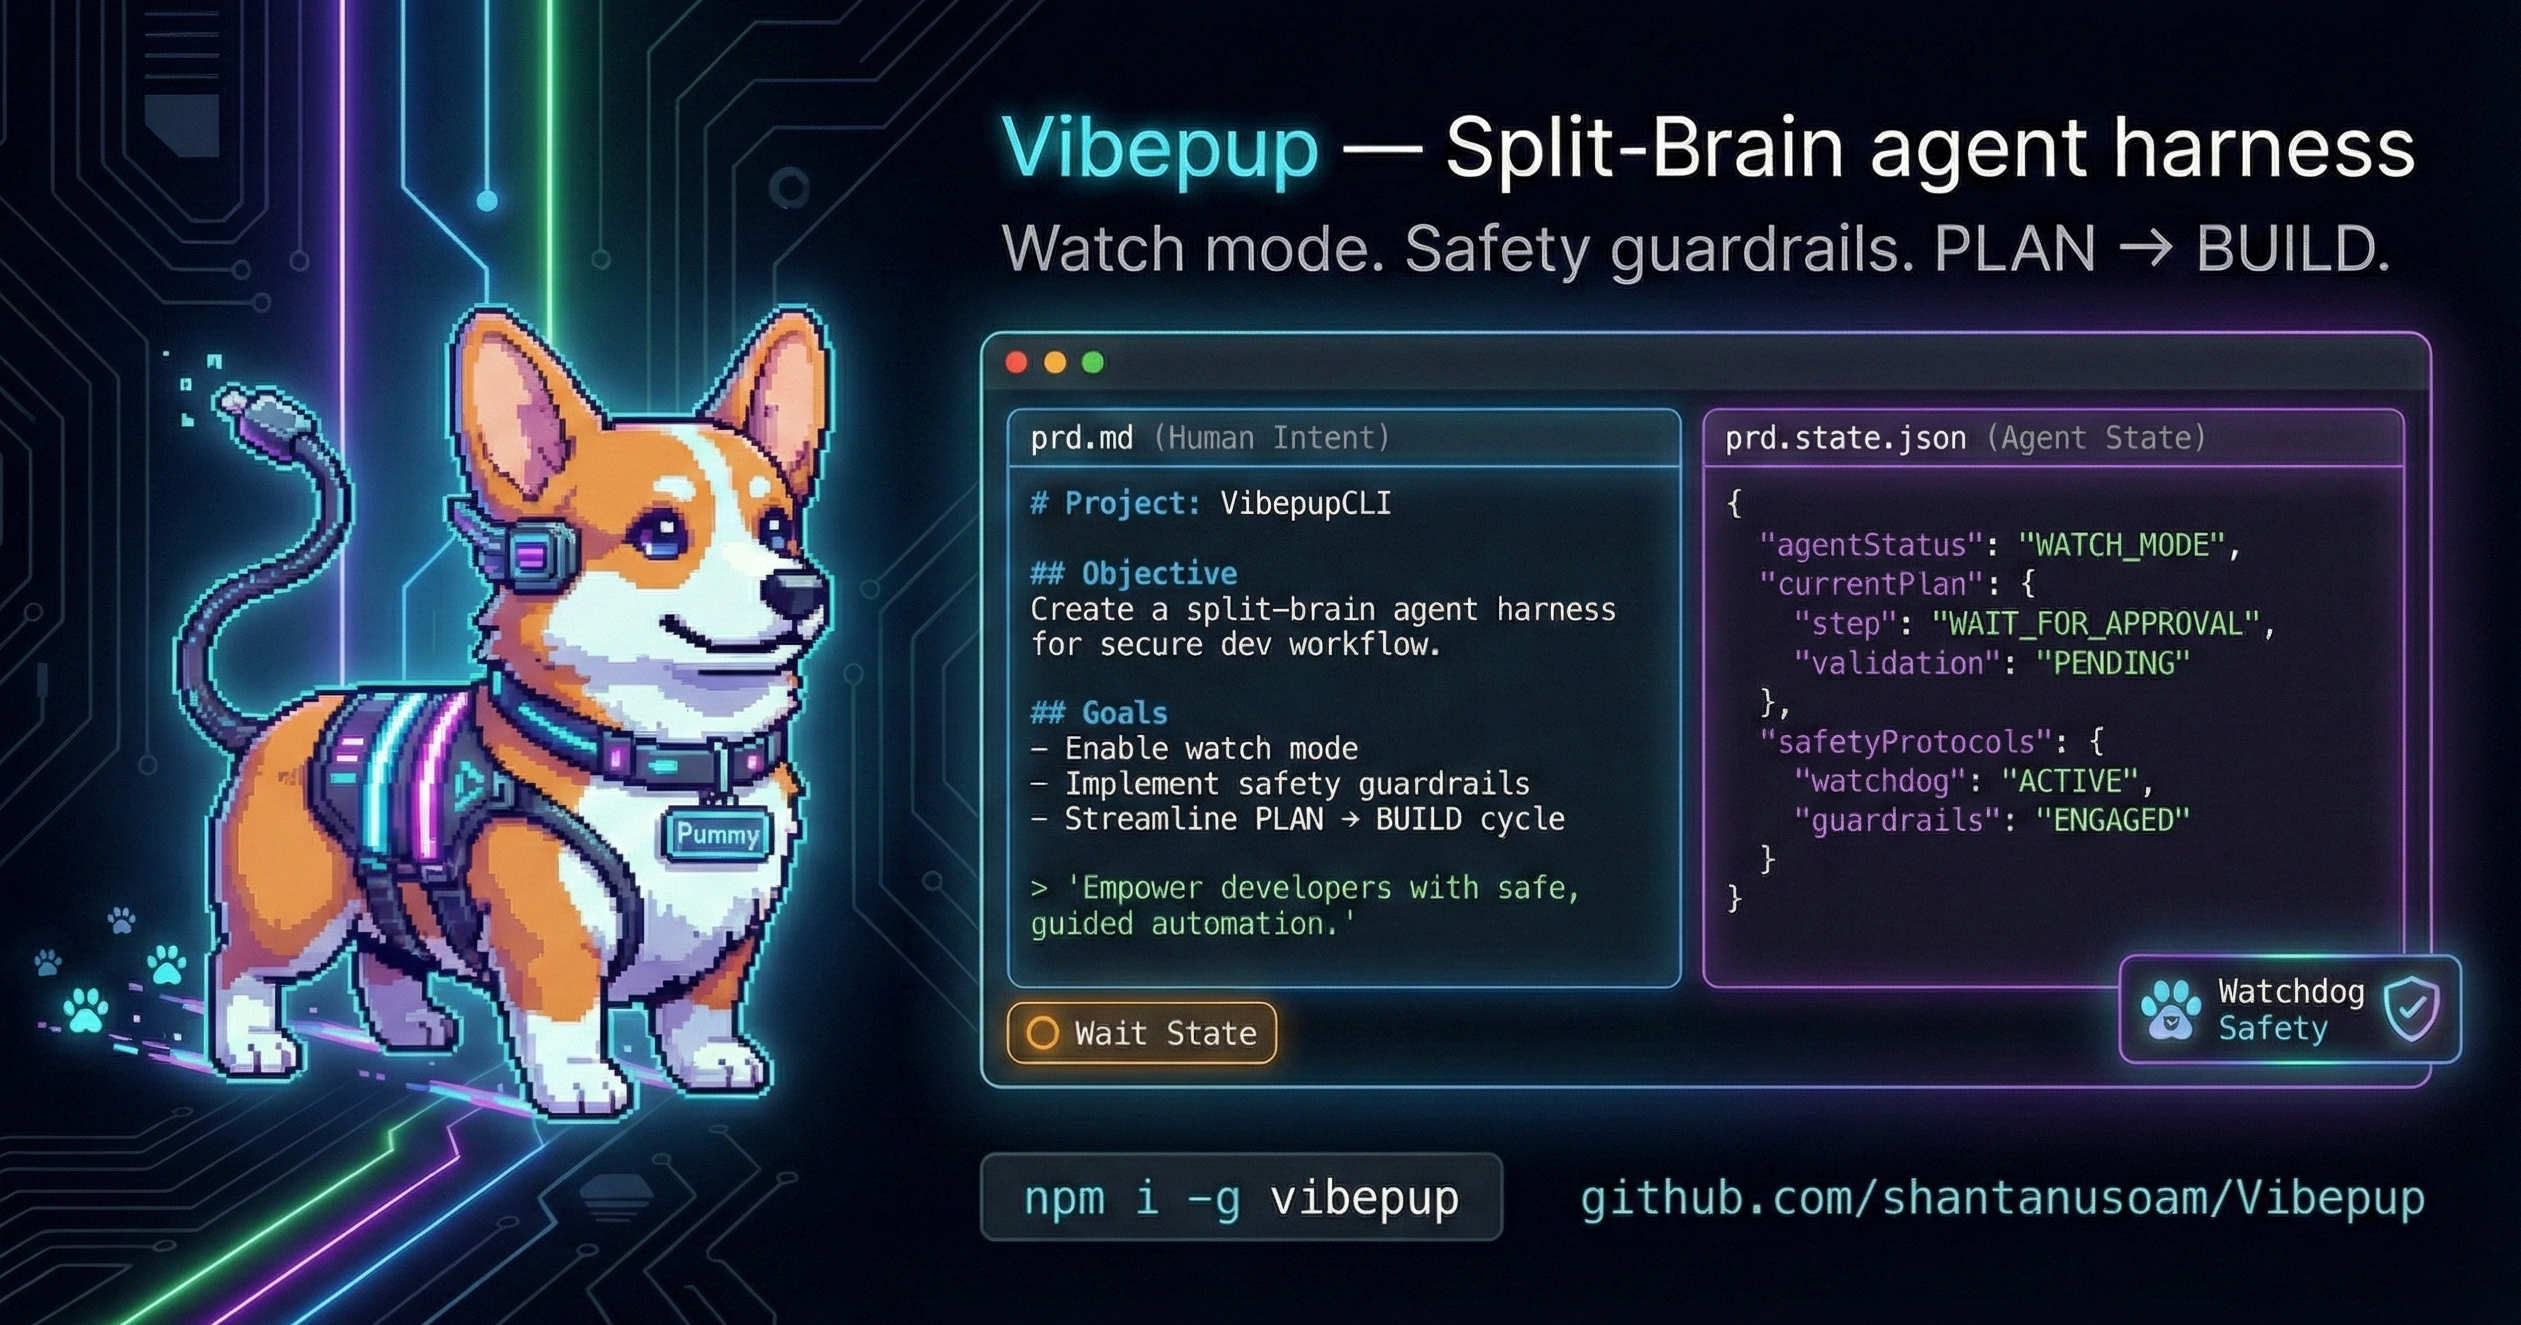
Vibepup is a Split-Brain Autonomous Agent Harness that lives in your terminal. A loyal helper built for DX-first, vibe-coding energy.
Mascot: Pummy the cyberpunk corgi.

![]()

✨ The Vibe
Most AI agents are black boxes that overwrite your files and get stuck in loops. Vibepup is different: loyal, friendly, meme-y, and built for real dev workflows.
Selling Points:
- DX-first onboarding
- Vibe-coding friendly
- Safe, loop-resistant agent harness
- Minimal setup, works everywhere
- Loyal helper with a cyberpunk-cute mascot
- Helpful onboarding for free-tier access
- 🧠 Split-Brain: Keeps your instructions (
prd.md) separate from internal state (prd.state.json). Edit tasks mid-run without breaking the agent. - 🛡️ Anti-Wizard: Refuses to run interactive commands that hang shells. Vibepup forces clarity.
- ⚡ DX-First: Optimized for fast iteration, visibility, and zero-friction adoption.
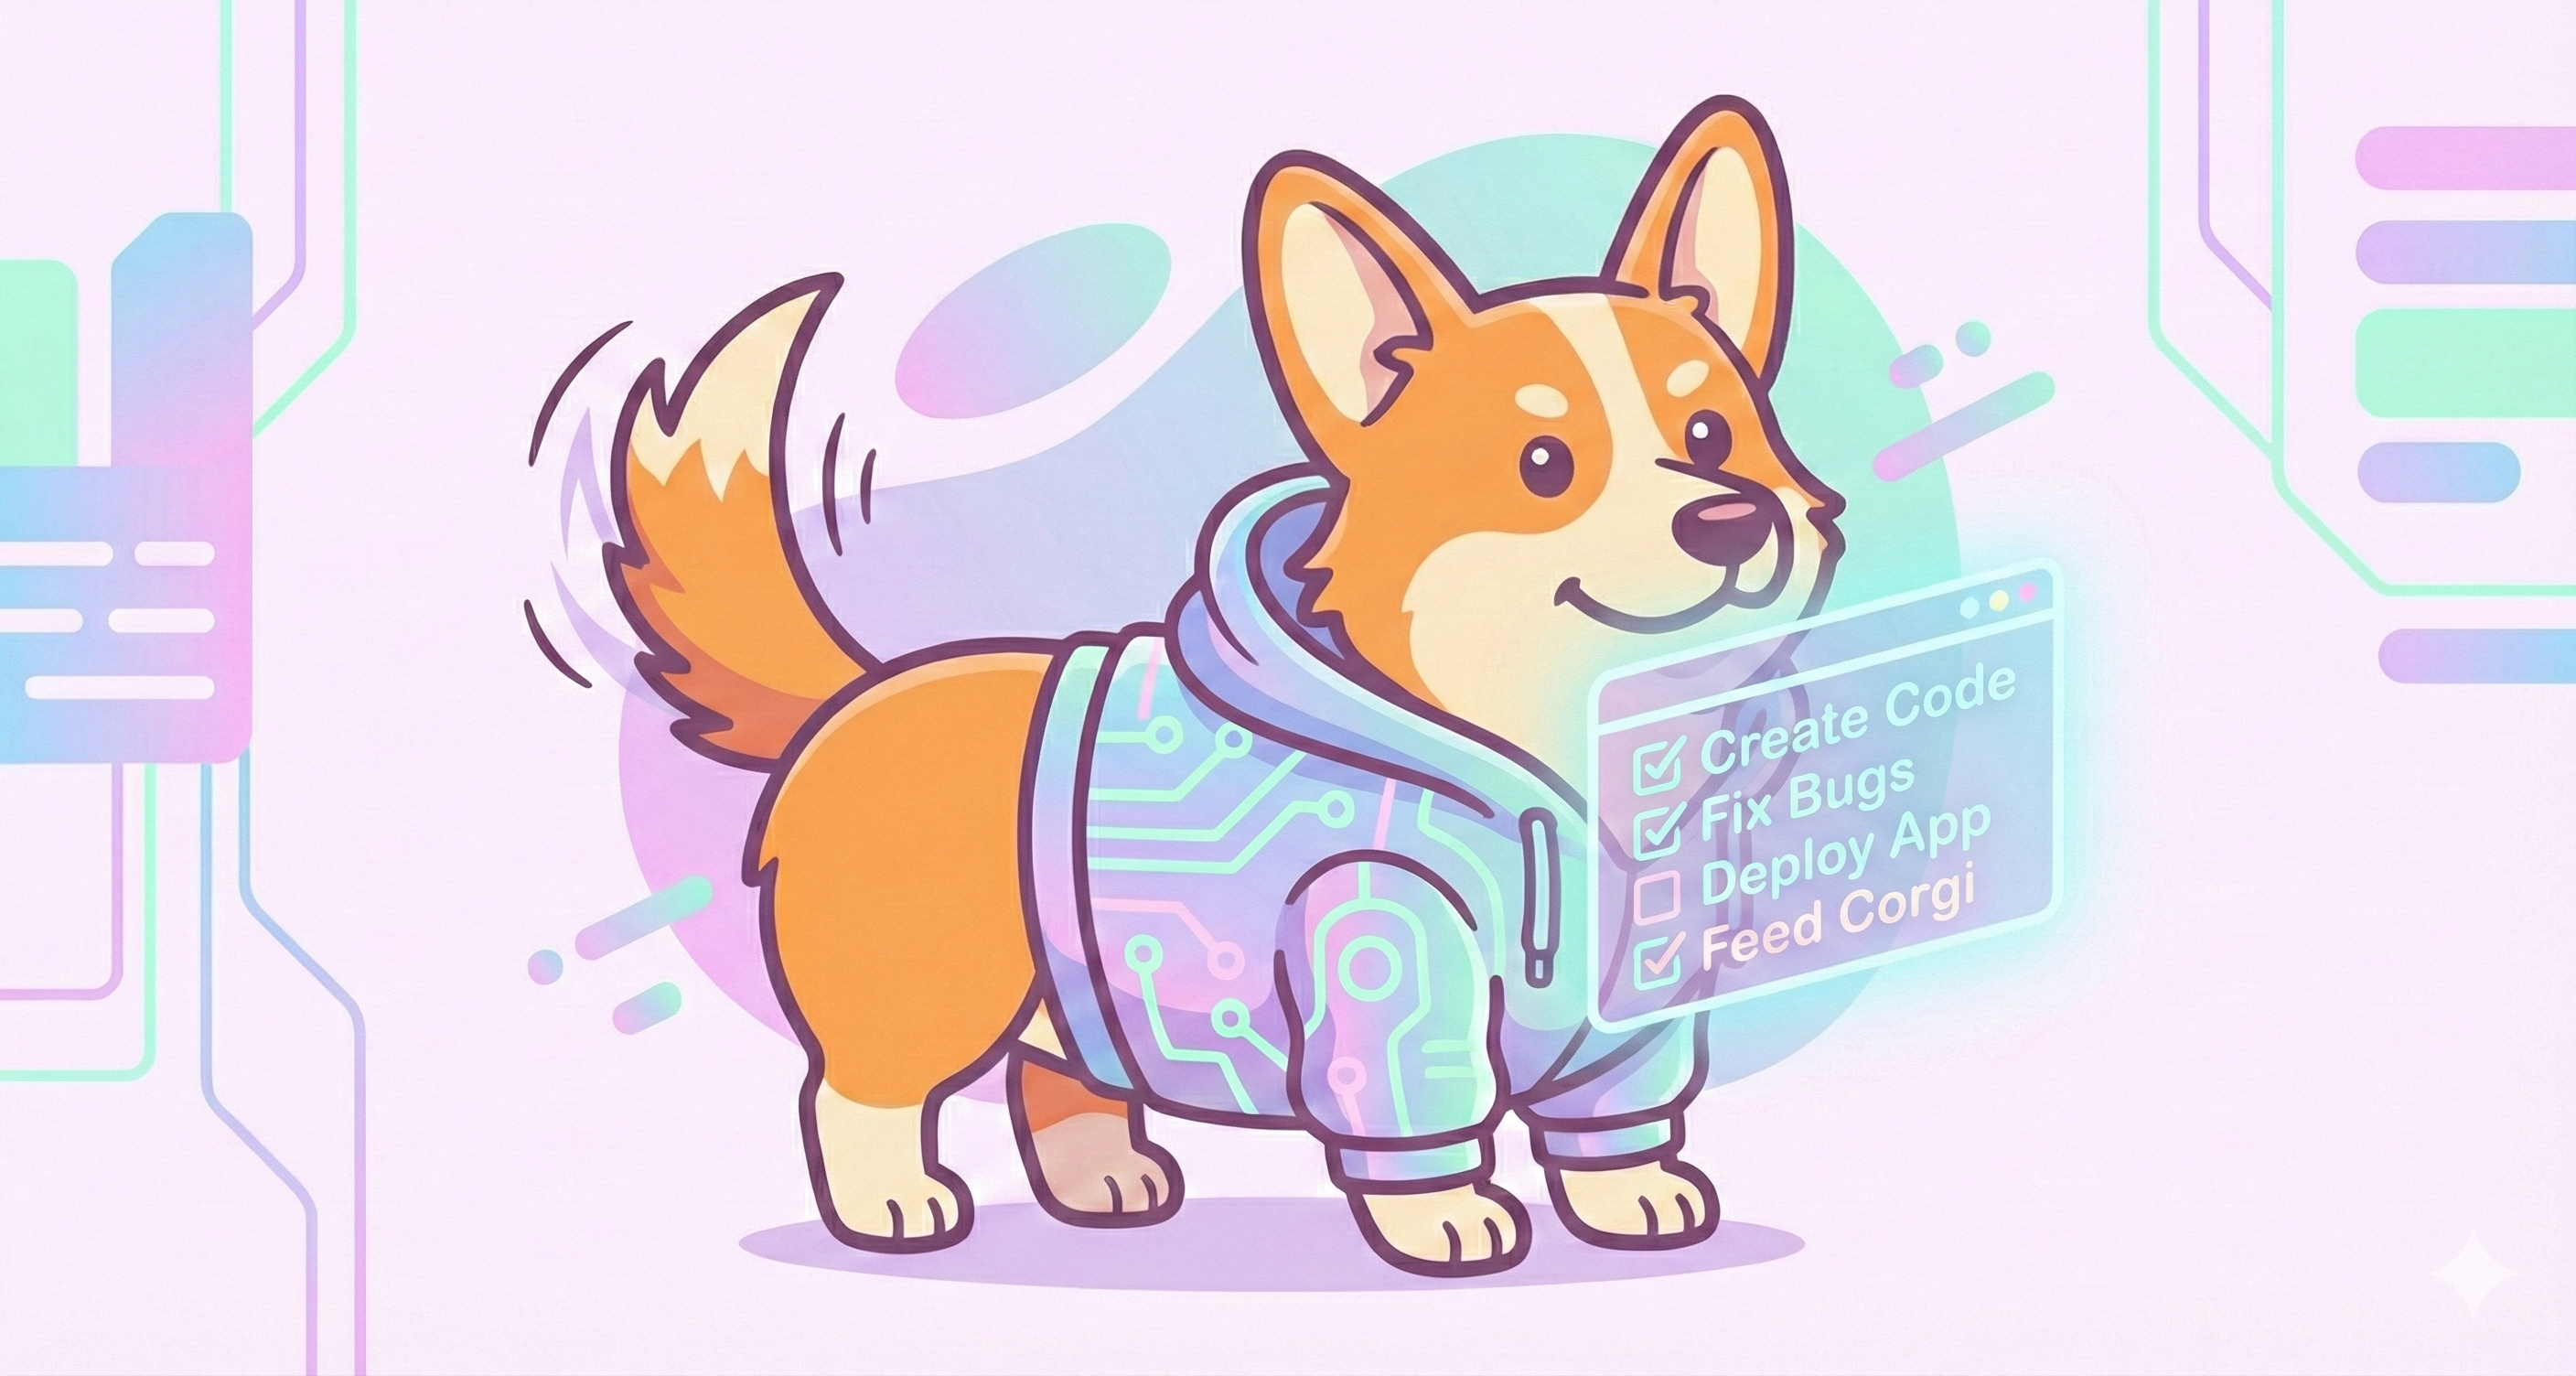
- 🌈 Cyberpunk Corgi: Cute, loyal, and ready to ship.
- 🧩 Friendly + Meme-y: The tool feels fun without being unserious.
🚀 Get Started
✅ Works Everywhere
Linux, macOS, and Windows. Recommended: use WSL2 on Windows for full Linux parity.
1. Install
npm install -g vibepupWindows (choose your mode)
Vibepup supports two modes on Windows. If a TTY is detected, it will prompt you to choose; otherwise, it defaults to WSL if installed.
Recommended: WSL2 Mode Best parity with Linux/macOS. Requires WSL2 installed.
vibepup --platform=wsl
# or
vibepup --wsl- Note: When using WSL mode, run from a WSL shell or ensure paths are WSL-formatted (e.g.,
/home/...or/mnt/c/...).wsl.exeforwards arguments without path translation. Microsoft Path Docs.
Windows-native Mode Simpler setup, but with limitations.
vibepup --platform=windows
# or
vibepup --windows
Windows-native Limitations:
- No Bash/Curl Helpers: Linux-specific shell scripts or
curl-based skills may fail. - Reduced Parity: Some advanced agent behaviors optimized for Linux environments might be unavailable.
- No Design-Mode Injection: Environment-based skill injection (like
DESIGN_MODE) is not supported in native mode. - Path Differences: Uses Windows backslashes (
\) which can occasionally confuse agents expecting POSIX paths.
Auto-selection Behavior:
- If WSL is detected, Vibepup defaults to WSL mode unless explicitly overridden.
- Use
--platform=windowsor--windowsto force native mode.
1b. bunx (no global install)
bunx vibepup --watch1c. bun global install (optional)
bun add -g vibepup1d. TUI mode (optional)
vibepup --tui1e. Free setup (one command)
vibepup free1f. Doctor (diagnose setup issues)
vibepup doctor2. Fetch!
Go to any empty folder and tell Vibepup what to build.
mkdir my-app
cd my-app
vibepup new "A react app for tracking my plant watering schedule"
Using bunx:
bunx vibepup new "A react app for tracking my plant watering schedule"Using bun global install:
vibepup new "A react app for tracking my plant watering schedule"Vibepup will:
- 🏗️ Plan: Map out the architecture in
repo-map.md. - 📝 Draft: Create a
prd.mdchecklist. - 🔨 Build: Start checking off items one by one.
3. Watch Him Work
vibepup --watchIn watch mode, Vibepup keeps working until the PRD is done. If you edit prd.md (e.g., add "- [ ] Add dark mode"), he smells the change and gets back to work immediately.
4. TUI Mode
vibepup --tuiTUI mode provides a Bubble Tea interface with puppy animation, quick mode selection, and a clean launch experience.
⚙️ Configuration
Vibepup works out of the box. For the easiest free-tier bootstrap, run:
vibepup free✅ Full Onboarding (step-by-step)
Step 0: Diagnose (recommended)
vibepup doctorThis checks Node/npm/opencode and your model registry.
Step 1: Install Node 20+
Free auth requires Node 20+.
- WSL/Linux:
nvm install 20 && nvm use 20 - Windows: https://nodejs.org/en/download
Step 2: Fix npm permissions (WSL/Linux)
If npm fails with EACCES:
mkdir -p ~/.npm-global
npm config set prefix ~/.npm-global
echo 'export PATH=~/.npm-global/bin:$PATH' >> ~/.bashrc
source ~/.bashrc
Then retry the install.
Step 3: Install opencode
npm install -g opencode-aiStep 4: Free-tier auth
npm install -g opencode-antigravity-auth
opencode auth login antigravity
opencode models --refresh
If you cannot open a browser:
opencode auth print-token antigravity
export OPENCODE_ANTIGRAVITY_TOKEN="<token>"
Step 5: Run Vibepup
vibepup --watchIf opencode is missing, Vibepup will try to install it on Linux/macOS and then guide you. You can also set up a free tier manually:
npm install -g opencode-antigravity-auth
opencode auth login antigravity
If you cannot open a browser on the target machine:
opencode auth print-token antigravity
export OPENCODE_ANTIGRAVITY_TOKEN="<token>"
TUI build (optional)
TUI requires Go 1.22+. If you skip this, vibepup --tui will try go run . and needs go in your PATH.
cd npm-package/tui
go build -o vibepup-tui .
Or from npm-package: npm run build:tui.
Run locally (development)
To test the Vibepup CLI from this repo without publishing:
- Build the TUI (needed for
--tui; avoids "spawn go ENOENT"):cd npm-package && npm run build:tui - Run the local package:
Or run the CLI engine:cd npm-package && npx . --tuinpx . --watch,npx . 3, etc. - Optional – use globally while developing:
cd npm-package && npm link, thenvibepup --tui(orvibepup --watch) from any directory.
Vibepup also supports manual config in ~/.config/ralph/config.json:
{
  "build_models": [
    "github-copilot/gpt-5.2-codex",
    "openai/gpt-4o"
  ],
  "plan_models": [
    "github-copilot/claude-opus-4.5"
  ]
}
🏗️ Architecture
- Plan Mode: When
repo-map.mdis missing, Vibepup explores and plans. - Build Mode: When
repo-map.mdexists, Vibepup executes tasks fromprd.md.
🎛️ TUI flags (Go)
TUI lives in npm-package/tui (Go 1.22+). Helpful flags:
--quietreduce motion/sass;--denseincrease animation density.--no-emojiforce ASCII frames;--theme <name>swap palettes.--snark mild|spicy|unhingedchoose persona spice level.--anim <preset>pick loader (e.g.,vhs-scan,matrix-rain).--fx fire|matrix|nonesysc-Go header effect toggle (when wired).--perf-lowlower FPS;--no-altavoid alt-screen;--force-runbypass TTY check (CI/non-interactive).
Hotkeys: q quits (kills child process), ? toggles help. Palette/anim/snark switching via command palette is planned.
🛠️ Troubleshooting
- TUI fails in CI/non-TTY: use
--force-runto skip TTY enforcement; add--no-altto avoid alt-screen. - Multiple terminals keep running after quit: press
q; the TUI now tracks and kills the child process before exit. - Emoji render poorly: add
--no-emojior pick a theme with--theme=mono-chill. - High CPU from animations: add
--perf-lowor--quietto slow ticks and reduce density.
License
MIT