
vite-plugin-ai-annotator
v3.0.2
Published
AI-powered element annotator for Vite - Pick elements and get instant AI code modifications
Maintainers
 nguyenvanduocit
Readme
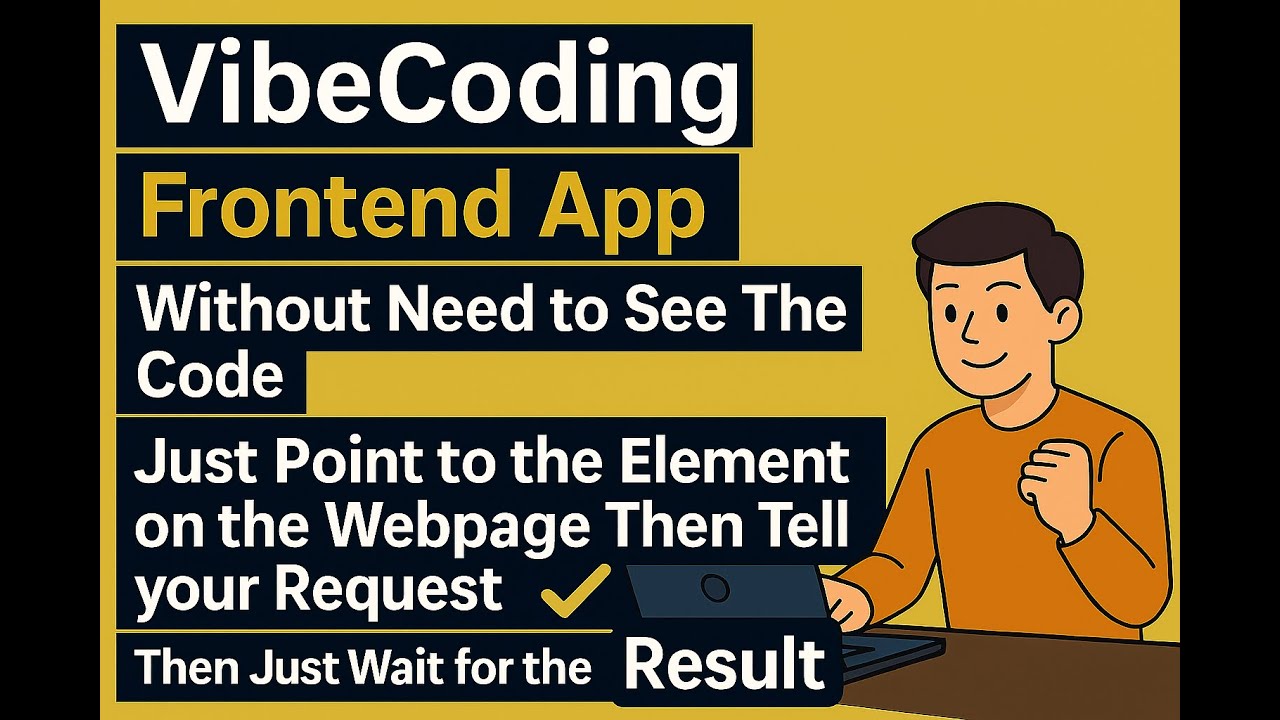
vite-plugin-ai-annotator
AI-powered element annotator for Vite - Pick elements and get instant AI code modifications.
📺 Watch the Tutorial Video - See the plugin in action!
What is this?
Point at any element on your webapp, type a request, and AI modifies your code instantly.
- Point directly at any element on your webapp
- Type a short request like "make it bigger", "center it", "change color to blue"
- Wait for AI to modify your code - it automatically finds and updates the source files
- See instant results - your changes appear immediately in the browser
Save cognitive load, because it's precious.
Why use it?
Traditional workflow: inspect element → find source file → locate the code → make changes → check results.
With this plugin: point → describe → done.
Works with all Vite-supported frameworks:
- ⚛️ React - Detects components, props, and state
- 🟢 Vue - Understands composition/options API
- 🅰️ Angular - Recognizes components and directives
- 🟠 Svelte - Identifies components and stores
- 📄 Vanilla JS - Works with plain HTML/CSS/JS
- 🟦 Nuxt.js - Full support via Nuxt module (Nuxt 4+)
Installation
Option 1: Automatic Setup (Recommended)
Install the Claude Code plugin and let AI set everything up for you:
/plugin marketplace add nguyenvanduocit/claude-annotator-plugin
/plugin install claude-annotator-plugin@claude-annotator-plugin
Then ask Claude: "Set up ai-annotator for my project" - it handles the rest!
Option 2: Manual Setup
For Vite Projects
Step 1: Install the package
bun add -d vite-plugin-ai-annotatorStep 2: Add to your Vite config
import { defineConfig } from 'vite';
import annotator from 'vite-plugin-ai-annotator';

export default defineConfig({
  plugins: [
    annotator(),
  ],
});
For Nuxt.js Projects (Nuxt 4+)
Step 1: Install the package
bun add -d vite-plugin-ai-annotatorStep 2: Add to your nuxt.config.ts
export default defineNuxtConfig({
  modules: [
    'vite-plugin-ai-annotator/nuxt'
  ],
  // Optional: Configure the annotator
  aiAnnotator: {
    port: 7318,
    autoSetupMcp: true,
    verbose: false,
  }
})
That's it! Nuxt handles the rest automatically.
Step 3: Start your dev server
bun devThe annotator toolbar will automatically appear in your application. The plugin auto-writes a skill file (.claude/skills/ai-annotator/SKILL.md) so Claude Code knows how to read your feedback over the REST API on every restart.
Usage
With the channel plugin (push, recommended)
The Vite plugin prints these install commands on dev-server start when the channel plugin isn't enabled — copy/paste once:
/plugin marketplace add nguyenvanduocit/claude-annotator-plugin
/plugin install claude-annotator-plugin@claude-annotator-plugin
# Restart with the channel flag (Claude Code v2.1.80+; research preview)
claude --dangerously-load-development-channels plugin:claude-annotator-plugin@claude-annotator-plugin
After that the hint stays silent (the Vite plugin reads ~/.claude/settings.json to detect it; it never writes to that file). Set autoSetupChannelPlugin: false if you want to silence the hint without installing.
- Click the inspect button on the toolbar to enter feedback mode
- Click any element(s) you want to give feedback on, type a comment
- Click send — Claude Code's session immediately receives a
<channel source="ai-annotator">event with yoursession_id,page_url, andcount - Claude fetches the details from the REST API, edits the source files, and pushes a toast back to your toolbar with progress
Without the channel plugin (pull)
Same first three steps. Then ask Claude Code to apply your feedback — it follows the auto-installed skill, calls GET /api/sessions/<id>/feedback, edits the files, and DELETEs the feedback when done.
Example prompt: "Apply the feedback I just left in the browser."
Configuration
annotator({
  port: 7318,                     // Server port (default: 7318)
  autoSetupSkills: true,          // Auto-write AI tool skill files (default: true)
  autoSetupChannelPlugin: true,   // Print one-time install hint for the Claude Code
                                  // channel plugin if it isn't already enabled in
                                  // ~/.claude/settings.json (default: true; read-only)
  injectSourceLoc: true,          // Inject data-source-loc attrs into HTML (default: true)
  verbose: false,                 // Enable detailed logging (default: false)
})
Auto AI Skills Setup
When autoSetupSkills: true (default), the plugin writes skill/instruction files on every dev server start with the correct server address baked in. This means AI tools automatically know how to call the REST API:
| AI Tool | File | Format |
|---------|------|--------|
| Claude Code | .claude/skills/ai-annotator/SKILL.md | YAML frontmatter (name, description) |
| Cursor | .cursor/rules/ai-annotator.mdc | alwaysApply: true |
| Windsurf | .windsurf/rules/ai-annotator.md | trigger: always_on |
| Codex | AGENTS.md | Marker-delimited section |
| Copilot | .github/instructions/ai-annotator.instructions.md | applyTo: "**" |
| Cline | .clinerules/ai-annotator.md | Plain markdown |
Files are updated on every server restart, so the address is always correct.
REST API
The server exposes a plain HTTP REST API at /api/*, usable by any HTTP client — no MCP required.
# List sessions
curl http://localhost:7318/api/sessions

# Get feedback
curl http://localhost:7318/api/sessions/<id>/feedback

# Inject JS
curl -X POST http://localhost:7318/api/sessions/<id>/inject-js \
  -H 'Content-Type: application/json' \
  -d '{"code": "document.title"}'
| Method | Endpoint | Body/Query | Description |
|--------|----------|------------|-------------|
| GET | /api/sessions | — | List connected browser sessions |
| GET | /api/sessions/:id/page-context | — | Page URL, title, selection count |
| POST | /api/sessions/:id/select | {mode?, selector?, selectorType?} | Trigger feedback selection |
| GET | /api/sessions/:id/feedback | ?fields=xpath,attributes,styles,children | Get selected feedback items |
| DELETE | /api/sessions/:id/feedback | — | Clear all selections |
| POST | /api/sessions/:id/screenshot | {type?, selector?, quality?} | Capture screenshot |
| POST | /api/sessions/:id/inject-css | {css} | Inject CSS into page |
| POST | /api/sessions/:id/inject-js | {code} | Execute JS in page context |
| GET | /api/sessions/:id/console | ?clear=true | Get captured console logs |
Happy coding! 🚀